
How To Make a DIY Timber Blanket / Towel Ladder
Step by step instructions to easily make this Timber Blanket / Towel Ladder.
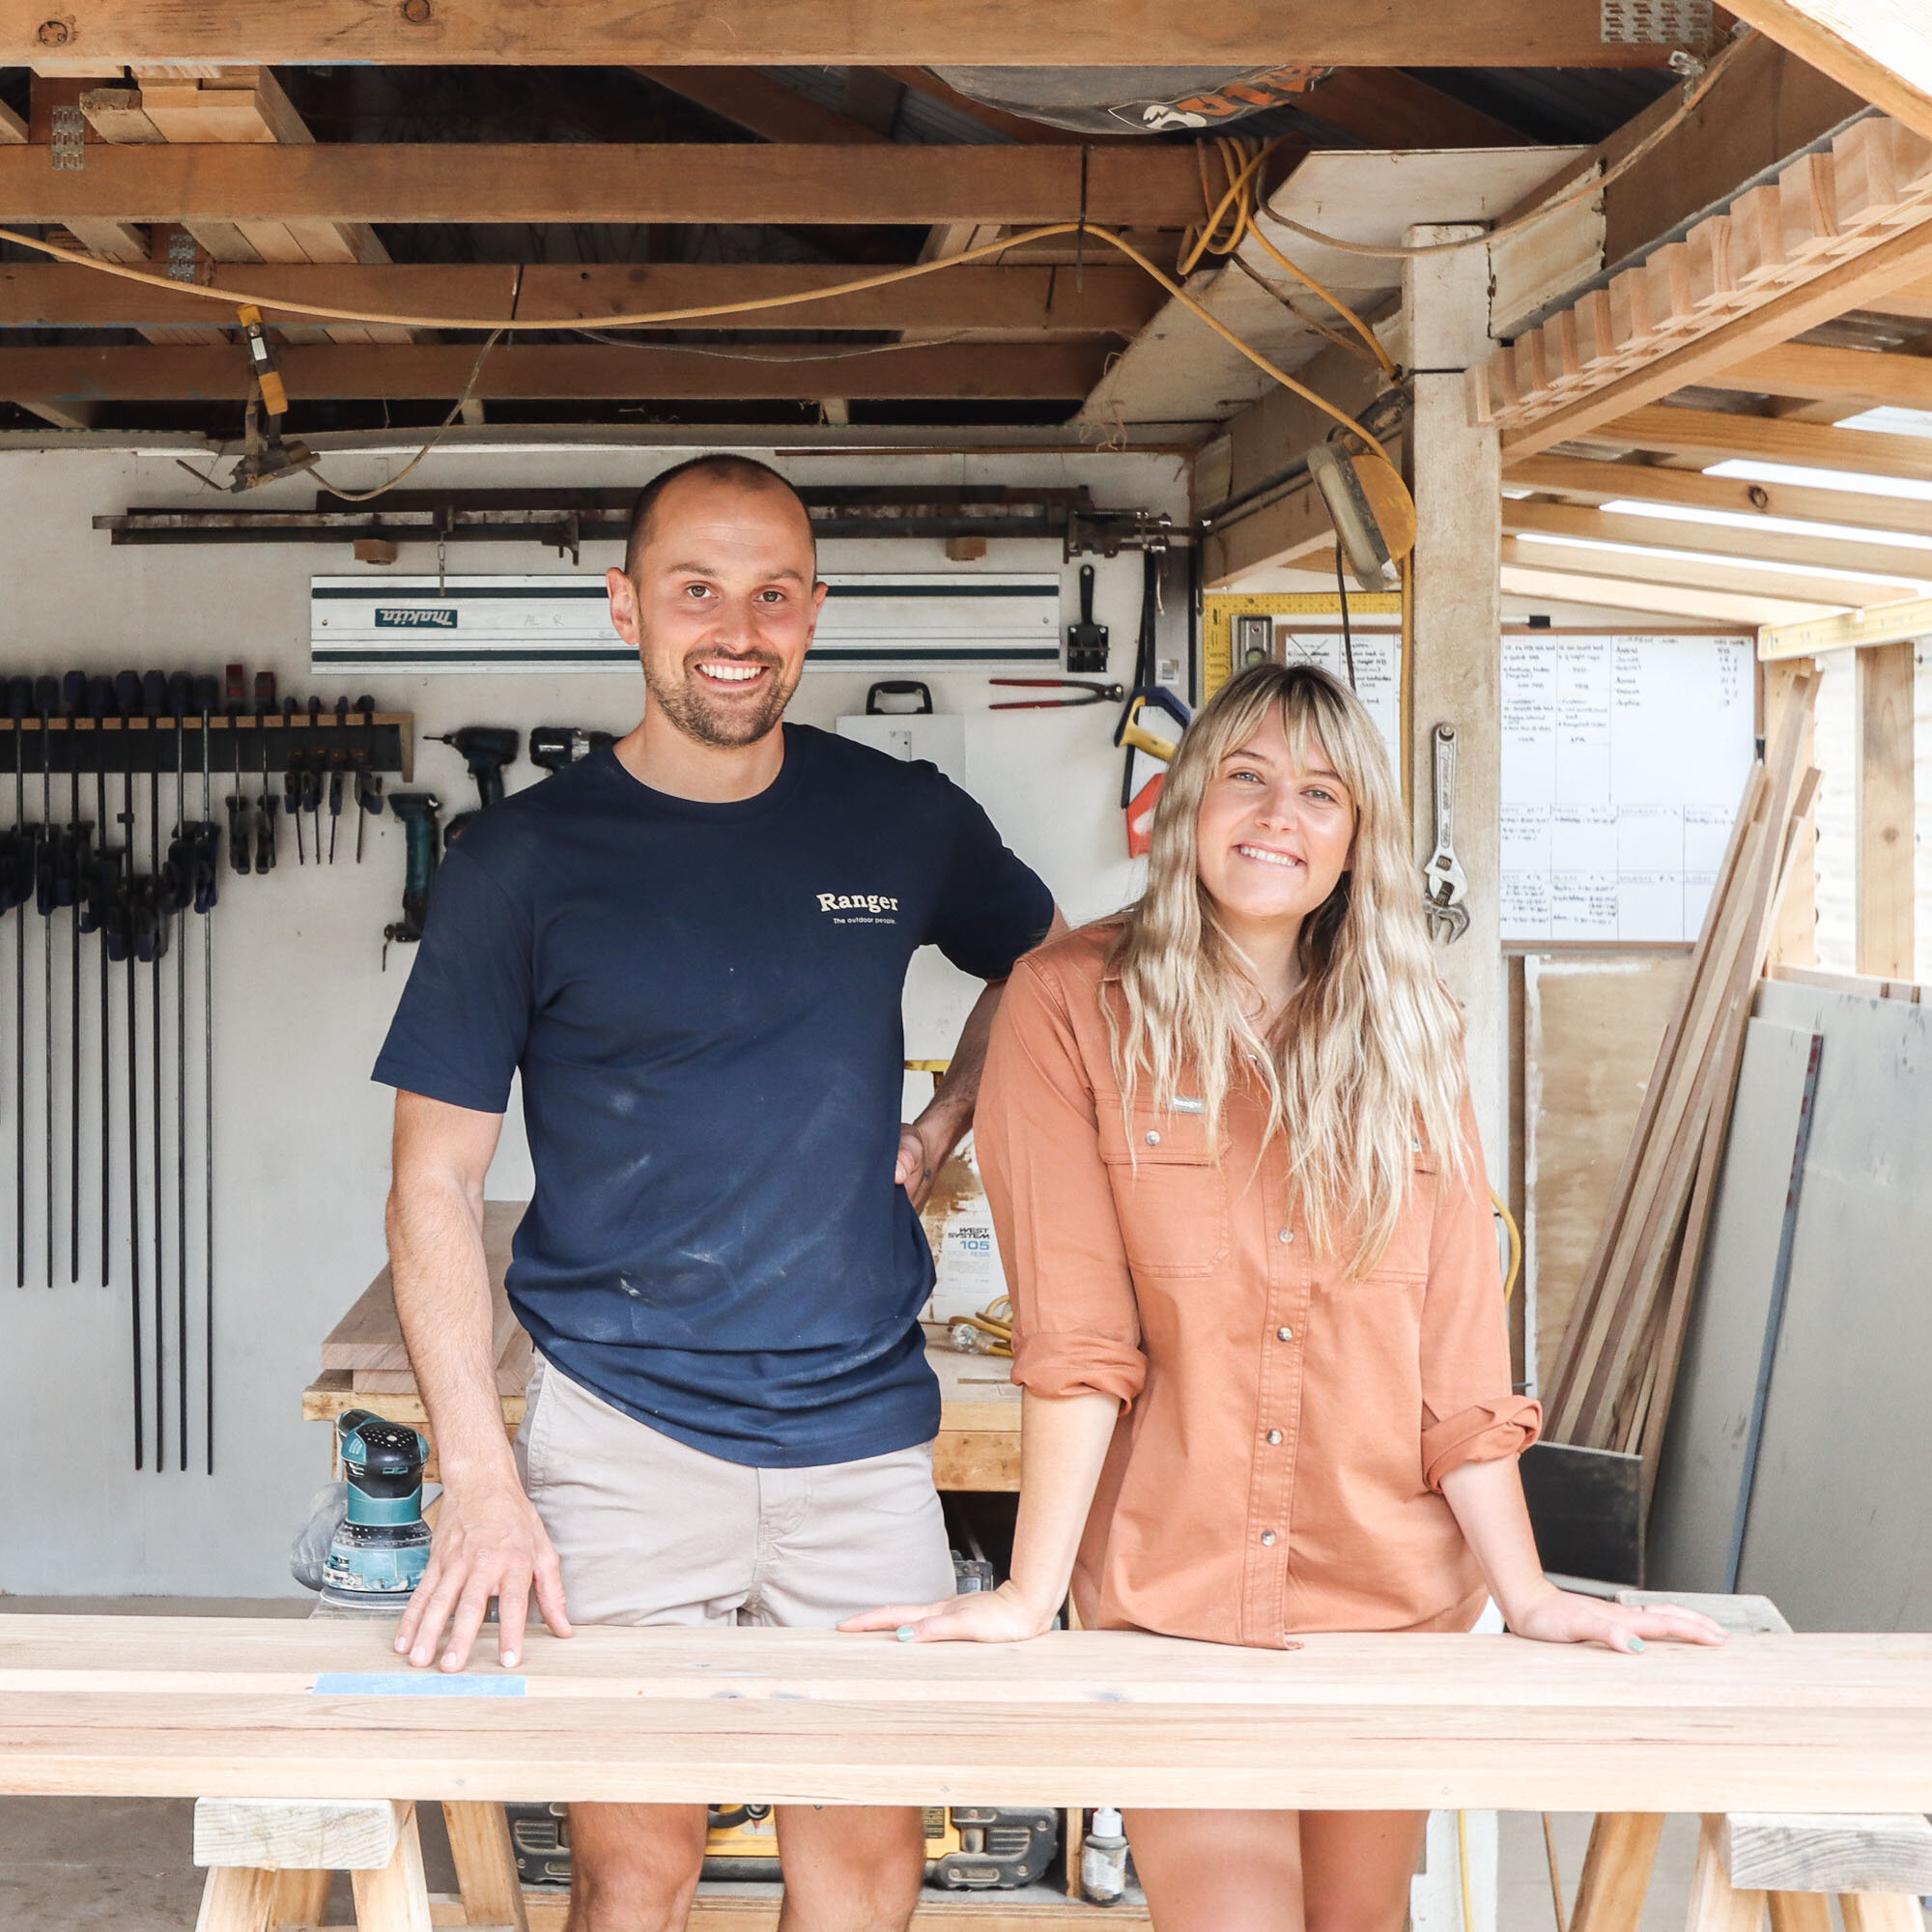
G'day guys, we're back with another DIY Friday!
This week it is Al's turn in the workshop and we thought we'd build something we've always wanted - a timber ladder for either blankets or towels.
This is great DIY woodworking project to style up your house and matches our DIY Surfboard Rack and DIY Floating Shelf Coat Rack and photographed below with our DIY Plant Stand.
We hope you enjoy and as always make sure to tag @al_and_imo_handmade or email us your photos!
AL + IMO


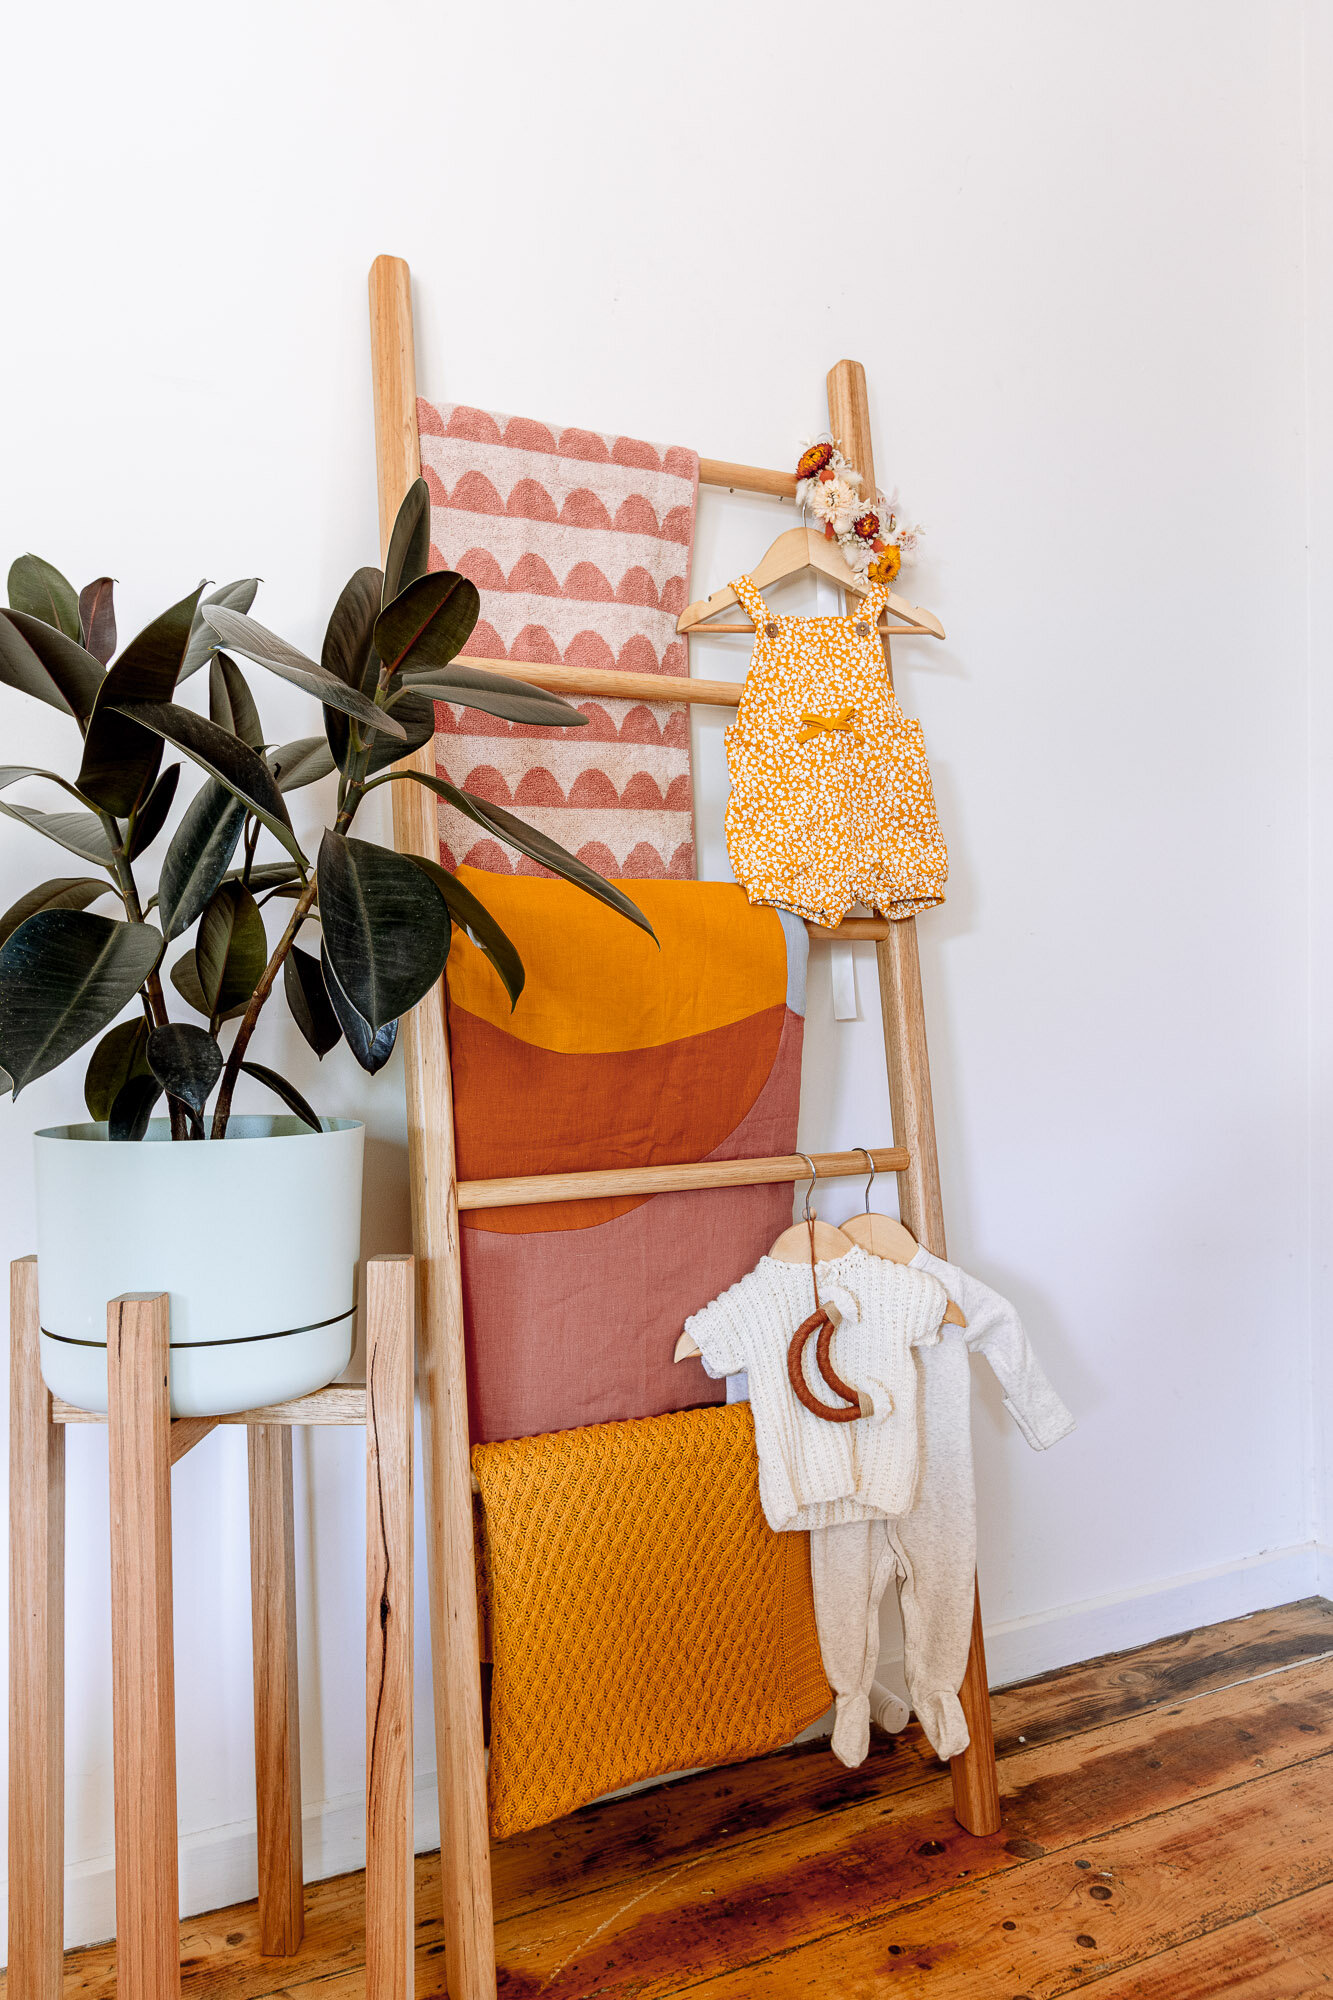
“Whether you choose to use this in your bathroom, bedroom or lounge - this is a great project for any room in the house.”
TOOLS
TAPE MEASURE
PENCIL
SET SQUARE
TABLE SAW OR CIRCULAR SAW
ROUTER (OPTIONAL)
DRILL
3mm & 9.5mm DRILL BITS
SANDER OR SANDPAPER
SANDPAPER
NAIL PUNCH
CLAMPS
PROTECTIVE GEAR
SAFETY GLASSES
EAR PROTECTION
TIMBER
2 x 1600mm 40mm X 45mm HARDWOOD (WE USED VIC ASH)
5 x 500mm - 25mm DOWEL (WE USED HARDWOOD)
MATERIALS
GLUE (WATERPROOF)
10 x 10mm JOINING DOWELS
HARD WAX OIL


step 1.
Because I used scrap timber I joined two pieces of 20mm x 45mm timber together for the sides. However you can skip this step by using 40 x 45mm pieces.
step 2.
Using a bullnose bit I did a test run on a scrap piece of timber and one happy with the finish I clamped by side rail to my workbench and routed all 4 edges.
Step 3.
Then cut my side rails to length with a 10 degree angle cut on the bottom (making sure the long point is the front of my side rail) and square on the top (1585mm from square end to long point).
I used my bullnose bit to rout the top edges. This step is a little tricky so make sure to do some test runs on some scrap timber.
Step 4.
I cut all of my dowels to 500mm length.
Step 5.
Once all of my pieces were cut I sanded the side rails with 120 grit orbital sander and used hand sandpaper for the rungs.
Step 6.
I marked out my centres on the 2 side rails for where I wanted to attach my rungs 150mm from the top and then 250mm spacings for the remaining rungs. I also marked the centres on the ends of each rung.
Step 7.
I marked my 3mm drill bit making sure it would sink in two thirds of the dowel length and using my centre marks I pre-drilled my holes in both the side rails and rungs.
I switched to my 9.5mm drill, marked it to the same depth and carefully drilled each hole and then cleaned up the holes with my sander.
Step 8.
I glued and hammered the dowels into one side rail making sure to use waterproof glue as this will be used in a wet area. I then glued and fitted each rung to the side and repeated the step on the other side, using a rubber mallet to get a tight fit.
Step 9.
I clamped each rung alternating the clamps to stop any twisting and once dry I used a chisel and hand sandpaper to clean up any remaining glue.
Step 1o.
Now that my ladder was complete I used a hard-wax oil to seal my piece which protects the timber and brings out the natural feature.
And that’s it!
More Home Styling Tips


HEY! WE’RE AL + IMO
We’re a husband and wife duo, building our dream life one DIY project at a time. We are proudly self-taught, furniture-makers, business owners, designers and stylists.
DIY RUNS IN OUR DNA
We firmly believe what you learn should be shared which is why we created our Journal. A place where you can learn new skills and be inspired by other creatives.
Top Categories


ON THE JOURNAL
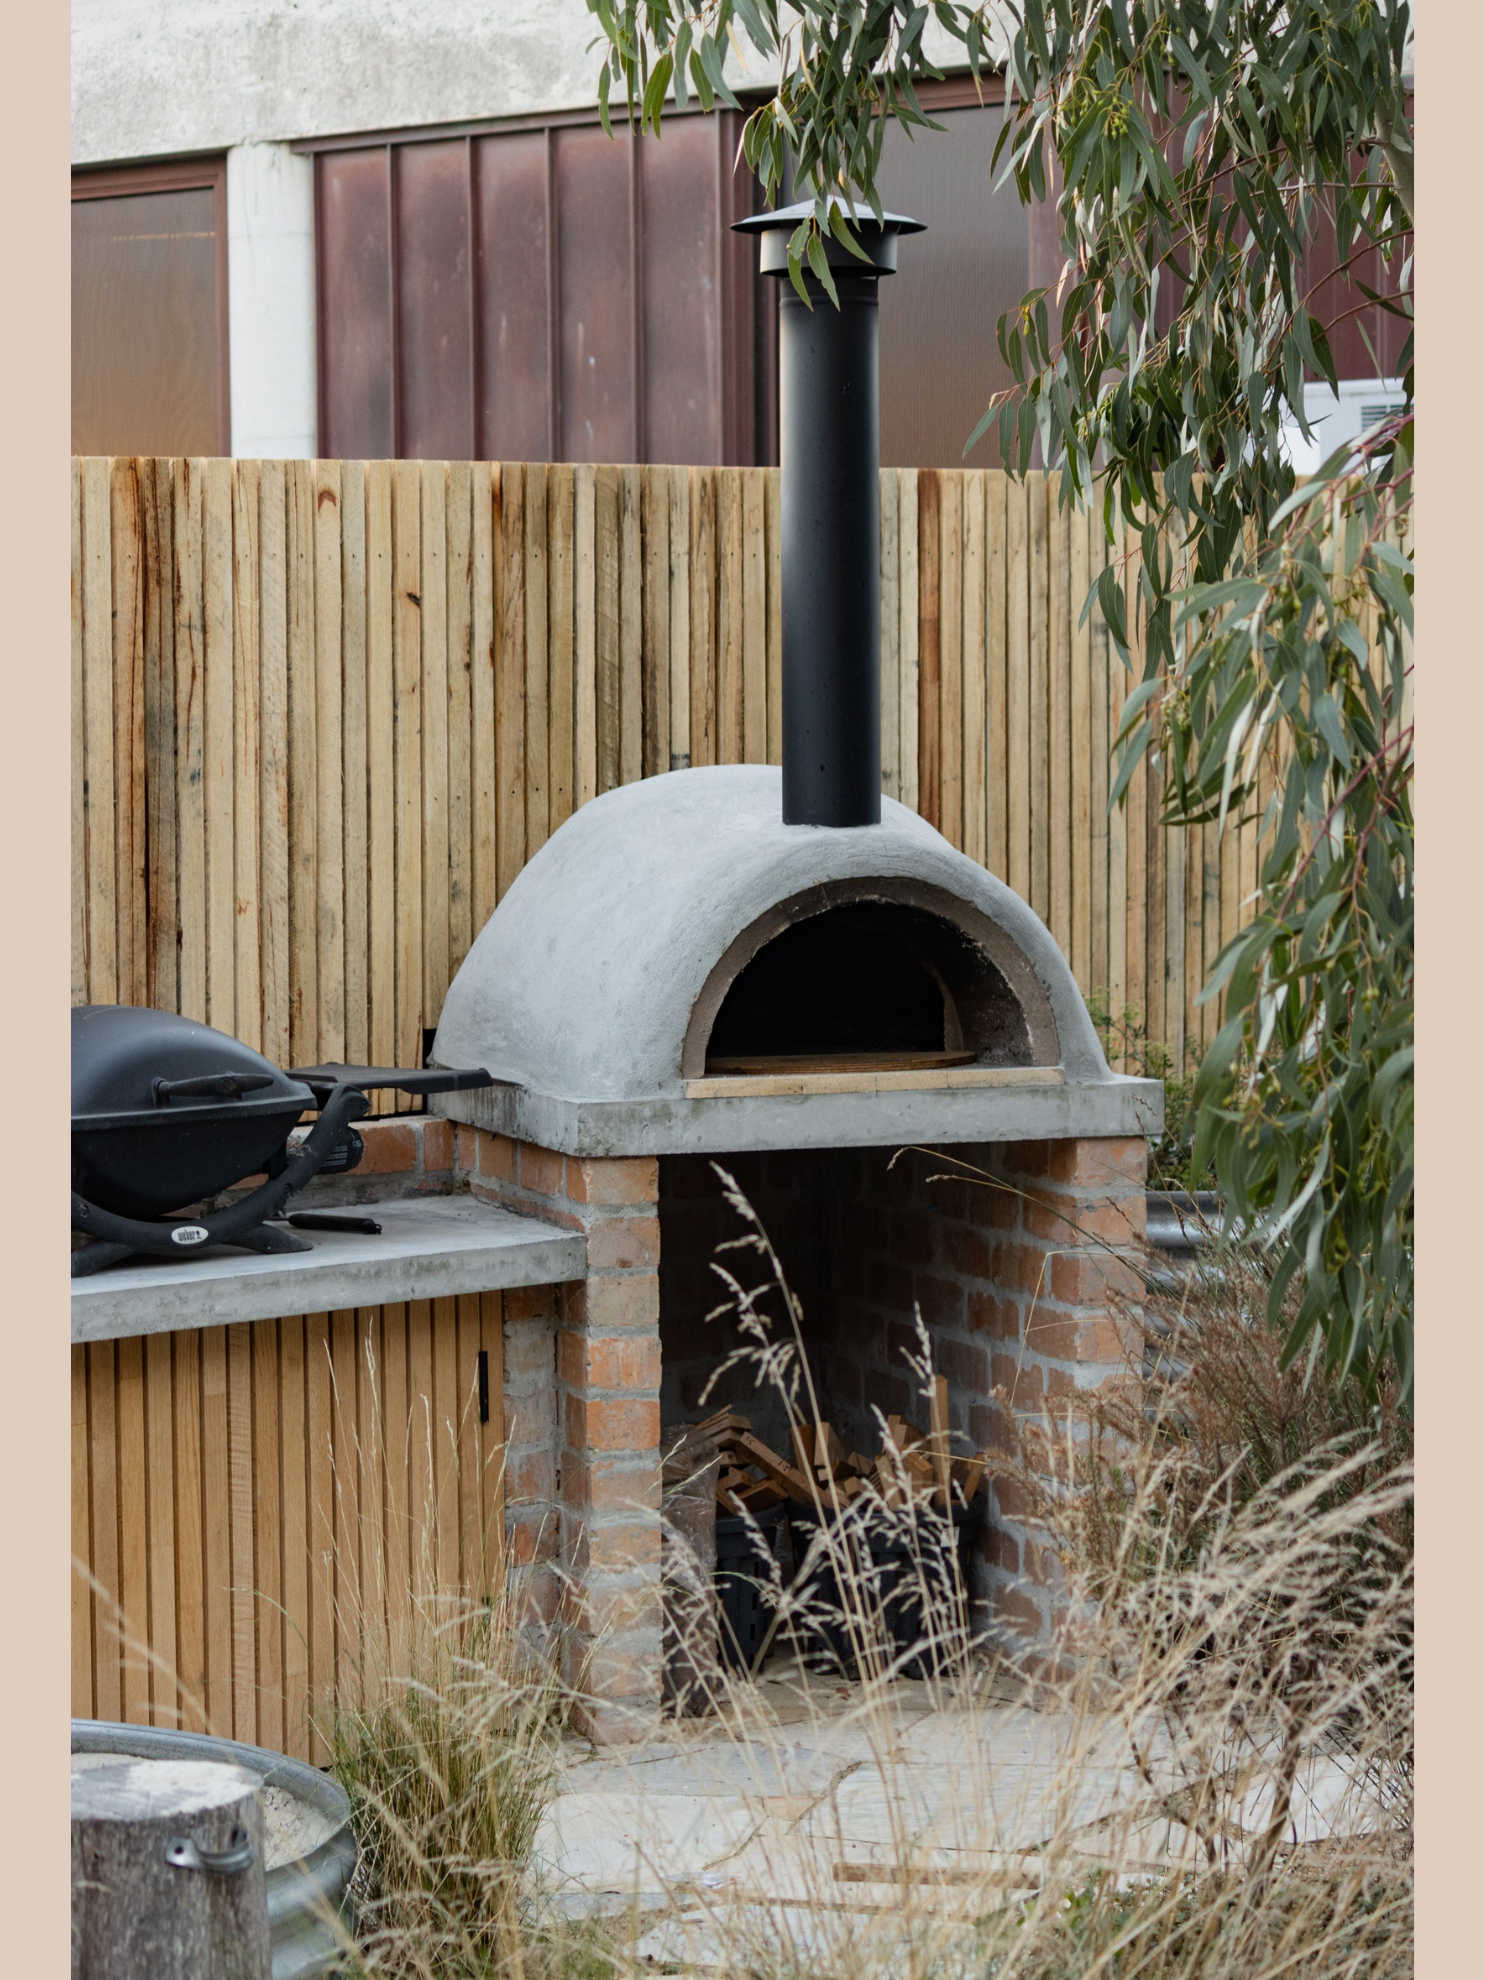
Building a backyard pizza oven from scratch using fire bricks, a simple dome mould, and refractory cement. Follow our step-by-step process and get inspired for outdoor entertaining, wood-fired cooking, and DIY projects at home.
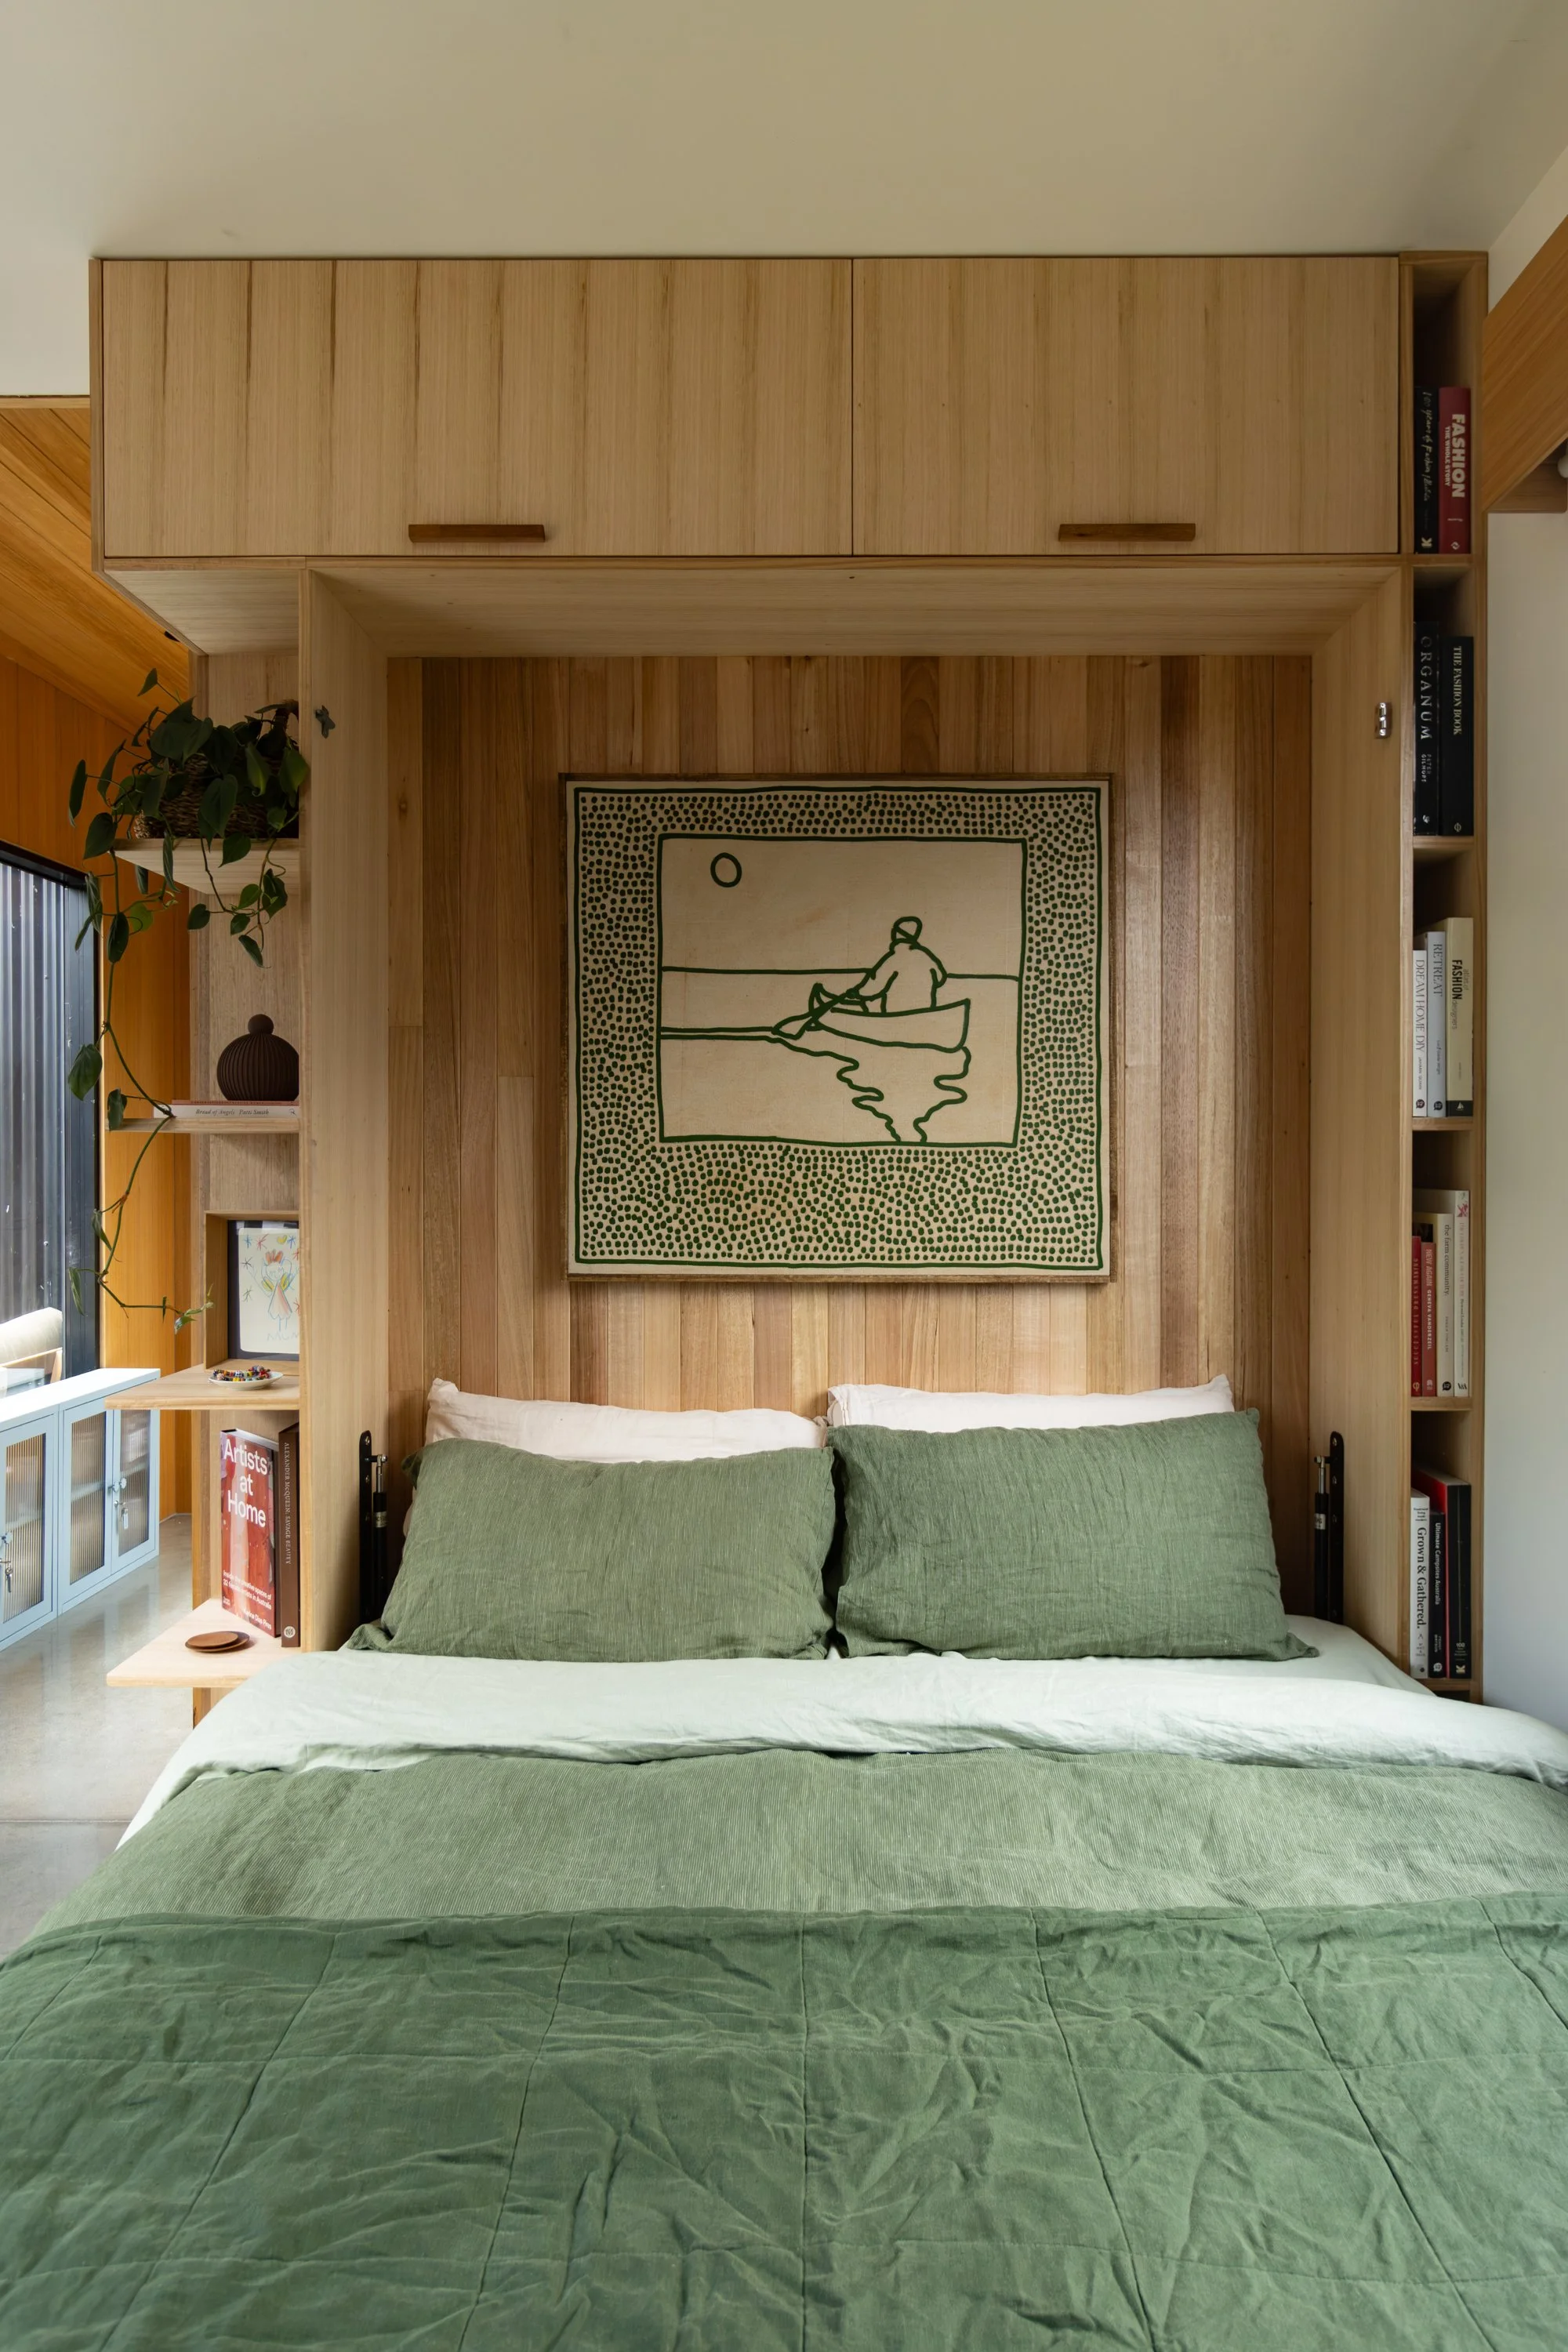
A wall bed (also known as a Murphy bed) lets the room function as a studio most of the time, but quickly converts into a comfortable bedroom when guests arrive. Here’s exactly how we built ours.
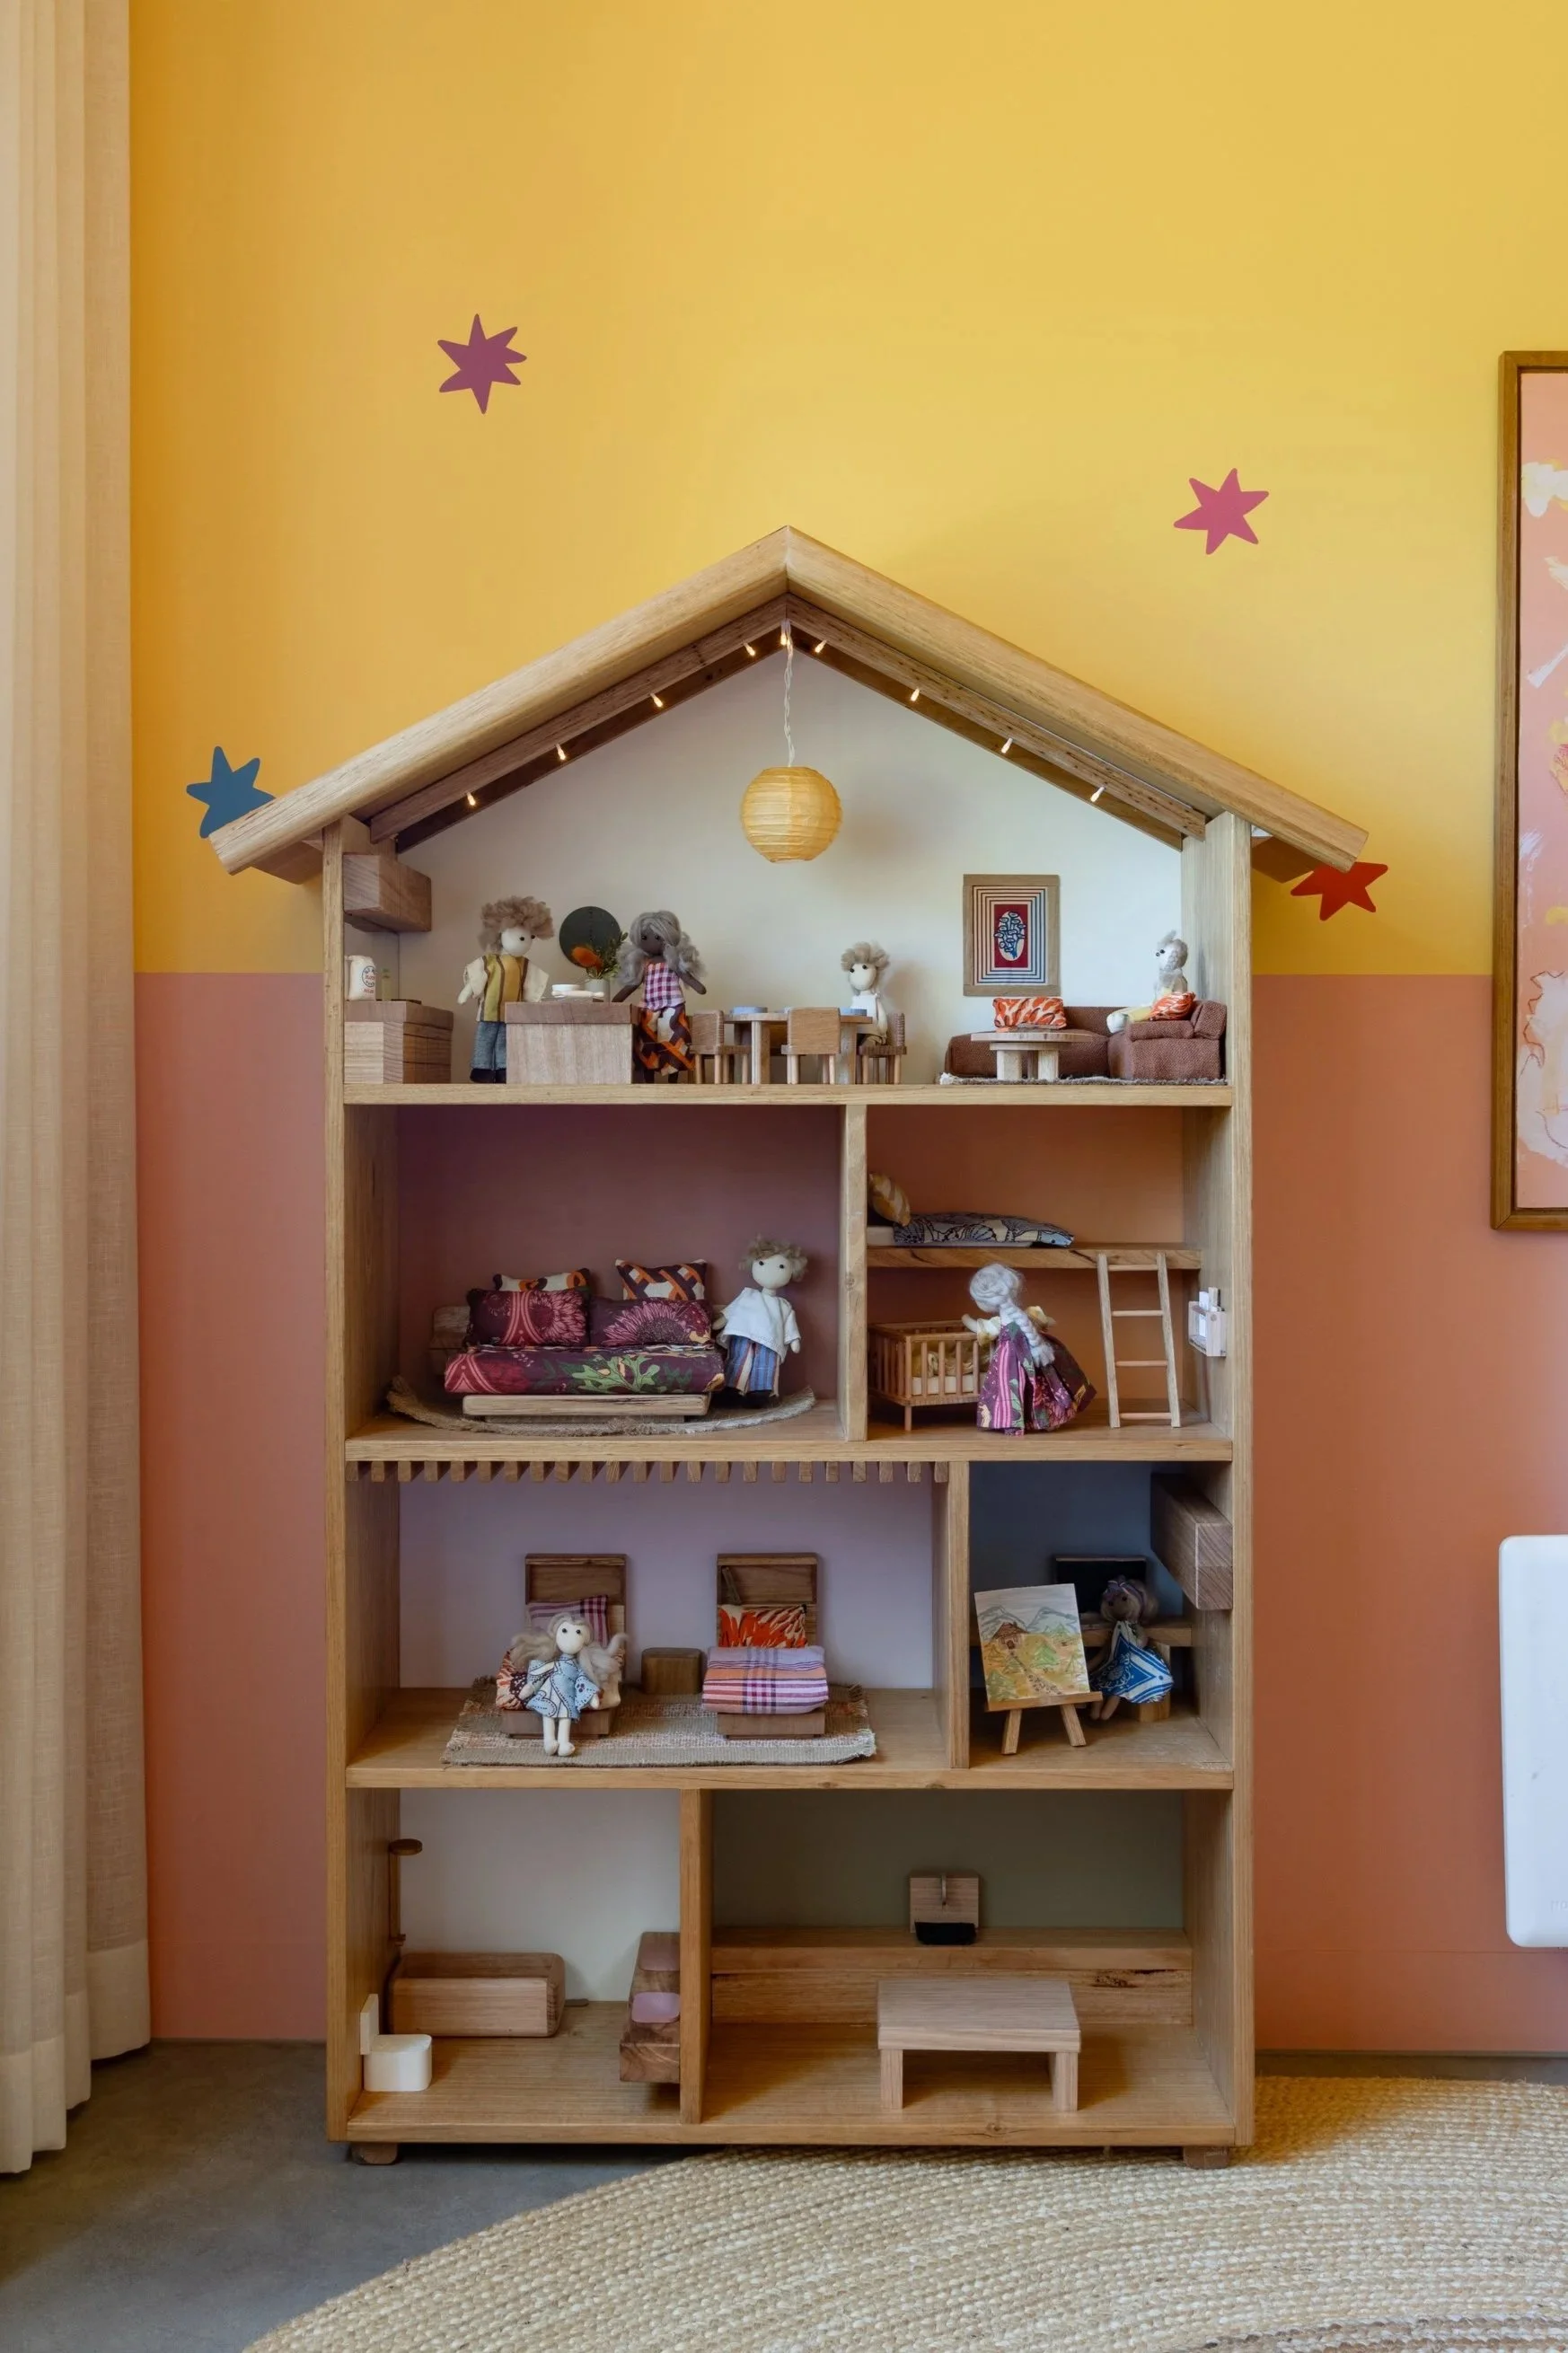
How we built a handmade dollhouse using upcycled furniture, miniature furniture, and creative DIY details, inspired by family, play, and imagination.

We recently bought an artwork from Bluethumb and i’ve curated a collection of my favourite finds. Plus, get 5% off your purchase with code alimo5. Discover original art by Aussie artists online.

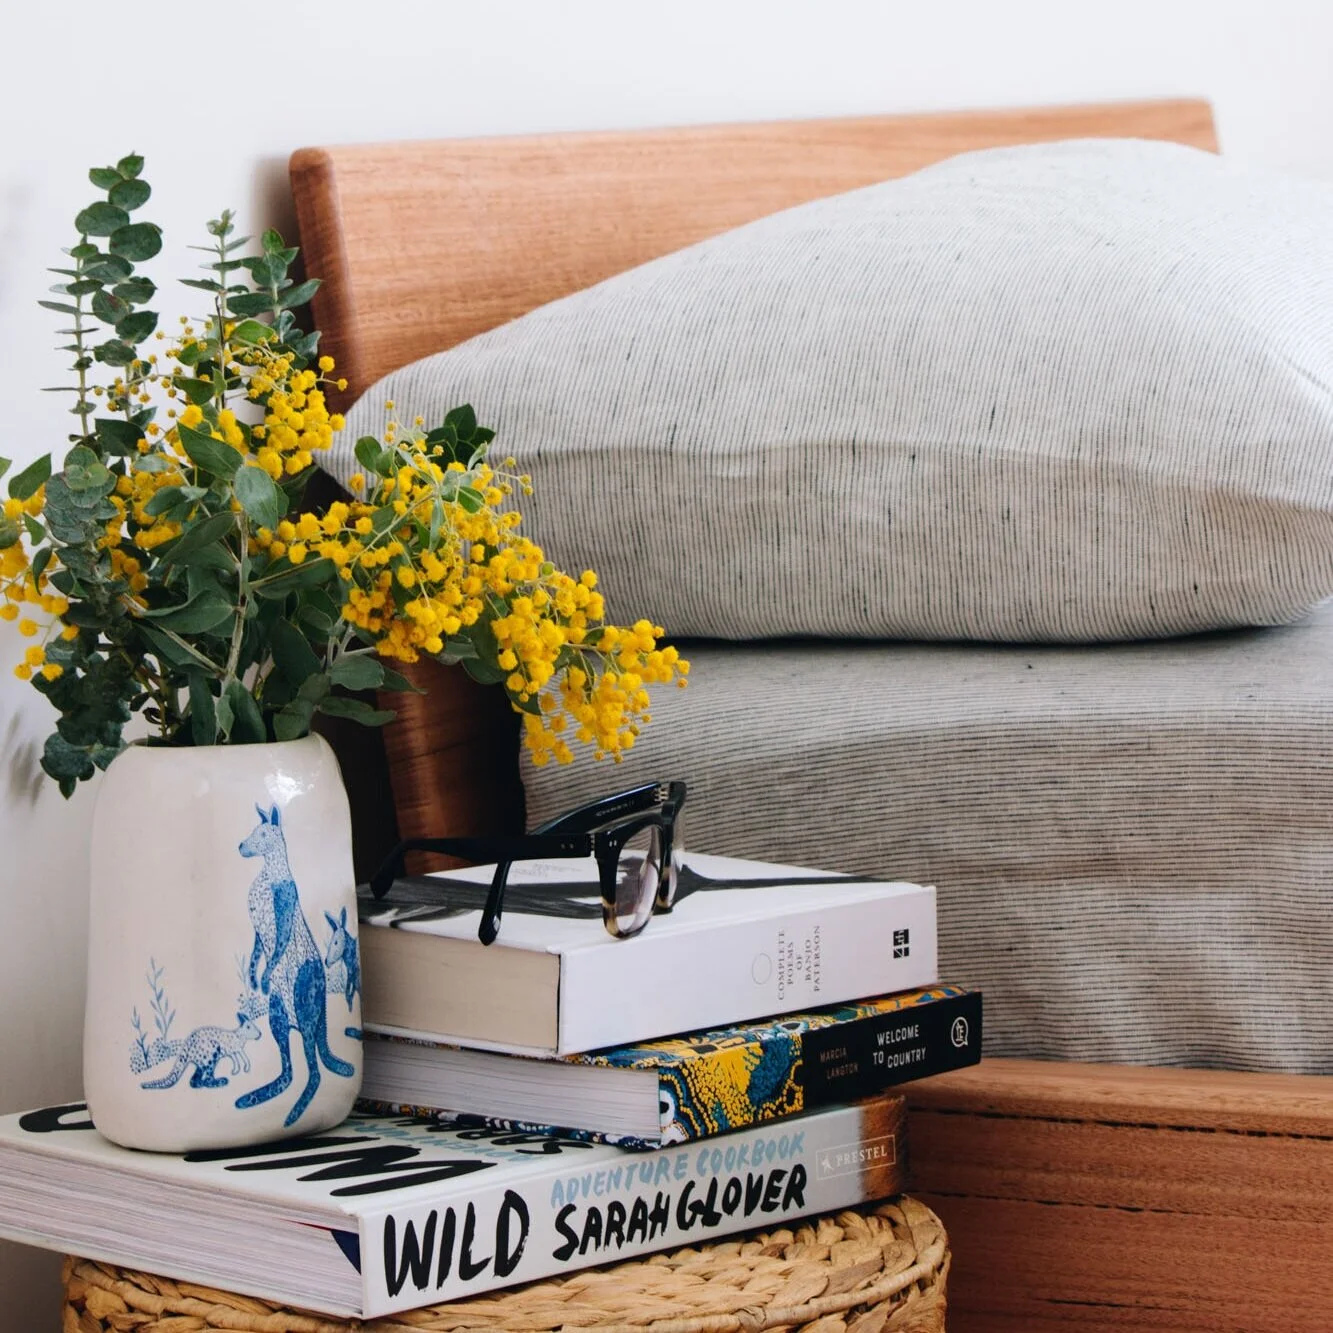
If you’re building your own little library or looking for the best books for babies and toddlers, we’ve pulled together a list of our all-time favourites. These are the ones we’ve read on repeat - the ones that always end up back in little hands.

We installed four VELUX FS Fixed Skylights (780 x 1180mm) into our pitched Colorbond roof to replace LED panels and bring in natural light. See how we did it using custom The Skylight Warehouse custom flashing kits.

After years of searching for the perfect doona, we finally found it—Bonny Doona. Soft, breathable, and made for all seasons, this is the ultimate bedding upgrade for a restful sleep.

Discover how to style your home with art and collected objects in a way that feels personal, curated, and cohesive. Follow these five simple tips to create a space that tells your unique story.

Check out how we turned an old cubbyhouse we found on Facebook Marketplace into a cafe to inspire imaginative play!

See how we transformed $100 Facebook Marketplace dining chairs into timeless hardwood beauties. A sustainable upcycling project that saves furniture from landfill while creating unique, durable pieces.
Imogen Gilchrist is a creative director, Squarespace website designer and social media strategist who loves good design & good people.