How We Transformed Our Home’s Exterior with Timber Batten Cladding: A Step-by-Step Guide
Photography & Styling
Imogen Roberts
Why We Chose Iron Oak for our cladding:
Initially, we planned to use native Silvertop Ash for our cladding. However, due to recent changes in Victoria’s regulations, sourcing native timber has become increasingly difficult. With reduced logging licenses and stricter environmental protections, obtaining Silvertop Ash wasn’t feasible. This led us to IronOak a high-quality imported hardwood.
Blonde in colour and built to withstand Australia’s tough climate, IronOak H3 Treated American Oak by ASH was the perfect choice for our exterior cladding—offering both durability and a beautiful finish. We chose a 42mm x 19mm batten profile which we ordered through Bowens and had delivered straight to our door.
In this guide, we’ll walk you through the step-by-step process we followed to install the timber cladding, from prepping the structure to adding the final touches. With the right tools and careful planning, you'll get a professional-looking finish that’s built to last.
Tools:
Safety gear (eye & ear protection)
Pencil
Measuring Tape
Level
Straight Edge
Fixing Gun
Drill(s)
Circular Saw
Jigsaw
Planer
Orbital Sander
Paintbrush
Materials:
19 x 42 IronOak Timber Battens
End Grain Sealer
Stainless Steel Fixing Nails
Bremick Fasteners Stainless Steel Screws
Packers
End Grain Sealer
Step-by-Step Guide Exterior Timber Cladding
1. Foundation
During the build, the house was clad in durable James Hardie Fibre Cement sheets, a material known for its strength and ability to withstand harsh weather conditions. These sheets provide a smooth base, which we painted with Tint Paint's “No Battery” Exterior Paint—which is a true black that matches the Colorbond “Night Sky” cladding used throughout the house.
2. Straightening the walls & horizontal battens
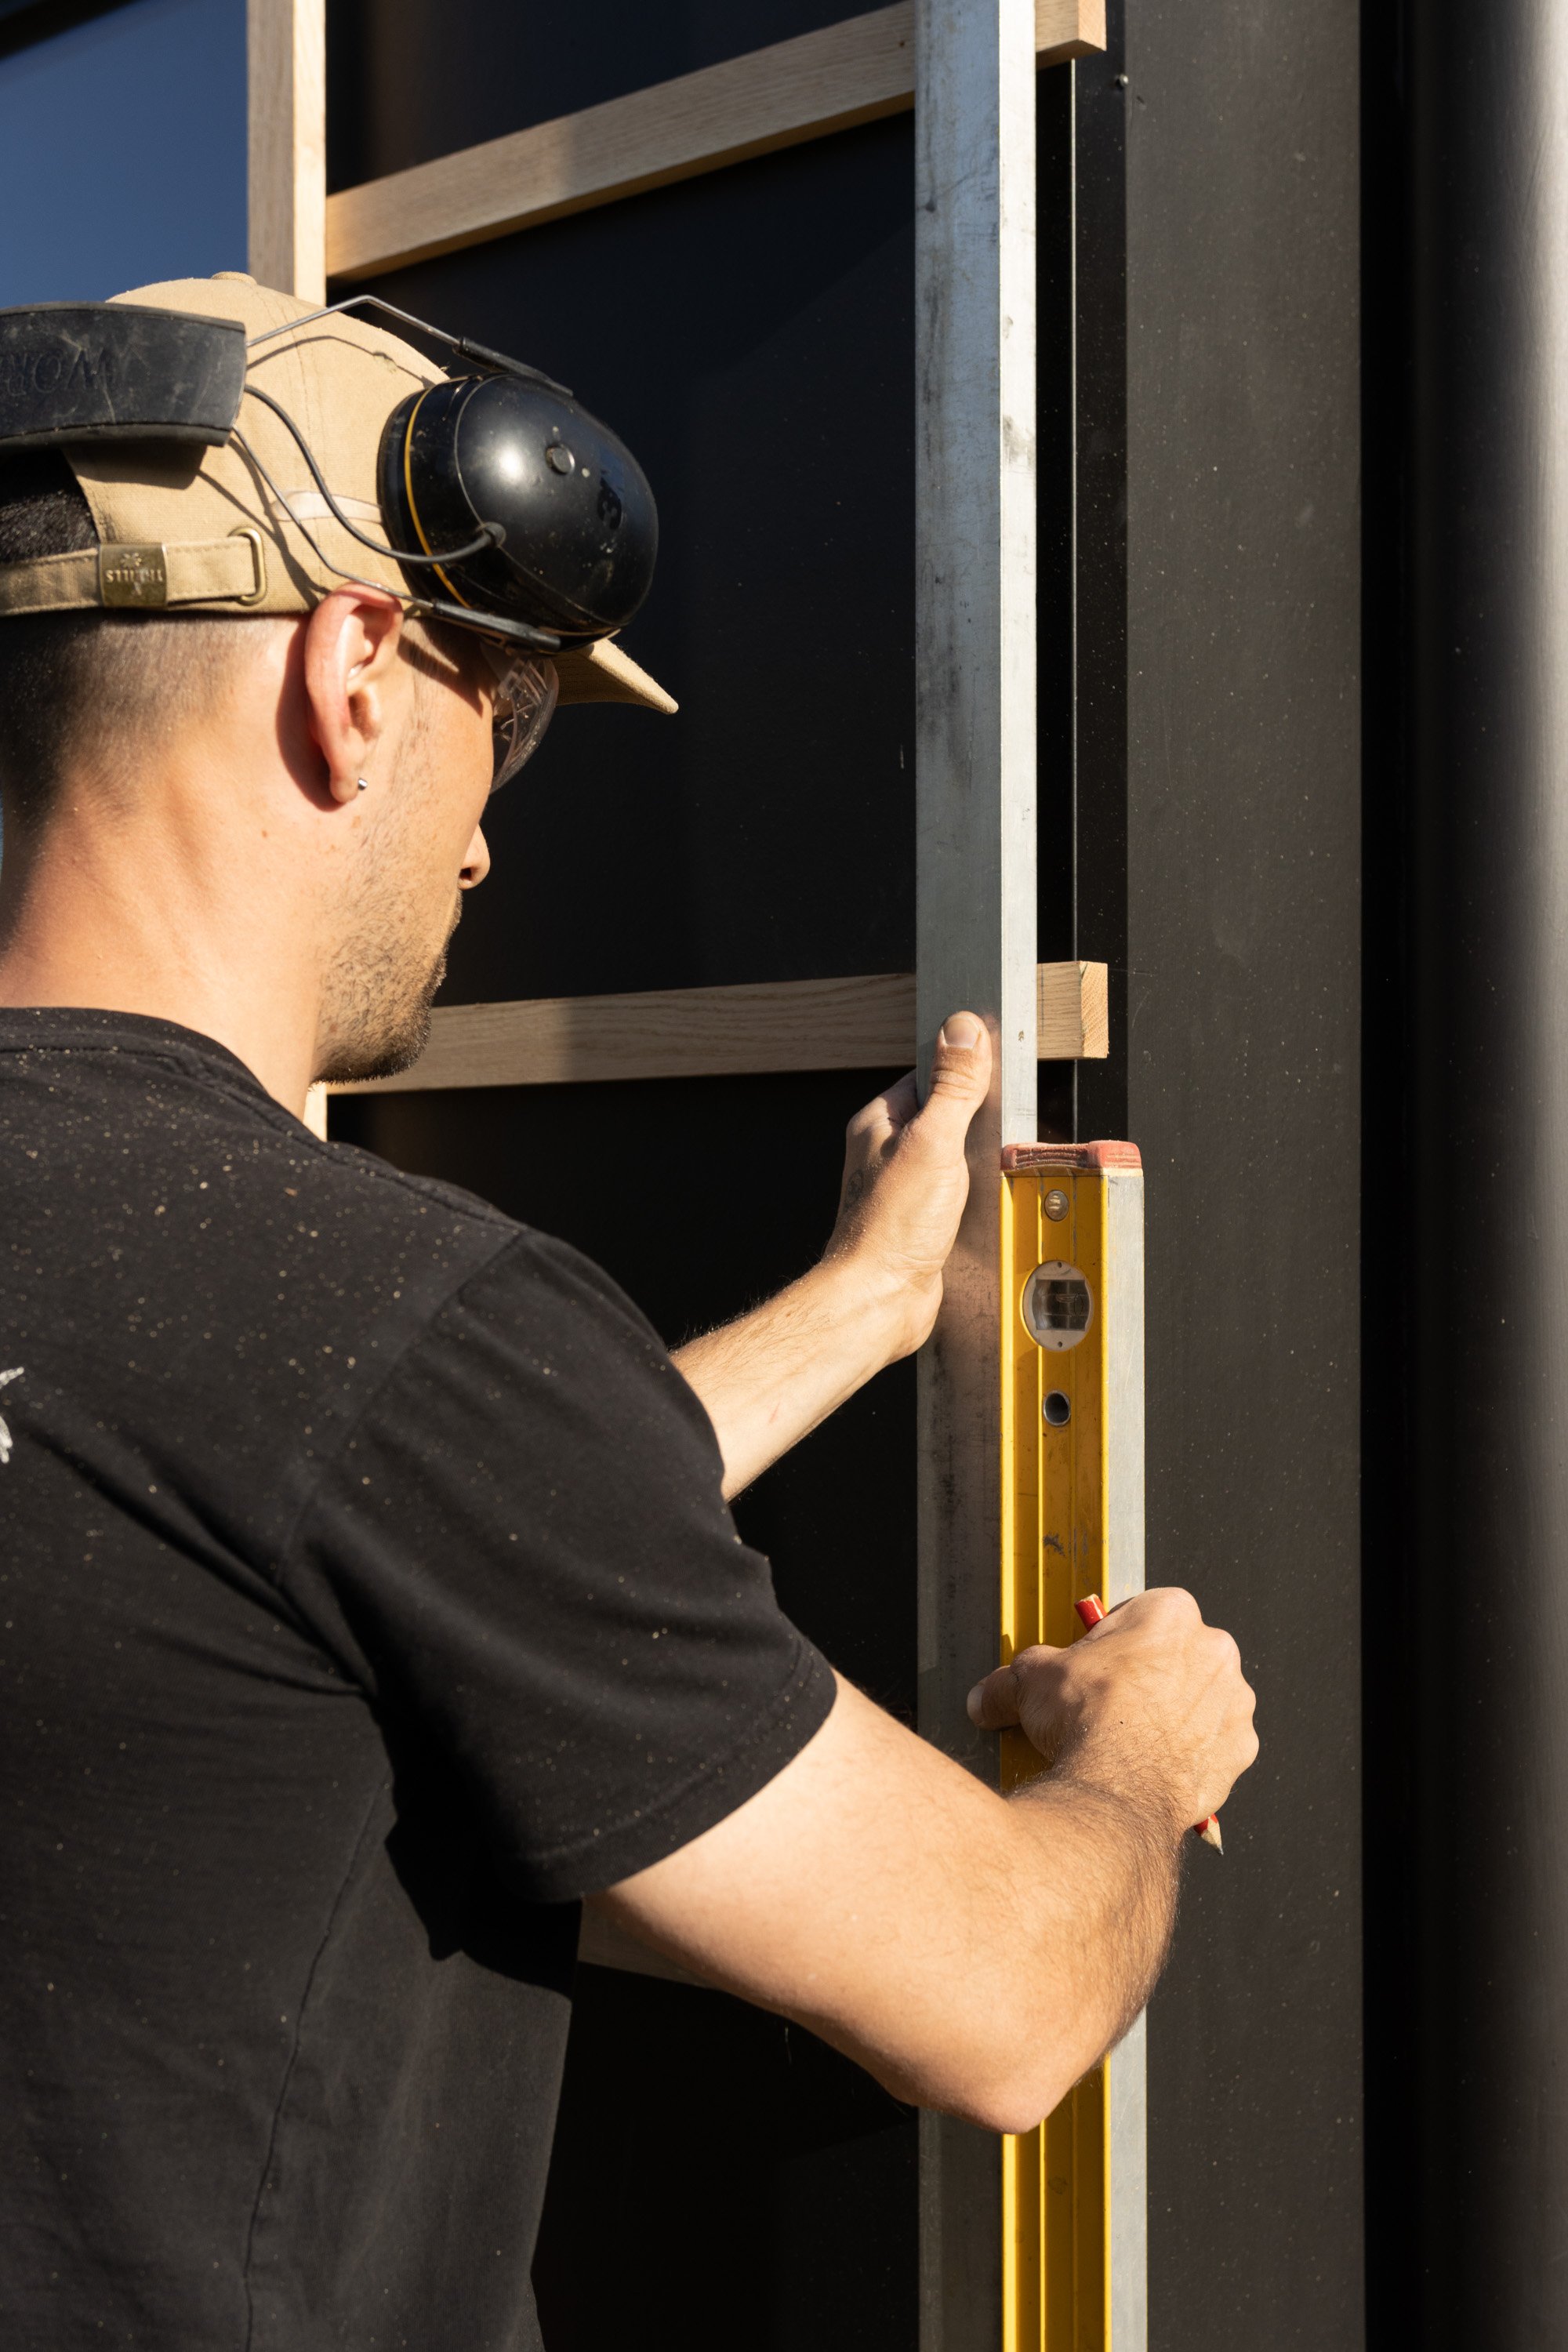
Before cladding, I needed to ensure the walls were perfectly straight to achieve a seamless, polished look. This process involved checking for dips and bumps in the cladding, using packers to even it out i then applied my horizontal batten. To ensure even spacing of our horizontal timber battens, Imo and I flicked chalk lines along the wall as guides. These lines helped keep each batten straight and created a solid and precise foundation for the vertical battens to fix to. Straightening the walls may be time-intensive, but it’s essential for a high-quality finish, as even minor bumps can throw off the alignment and compromise the look of the exterior. Taking this extra step laid the groundwork for a seamless installation.
3. Adding the vertical battens
With the walls prepped and straightened, I moved on to installing the vertical battens as the final layer of our cladding. To achieve a precise, uniform look, I began by fixing my end battens on first then the ones beside each window or door opening, then i measured and figured out the spacings to the nearest 70mm centres. I then marked every 7th or 8th batten along the wall and pinned each batten into position with my nail gun. Then i used spacer blocks to fill in the battens in between. I attached each batten with stainless steel screws to the horizontal battens, making sure my screw lines were straight by using a string line while i was pre drilling the holes, taking care to maintain clean, consistent lines across the whole exterior.
4. Cutting off the tops
To ensure optimal water runoff and prevent moisture buildup, I cut the tops of the vertical battens on a 15 degree angle using a track saw. This angled cut allows rainwater to drain away effectively rather than pooling on top of the battens. After making the cuts, I applied an end-grain sealer to each exposed end, providing an extra layer of protection. This step not only enhances the durability of the battens but also helps maintain their appearance over time.
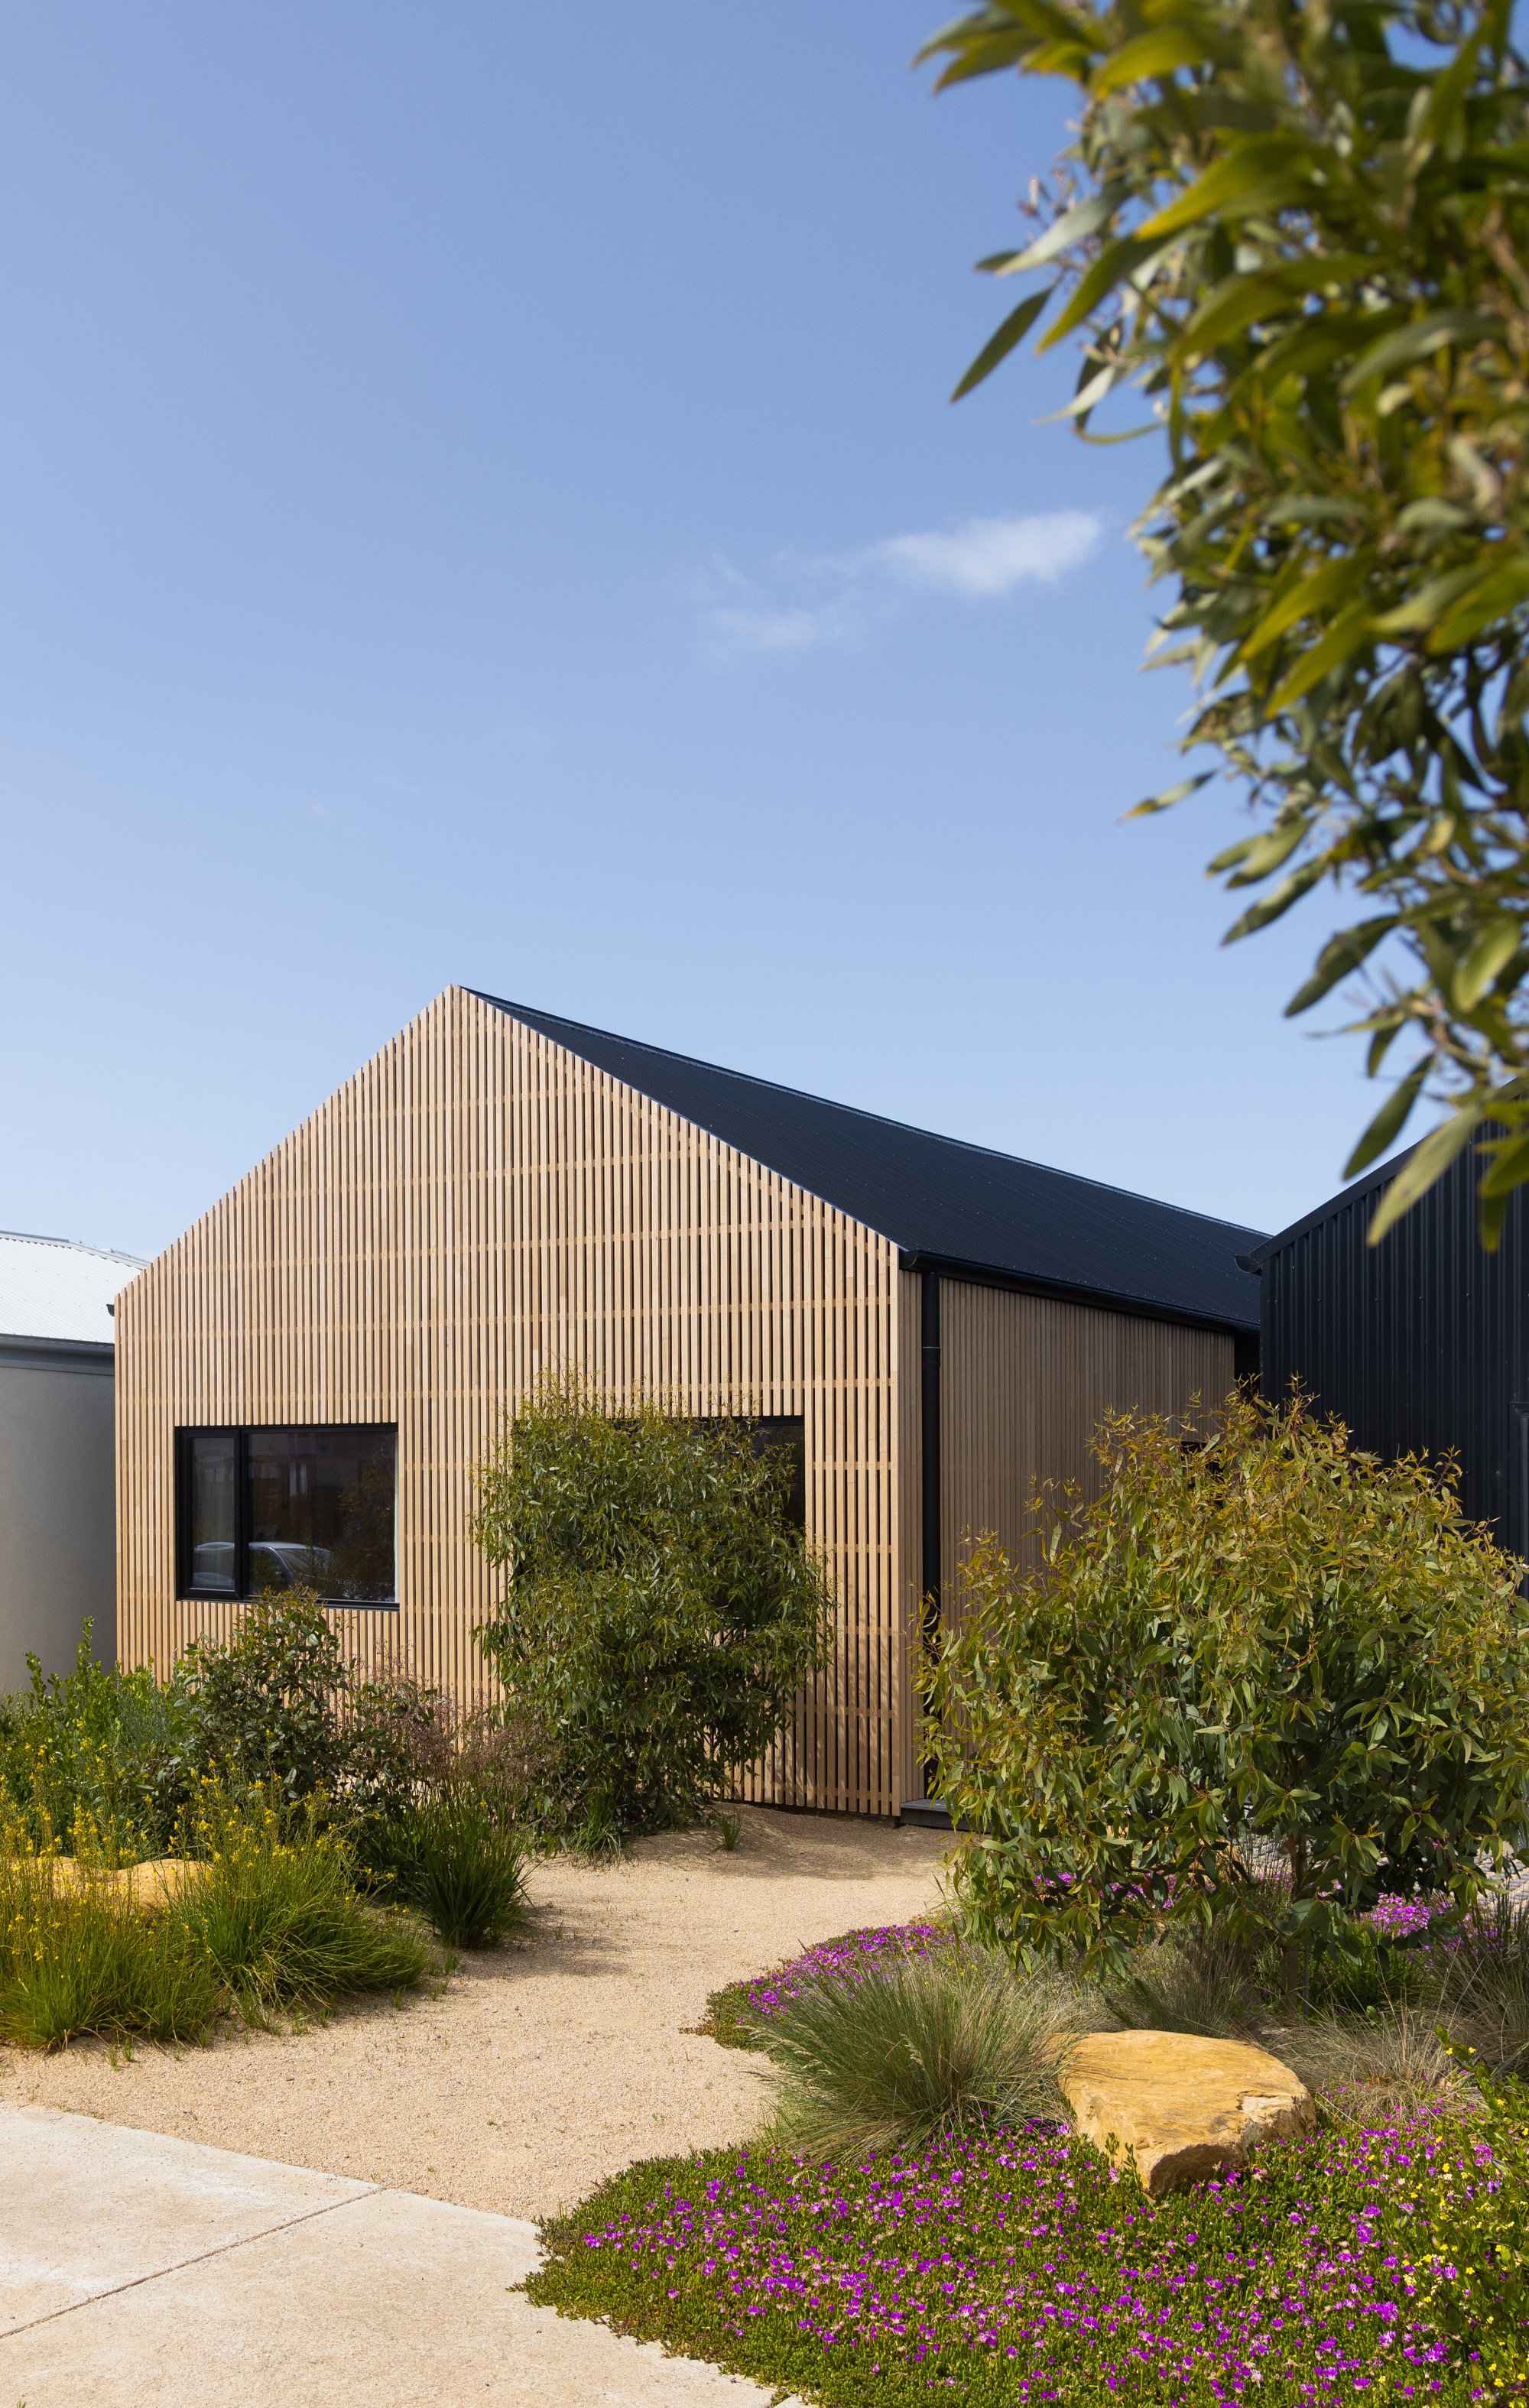
5. The finished result
Finally, the vision for our home is a reality! The design created by our builder, Sherriff Constructions, over three years ago has come to life, and we’re so grateful to Bowens for their assistance in sourcing the timber cladding. Watching everything come together has been incredibly satisfying, and strapping on my tool belt to do the carpentry work made the process even more rewarding.
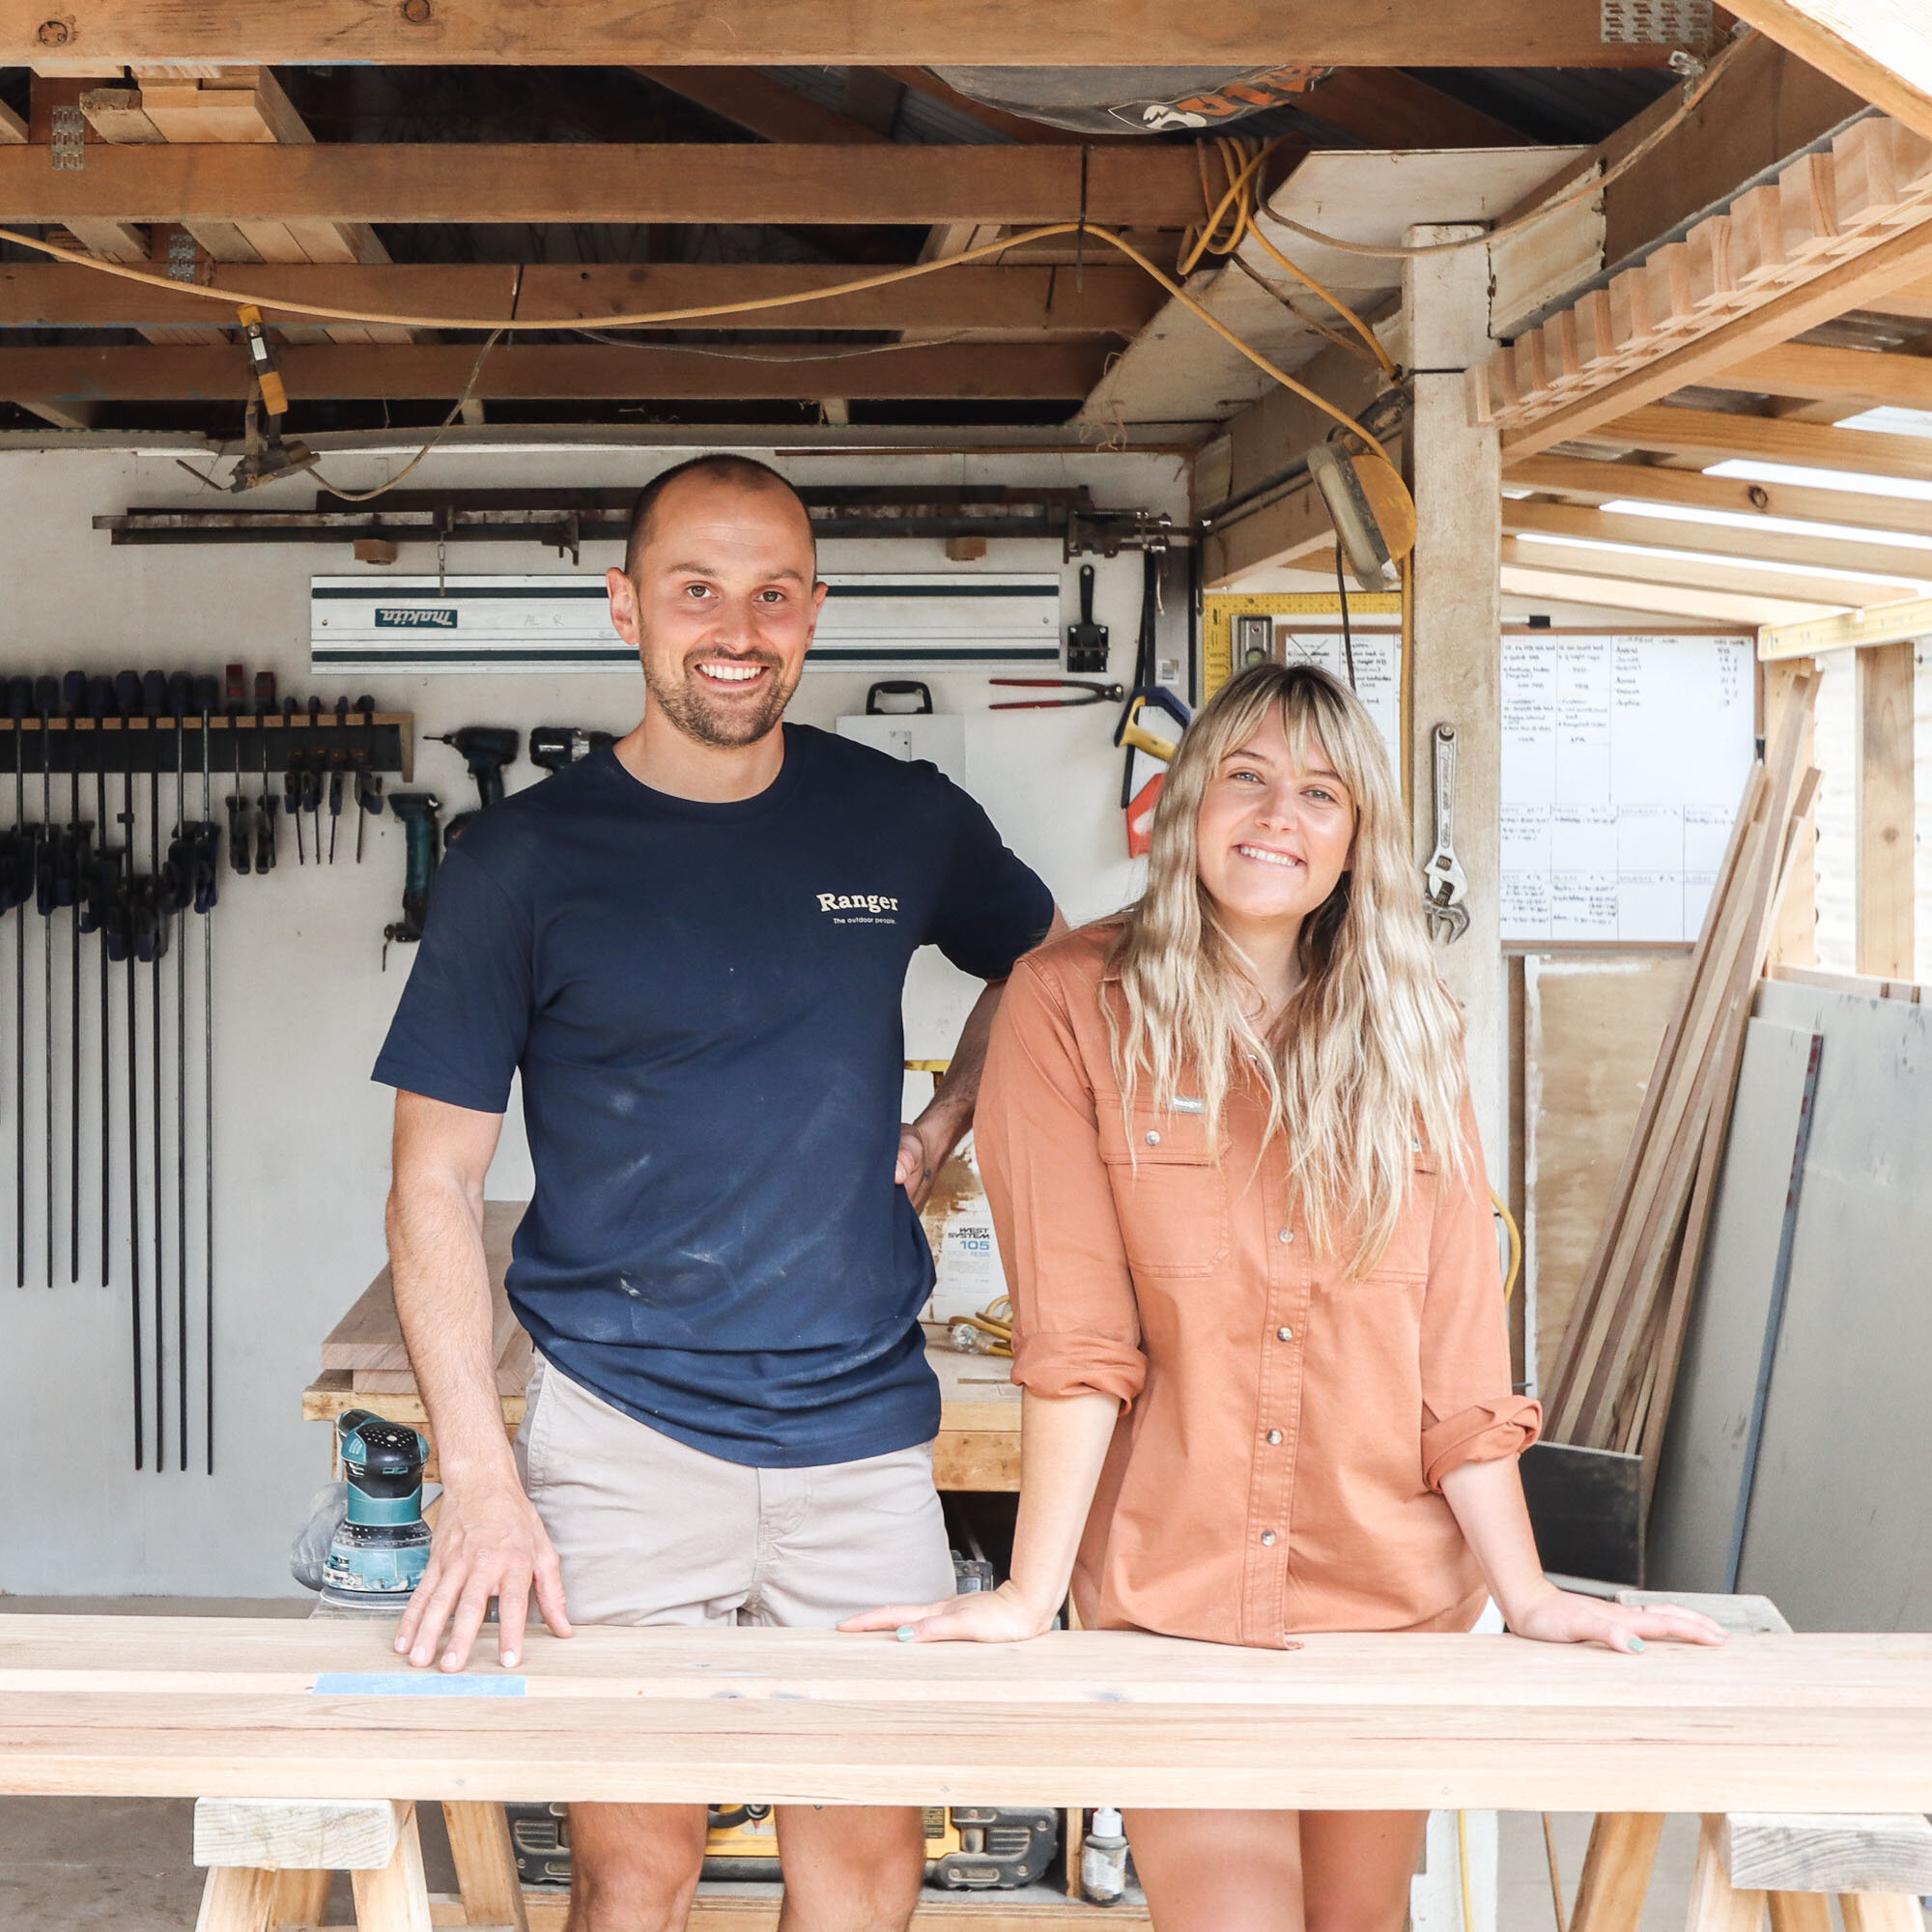
G’day! We’re Al + Imo
We’re a husband and wife duo, building our dream life one DIY project at a time.
We firmly believe what you learn should be shared which is why we created our Journal. A place where you can learn new skills and be inspired by other creatives.


