
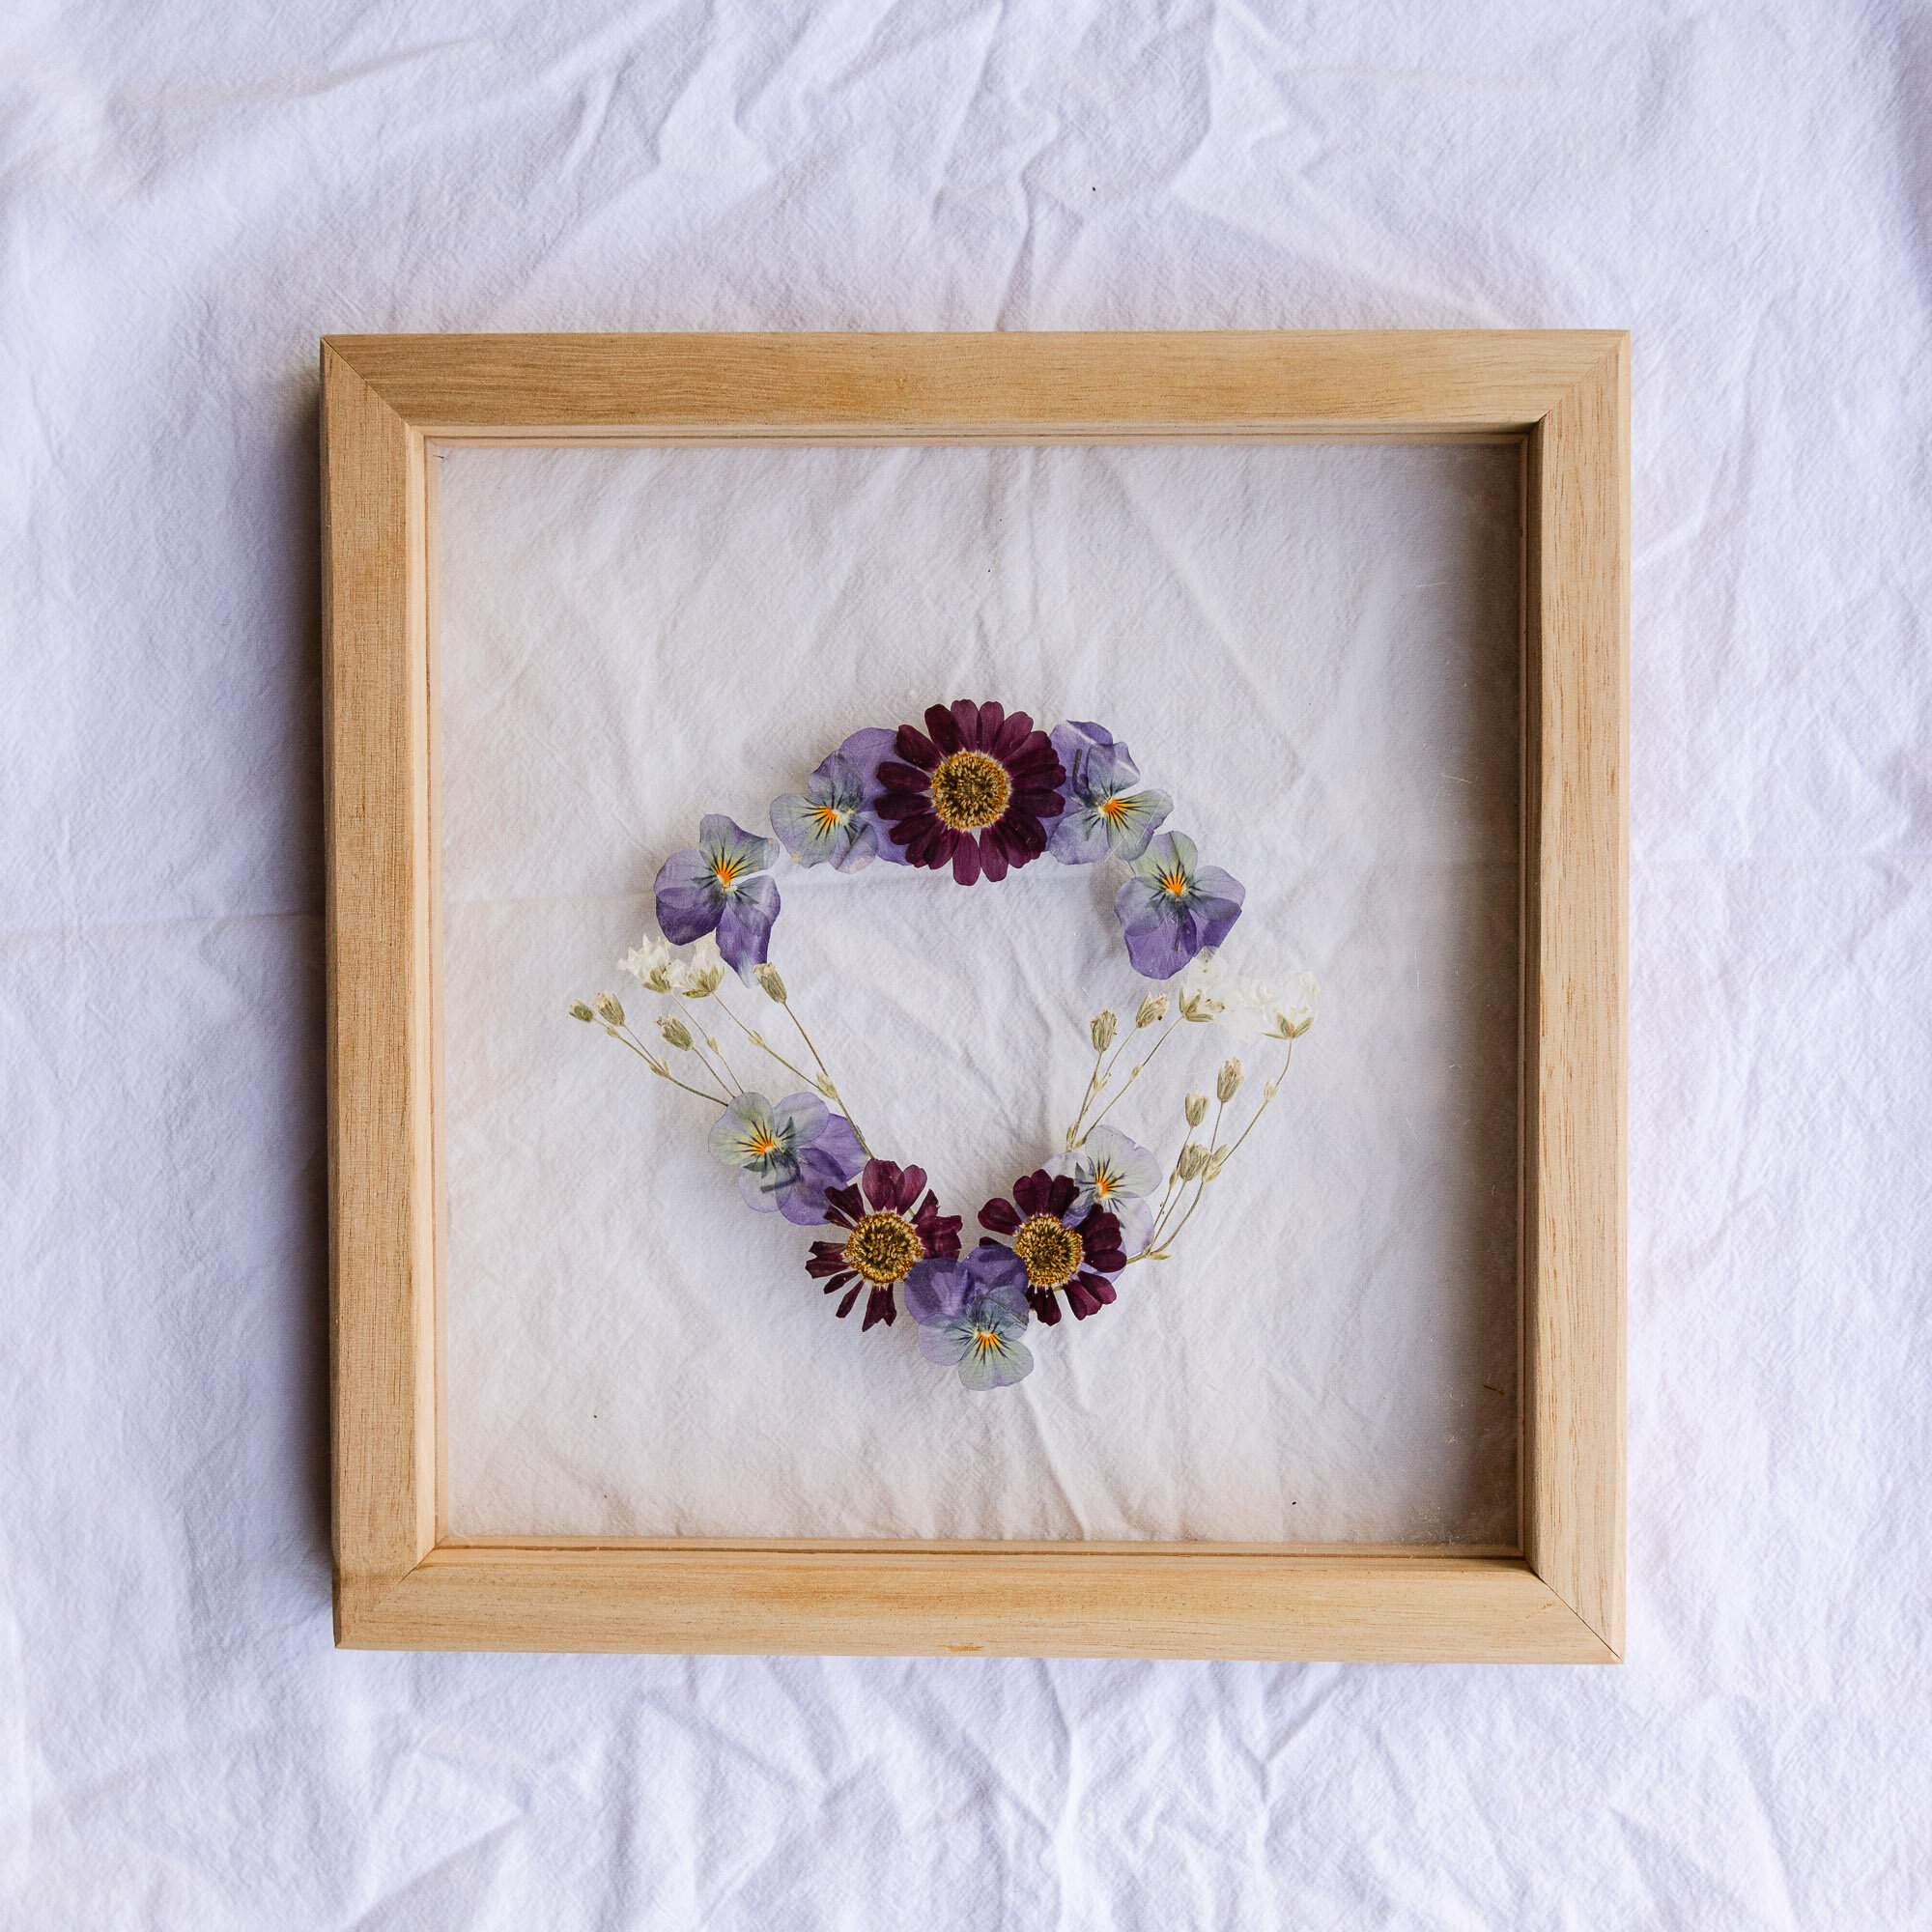
How To Frame Pressed Flowers DIY
Step by step instructions to turn your pressed flowers into art.
G'day guys we're back in the workshop this week for another Al and Imo DIY project.
Today I am going to show you how to make these timber frames to turn your pressed flowers into artwork. If you missed my flower press DIY video here's the link to check it out.
Al and I are expecting our first baby in May 2021 and I was inspired to press flowers and frame them for her nursery.
I love this project as it’s affordable, quick to whip up and the finished product looks really beautiful. This is a great project to make for yourself, or turn your children’s flowers into art or give as a gift leading up to Christmas.
Make sure to subscribe to us on YouTube or sign up to our mail list to receive these DIY projects straight to your inbox.
See you next Friday for another DIY project as part of our Christmas Gift Series!
AL + IMO


“I love this project as it’s affordable, quick to whip up and the finished product looks really beautiful.”
TOOLS
TAPE MEASURE
PENCIL
SQUARE
TABLE SAW OR CIRCULAR SAW
NAIL GUN
SANDER OR SANDPAPER
PROTECTIVE GEAR
SAFETY GLASSES
EAR PROTECTION
TIMBER
HARDWOOD TIMBER
2mm PERSPEX
MATERIALS
PRESSED FLOWERS

Step 1.
For this project all you will need is a length of timber for the frame, we used Vic Ash hardwood and either perspex or glass. The beauty about this project is that pretty much anything goes so you can decide the sizes of your frames and timber you’d like to use and just follow these steps below.
Step 2.
I measured and made a note of the size of my internal pieces - in my case 2 pieces of 2mm perspex and used this as my size guide and decided to create a 4mm cut out.
Step 3.
I marked my timber 4mm x 4mm in the centre and set my table saw using my mark as a guide. You could also use a circular saw to make your cuts.
I ran my pieces through the table saw creating the cut out.
Step 4.
To cut my mitres I set my drop saw to 45 degrees and cut my first mitre making sure to run the blade through really slowly and once cut through letting the blade slow down before pulling it out to ensure a really clean cut.
From the shorter edge I measured my frame width, made a mark and using my set square drew my 45 degree angle. Using the drop saw I made sure to cut on the outside of the line, again guiding the blade through slowly.
Repeat this step until all four sides are cut.
Step 5.
I sanded my timber smooth using my orbital sander and then used hand sandpaper for the edges. If you want to seal your frame I would do it now as once the perspex is in it’ll be a little tricky.
Step 6.
We measured, scored and snapped the perspex to size making sure to leave the film on the sheets so you don’t scratch the surface.
Step 7.
We measured, scored and snapped the perspex to size making sure to leave the film on the sheets so you don’t scratch the surface.
Step 8.
I created my art with the pressed flowers which I'd definitely suggest doing in a dust-free area.
Next time i’ll use a tiny bit of glue to keep them in place because they can move around a little when adding the second layer of perspex on top - but it wasn’t too tricky.
Step 9.
I clamped and nailed together 3 of my corners and then slid in my artwork into the grooves and nailed the final 2 corners in place.
I then punched in any protruding nails.
Step 10.
I loved the colour of the raw timber, but if I do decide to seal it in the future I'll tape up the artwork to make sure it doesn’t ruin the perspex.
And that’s it! These are lovely to hang in your home or give as a beautiful handmade Christmas gift.
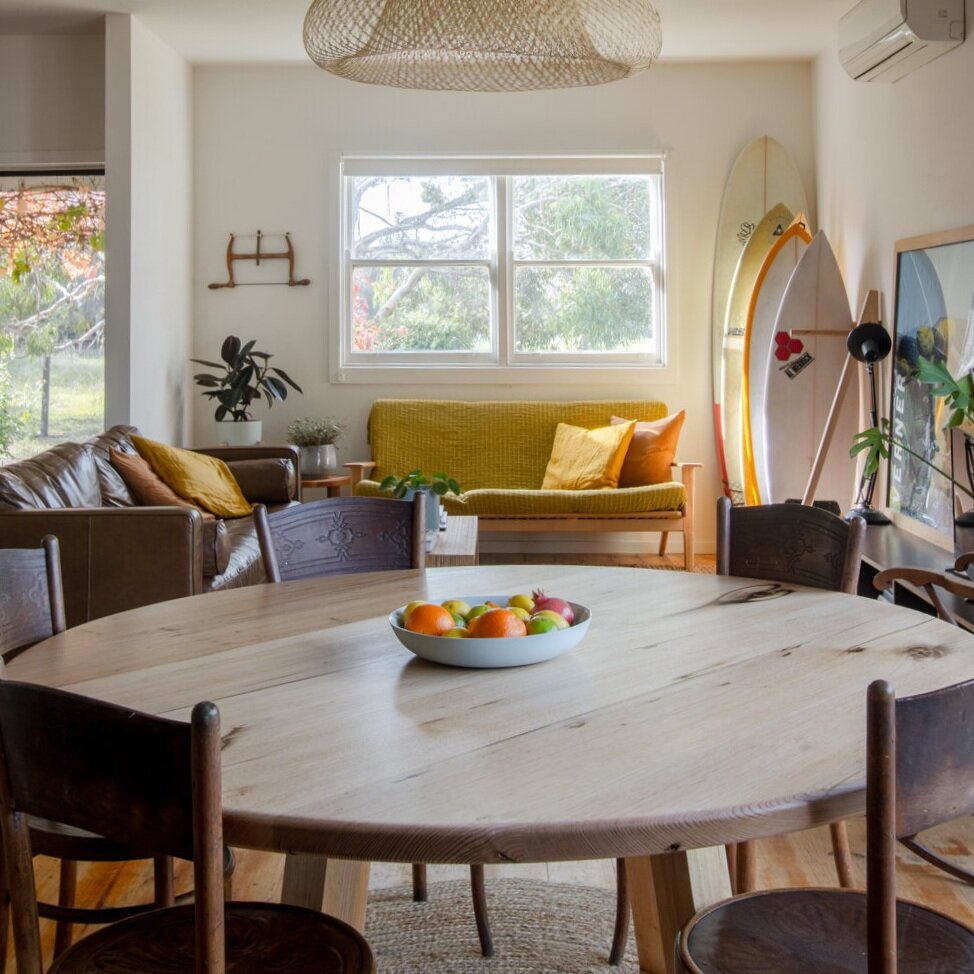
More Home Styling Tips


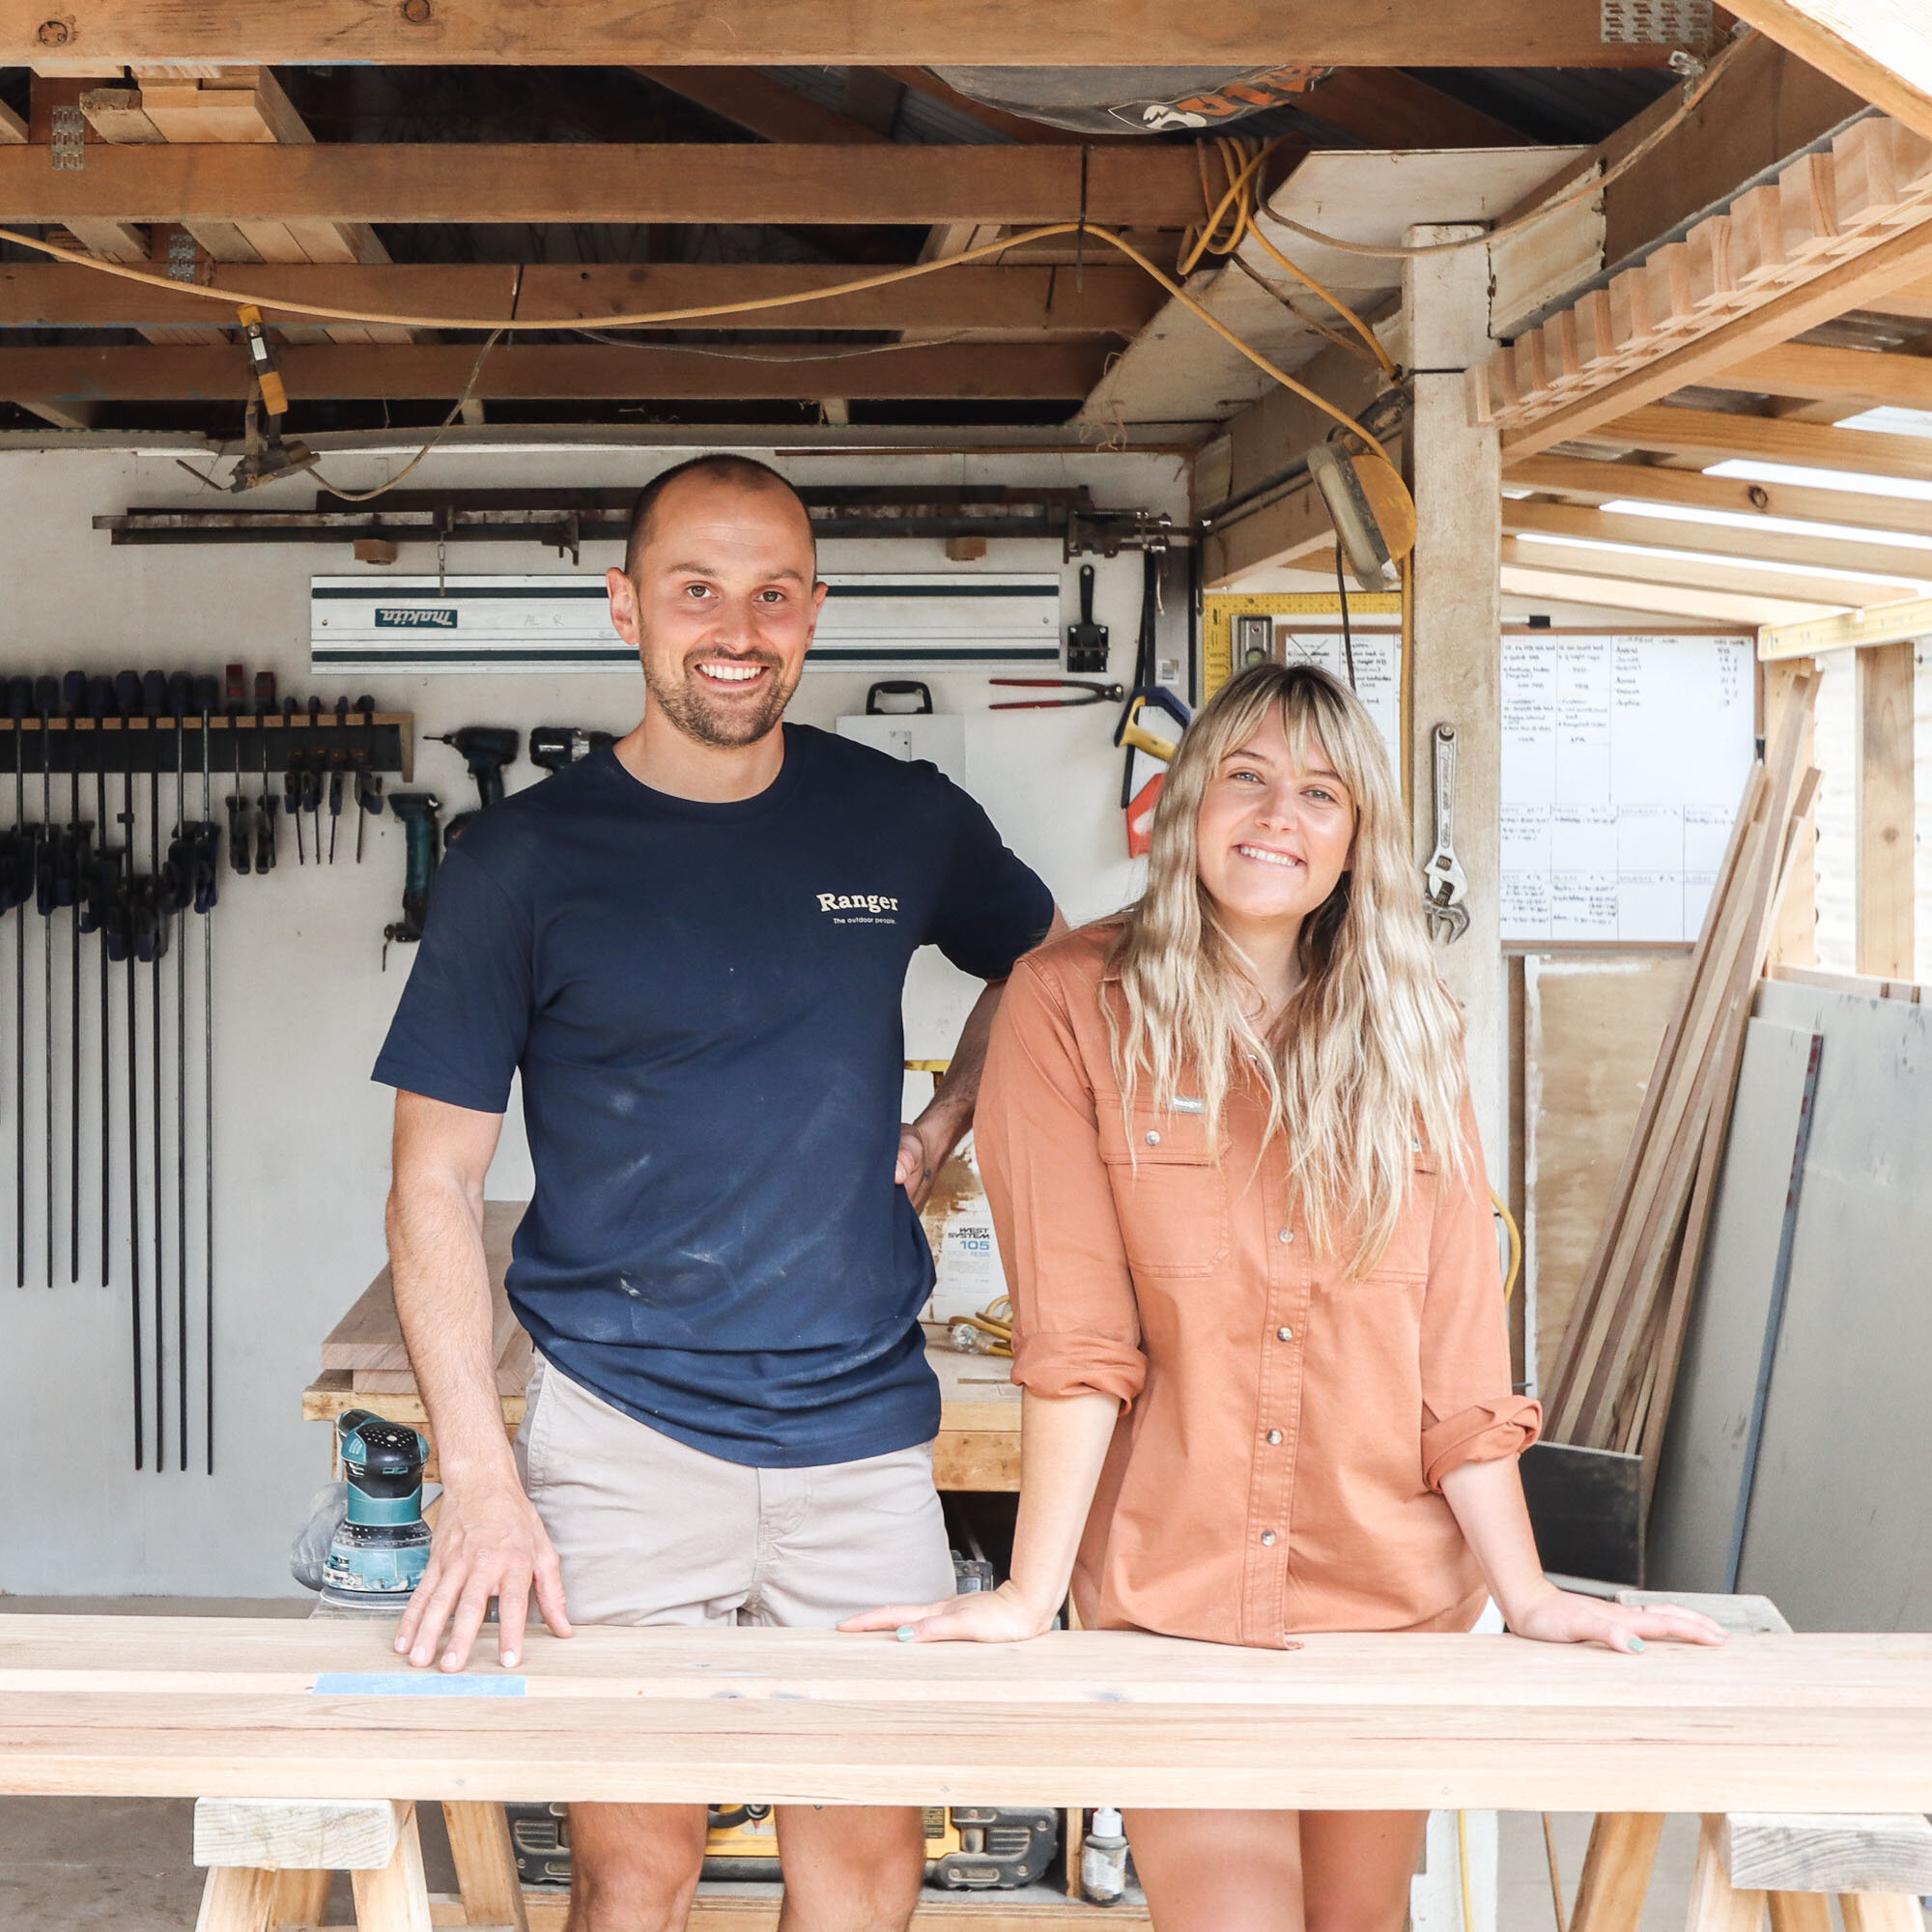
Hey!
We’re Al + Imo
We’re a husband and wife duo, building our dream life one DIY project at a time. We are proudly self-taught, furniture-makers, business owners, designers and stylists.
DIY RUNS IN OUR DNA
We firmly believe what you learn should be shared which is why we created our Journal. A place where you can learn new skills and be inspired by other creatives.
Top Categories


On The Journal.
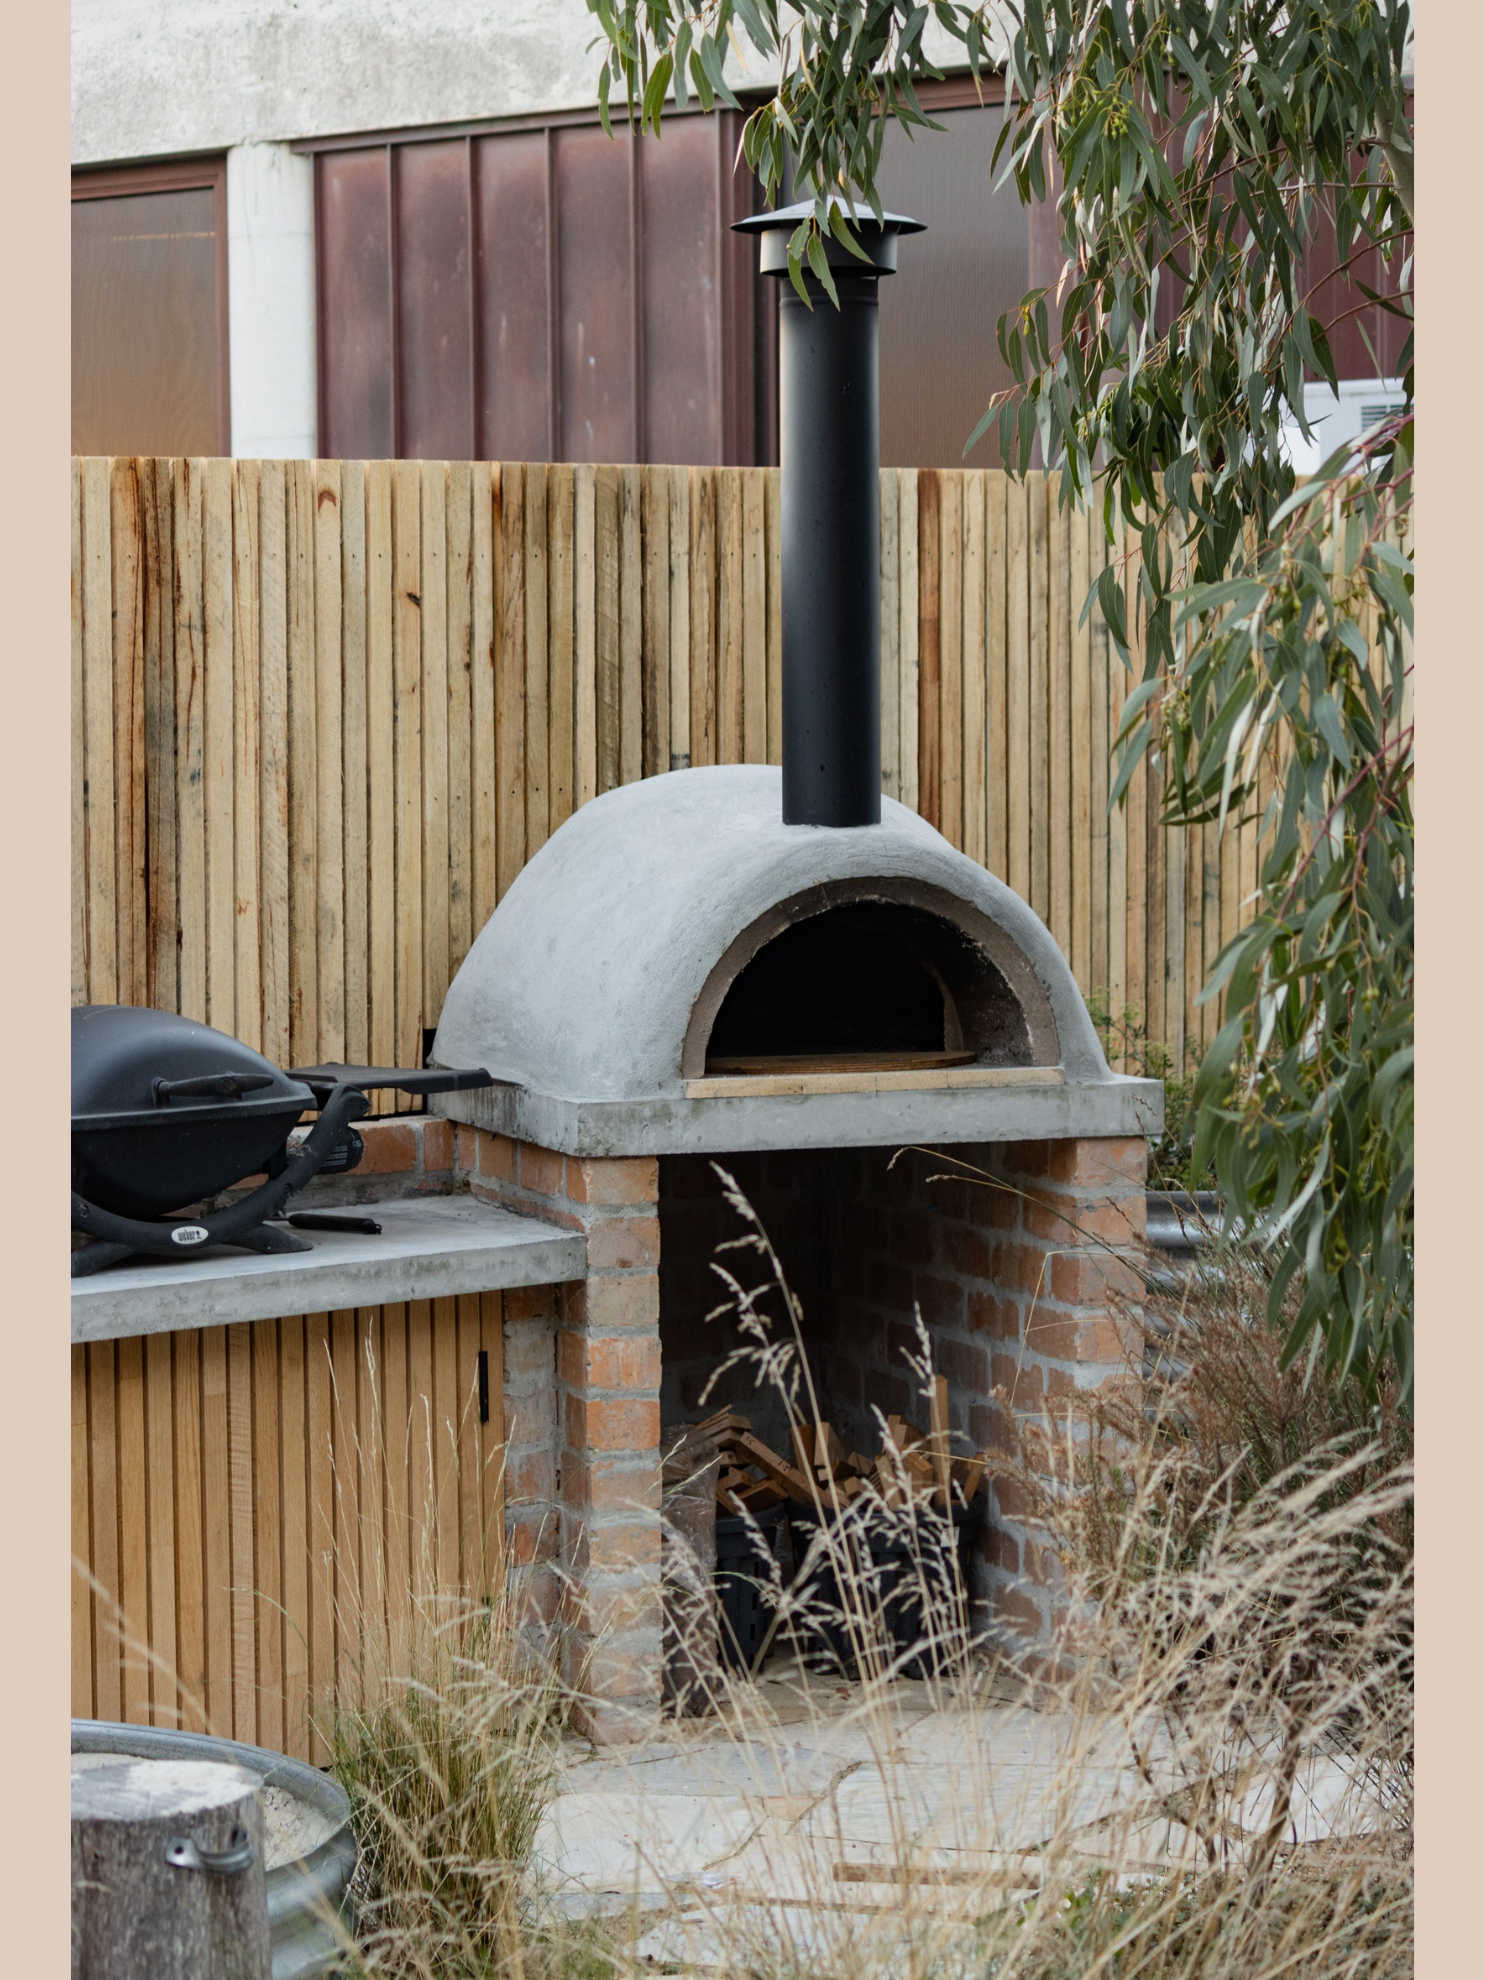
Building a backyard pizza oven from scratch using fire bricks, a simple dome mould, and refractory cement. Follow our step-by-step process and get inspired for outdoor entertaining, wood-fired cooking, and DIY projects at home.
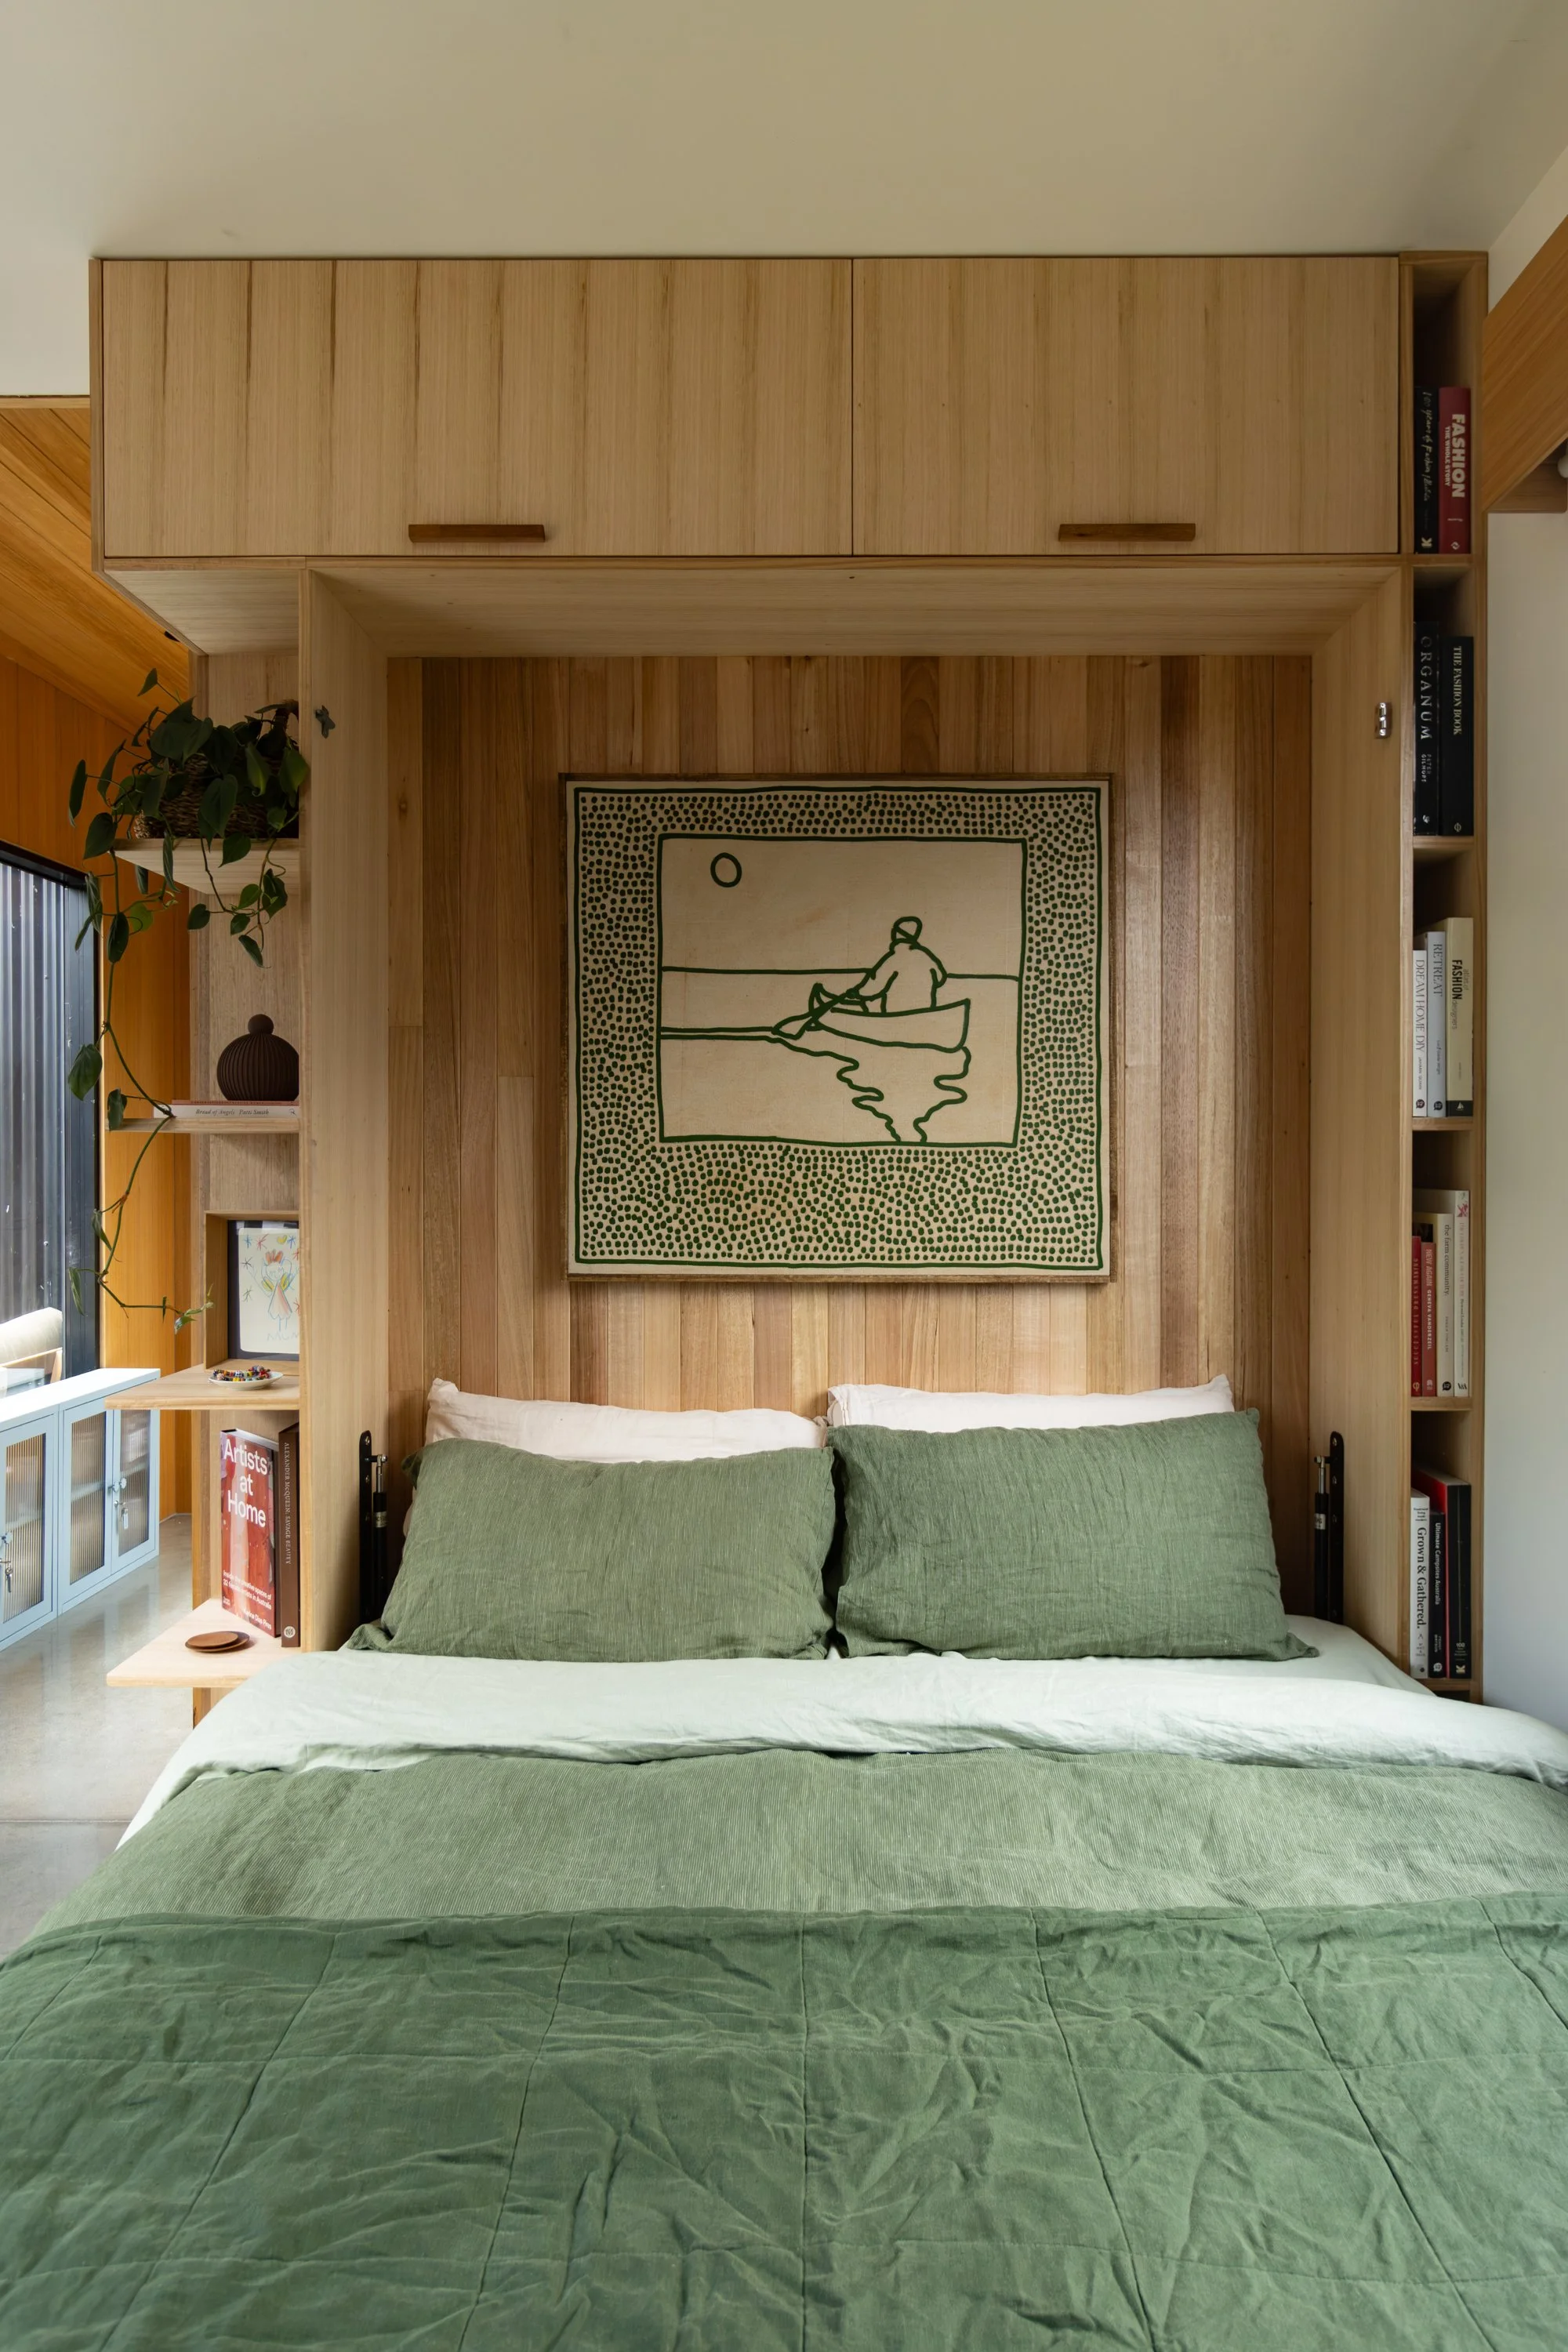
A wall bed (also known as a Murphy bed) lets the room function as a studio most of the time, but quickly converts into a comfortable bedroom when guests arrive. Here’s exactly how we built ours.
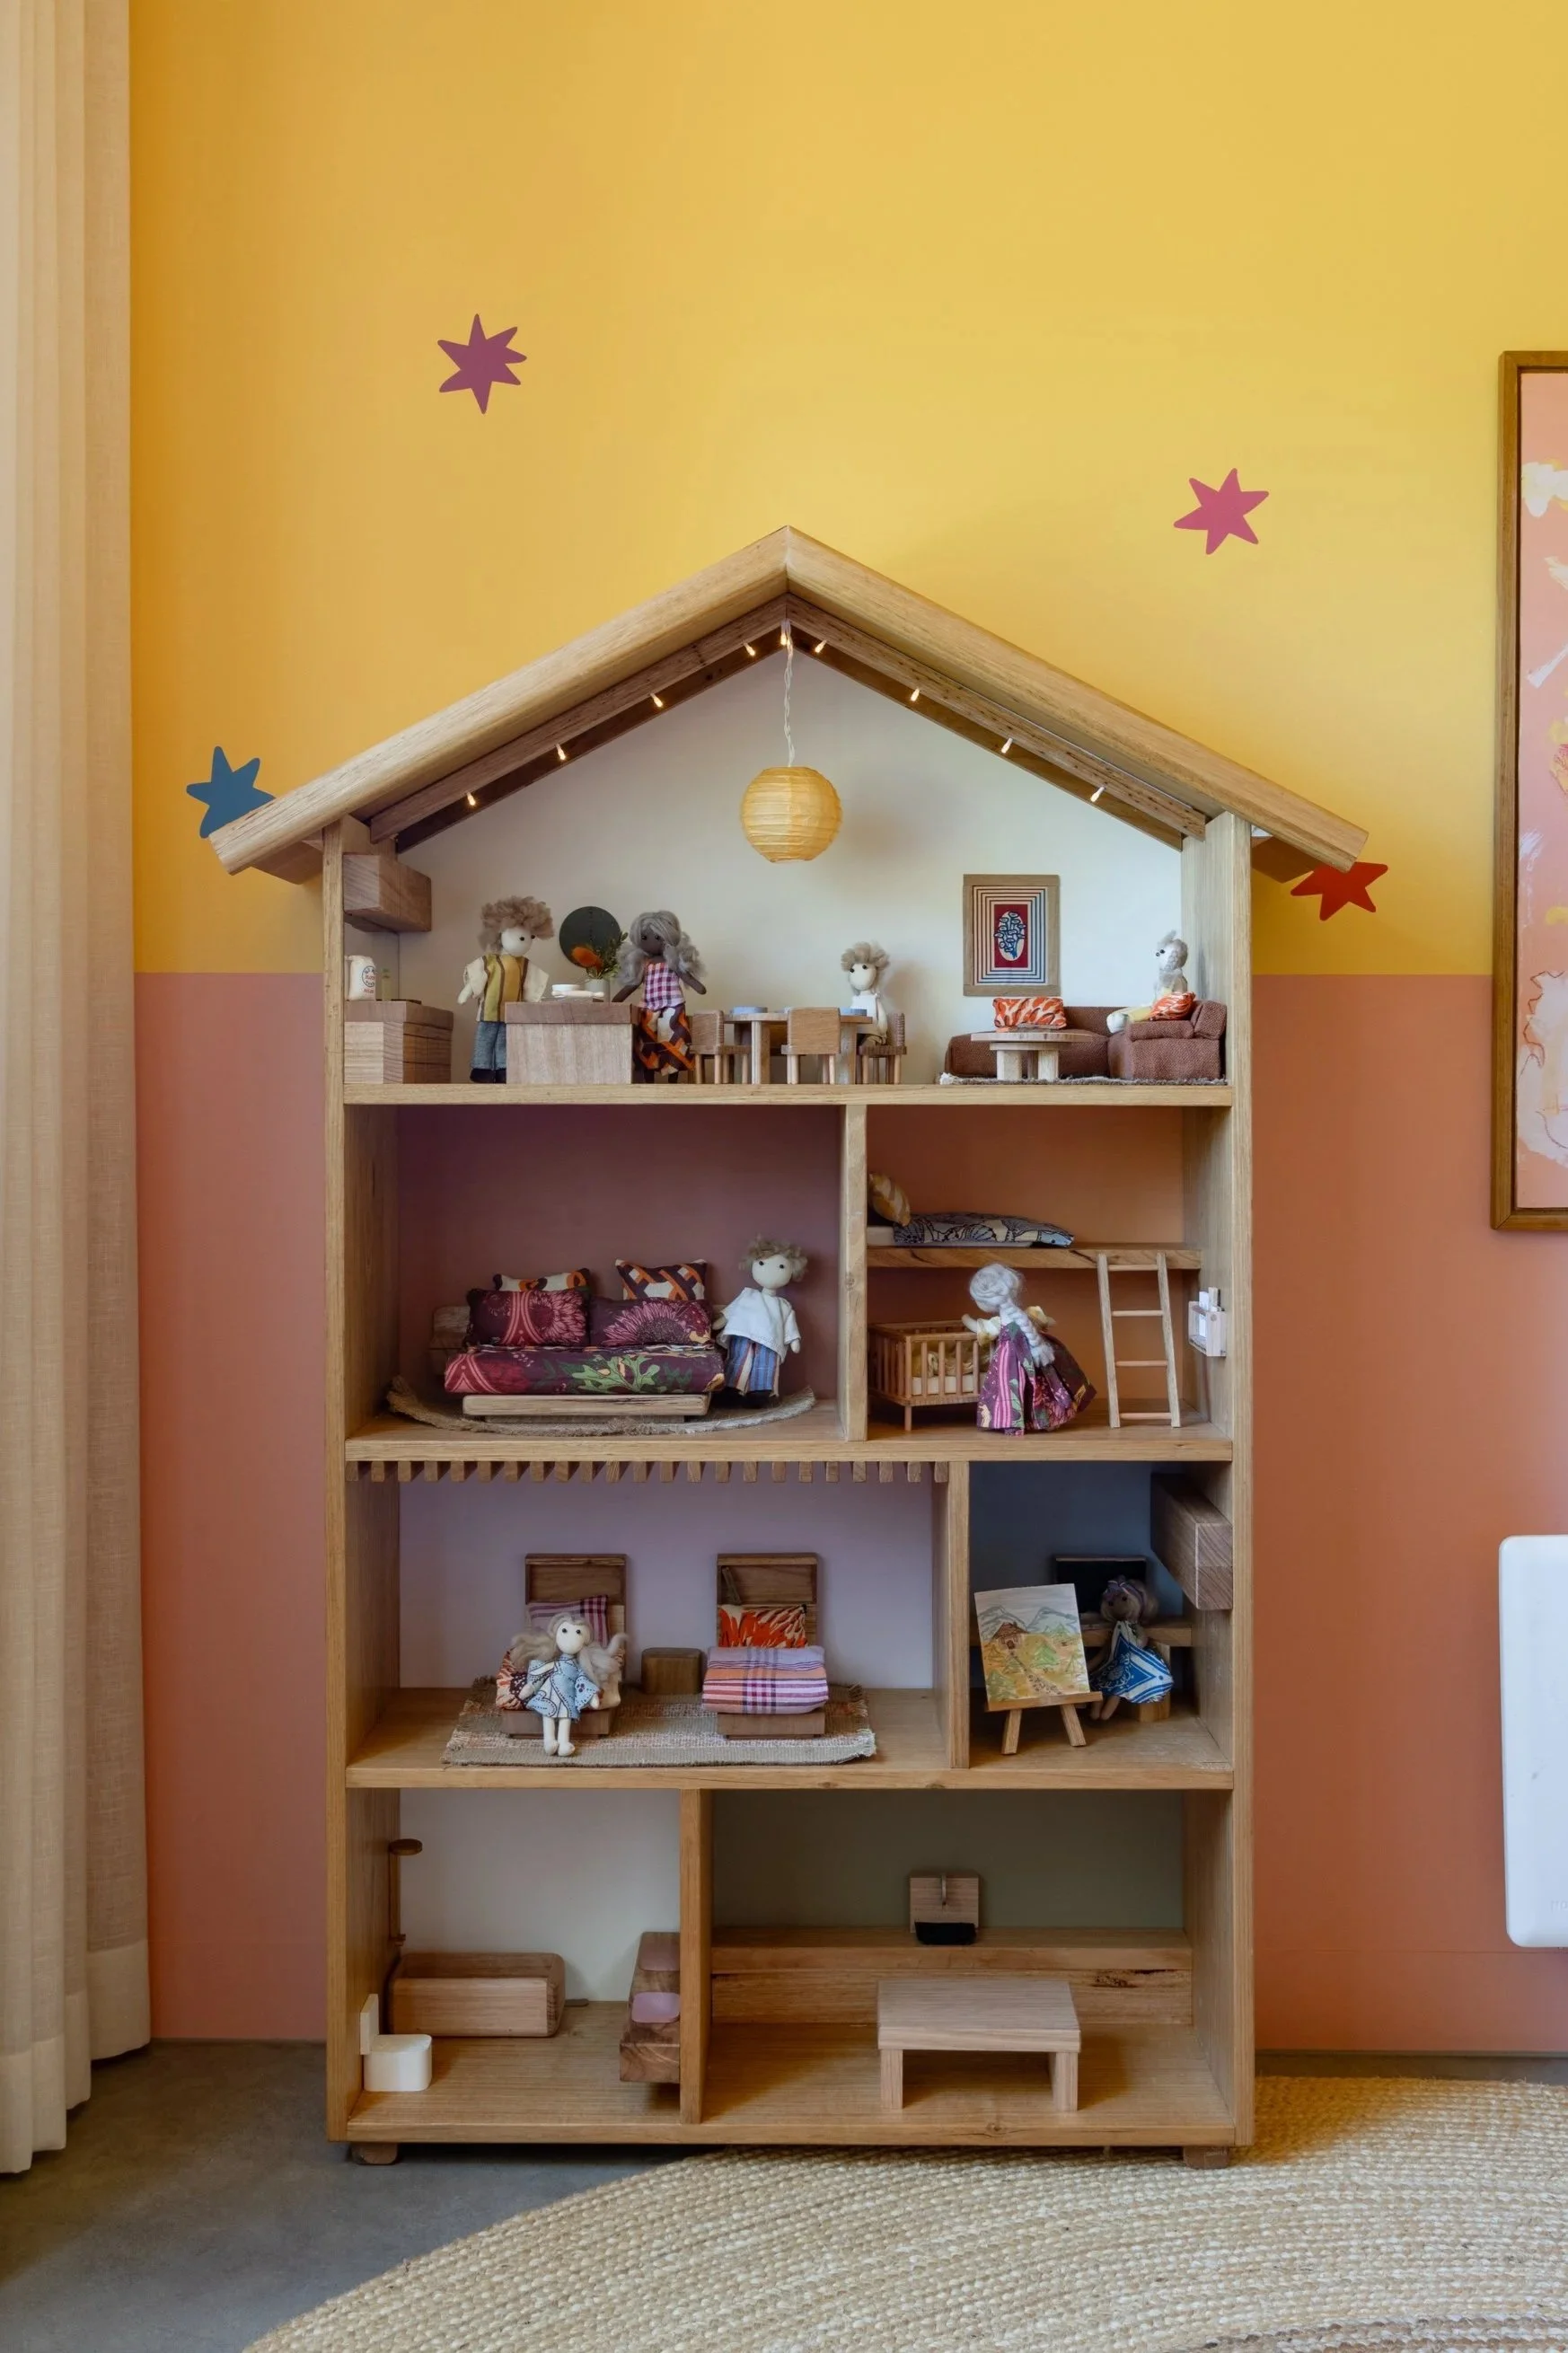
How we built a handmade dollhouse using upcycled furniture, miniature furniture, and creative DIY details, inspired by family, play, and imagination.

We recently bought an artwork from Bluethumb and i’ve curated a collection of my favourite finds. Plus, get 5% off your purchase with code alimo5. Discover original art by Aussie artists online.

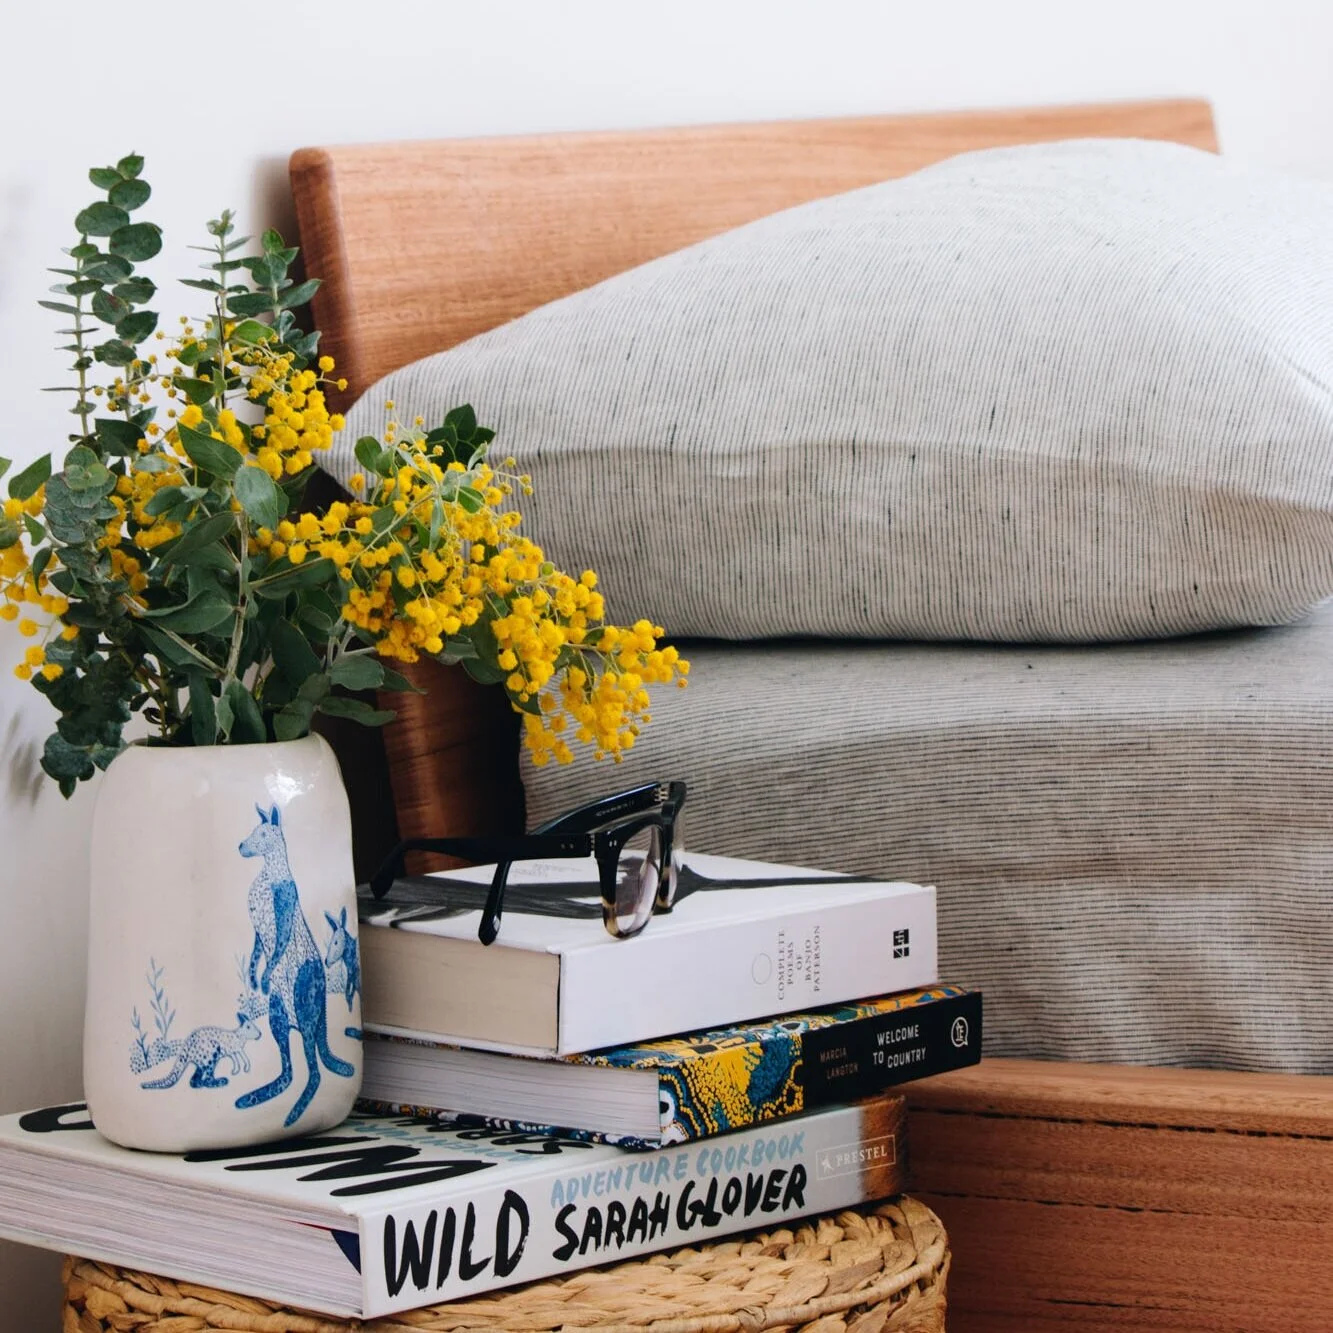
If you’re building your own little library or looking for the best books for babies and toddlers, we’ve pulled together a list of our all-time favourites. These are the ones we’ve read on repeat - the ones that always end up back in little hands.

We installed four VELUX FS Fixed Skylights (780 x 1180mm) into our pitched Colorbond roof to replace LED panels and bring in natural light. See how we did it using custom The Skylight Warehouse custom flashing kits.

After years of searching for the perfect doona, we finally found it—Bonny Doona. Soft, breathable, and made for all seasons, this is the ultimate bedding upgrade for a restful sleep.

Discover how to style your home with art and collected objects in a way that feels personal, curated, and cohesive. Follow these five simple tips to create a space that tells your unique story.

Check out how we turned an old cubbyhouse we found on Facebook Marketplace into a cafe to inspire imaginative play!

See how we transformed $100 Facebook Marketplace dining chairs into timeless hardwood beauties. A sustainable upcycling project that saves furniture from landfill while creating unique, durable pieces.
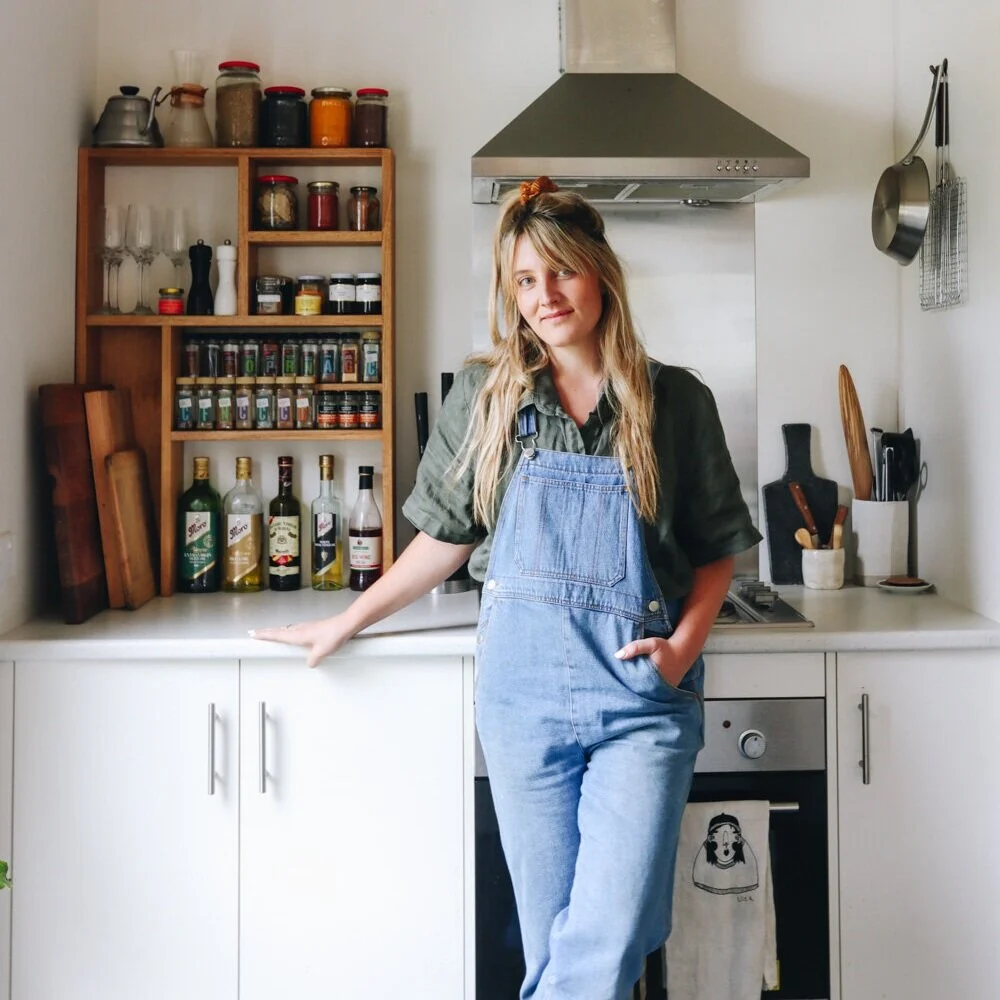
Imogen Gilchrist is a creative director, Squarespace website designer and social media strategist who loves good design & good people.