Upcycled DIY Department Store Stool Tops
Step by step instructions to easily upcycle department store stool tops
“we’ve never loved them - but rather than throwing them out we thought we would give them new life”
We picked these stools up a few years ago, although a quick, cheap and regretful purchase we couldn’t bring ourselves to just toss them out - so we thought let’s try replacing the tops with beautiful solid hardwood and see what we get.
Currently the tops are super cheap and light-weight timber, we assume pine with a veneer maybe? Whatever it is, it doesn’t feel good.
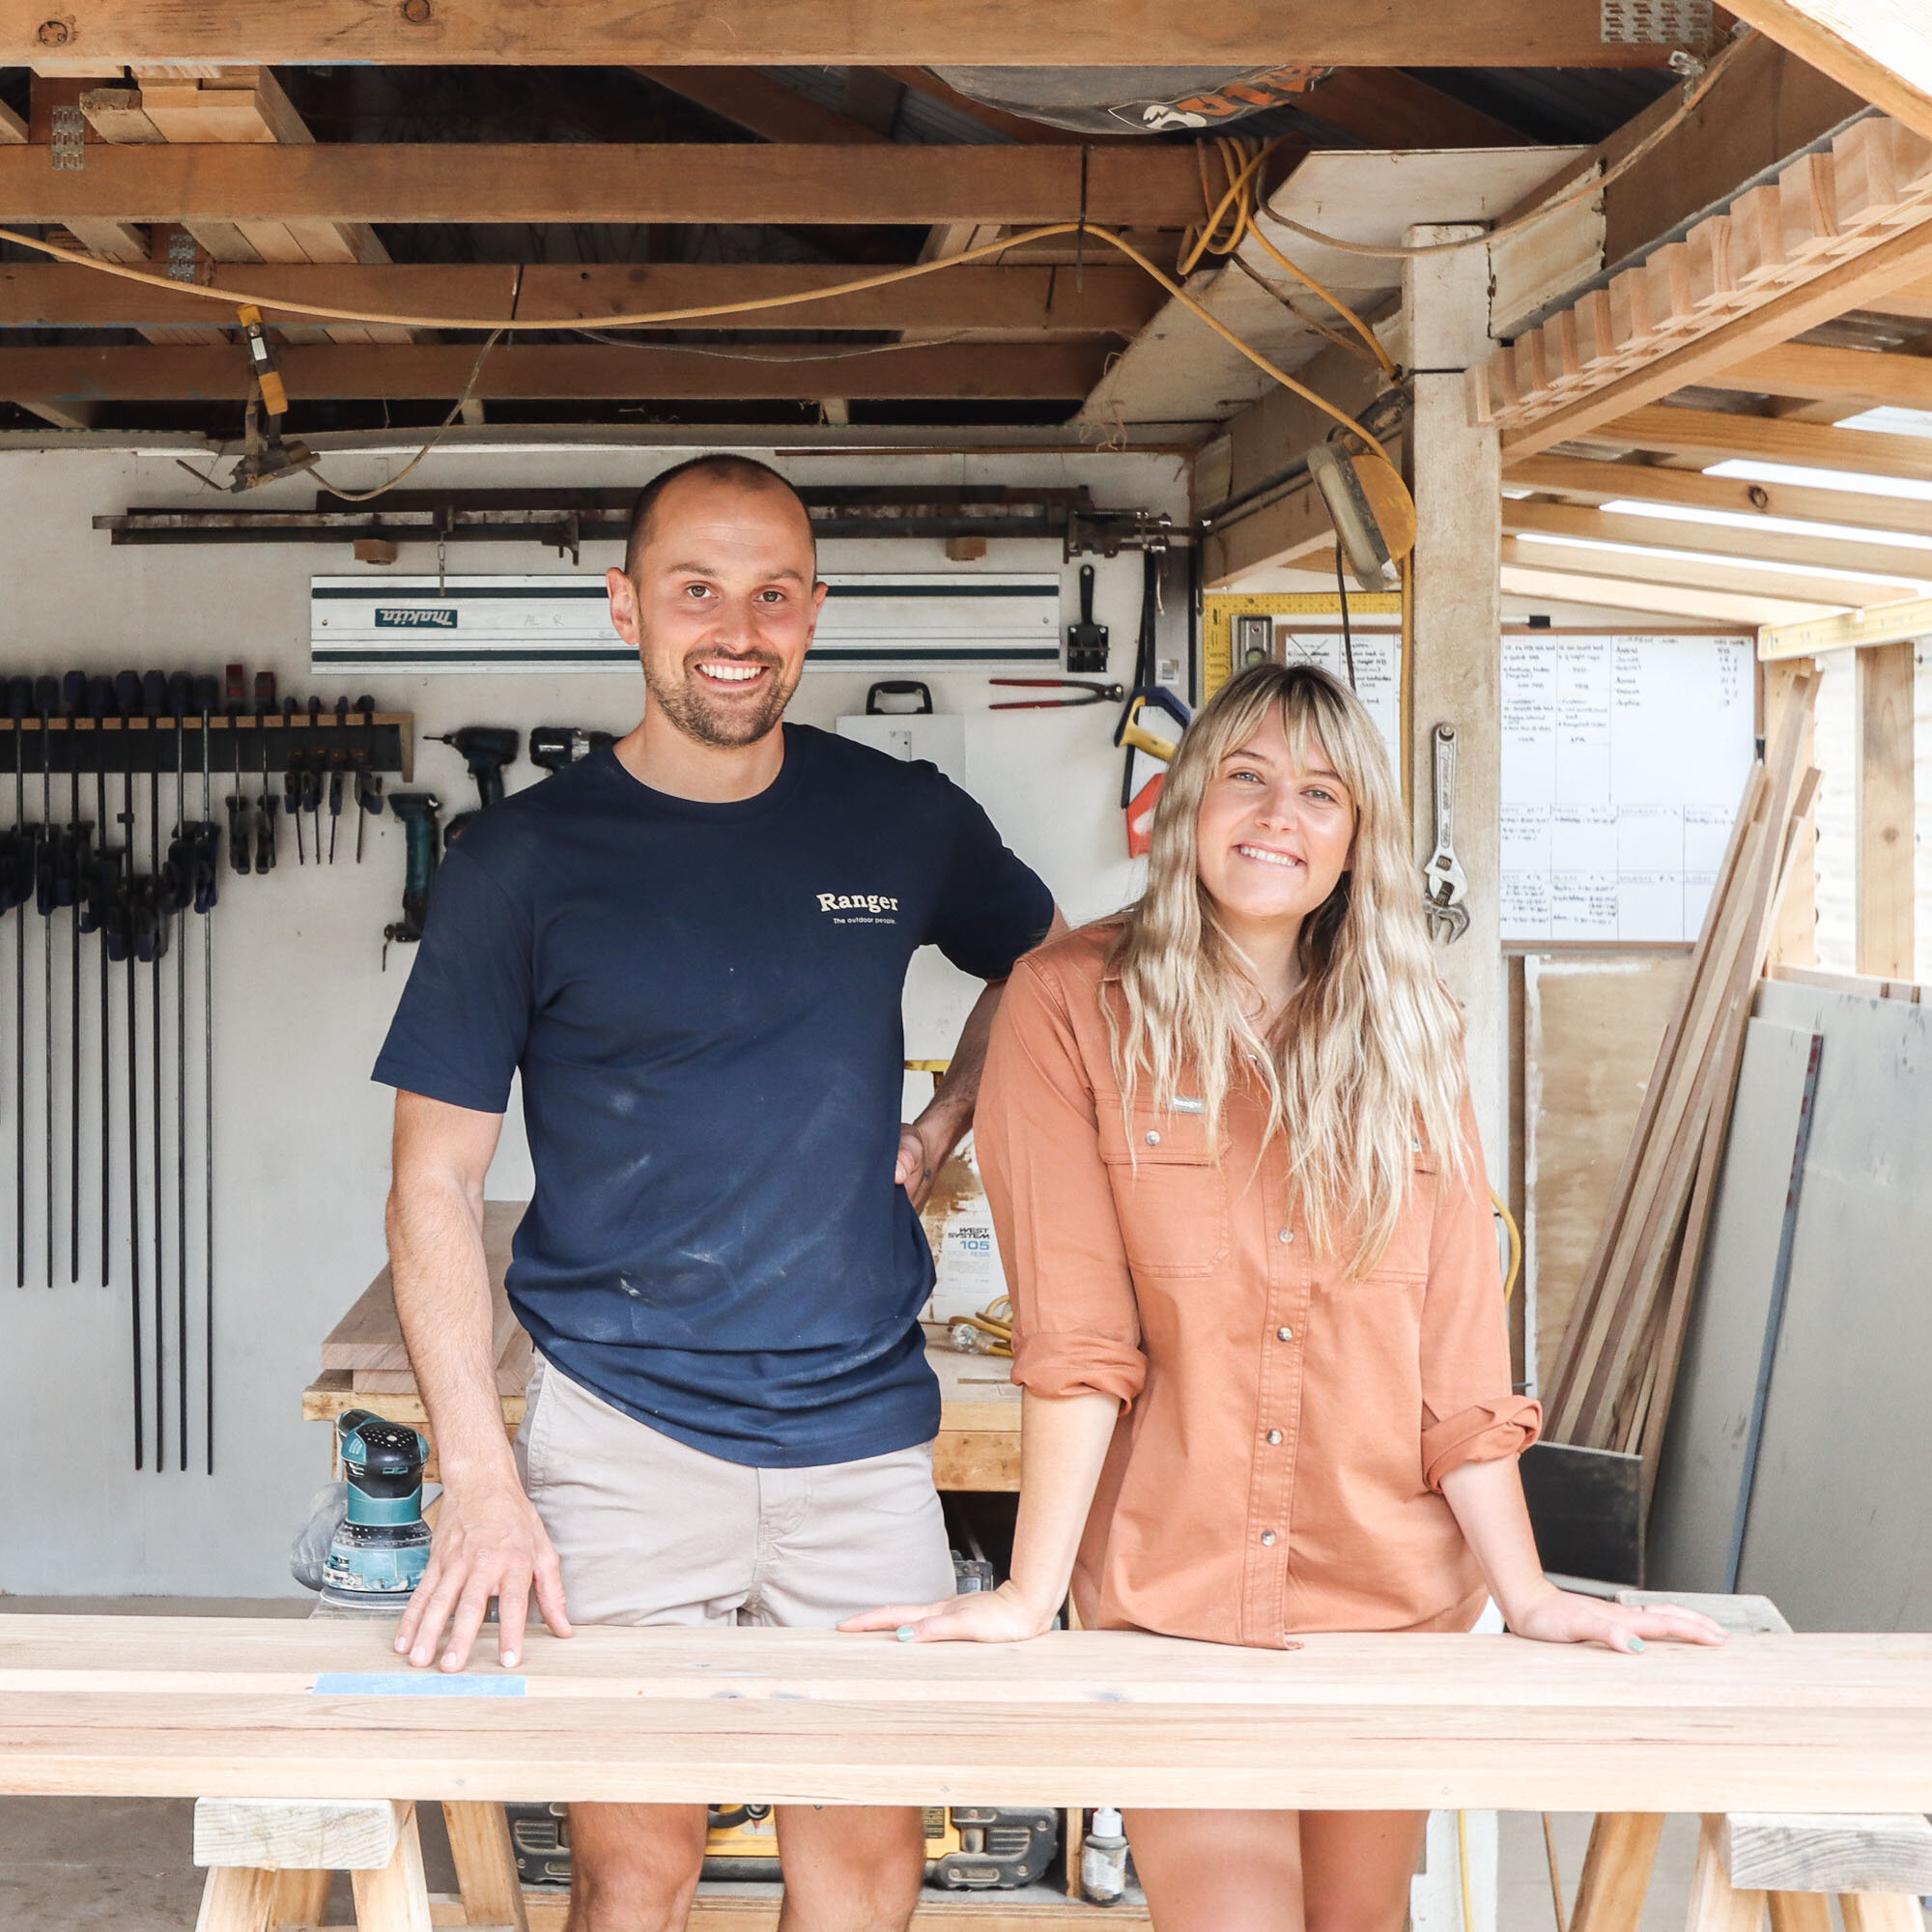
Imo took this on as a project, collecting off-cut timber from the workshop to create new stool tops.
This is a really easy and simple DIY woodworking project to up-cycle. We think the end result looks great, plus the weight of the new stools feel heavy and expensive - which we love!
AL + IMO
step 1.
REMOVE STOOL TOPS FROM BASES
Flip the stool upside down and remove the screws, make sure to keep them somewhere safe.
step 2.
SOURCE TIMBER FOR THE TOPS
Because I decided to use scrap timber from the workshop I had to glue and clamp some pieces together. I decided to use 30mm hardwood. I trimmed my pieces to the right size using my original stool top as a guide.
Step 3.
Sand the raw timber smooth
Because I used random scraps of timber I had to run them through the thicknesser to get them all the same thickness. I then sanded my pieces smooth, removing all glue.
Step 4.
Trace the outline of your stool top
I traced around the edge of the stool top and added an extra 5mm.
Step 5.
Cut with a jigsaw
Following the 5mm outline mark, I cut my tops - clamping my workpiece to the bench.
Step 6.
Routing
I screwed my piece to the original stool top, clamped it to the table to keep it steady and routed the edges using the original stool top as a guide so that they were perfect.
Step 7.
ROUTING
Using a bullnose bit I routed the top edge of my stools to give them a rounded finish.
Step 8.
SAnd
Now that my tops were perfectly cut, I gave them a final sand using 120 grit sandpaper.
Step 8.
Seal
I used a hard-wax oil product to seal my stool tops - which protects the timber and brings out the natural feature in the timber. Once dry, I sanded the tops again and applied a final coat of seal - this gave me a really silky-smooth finish.
Step 9.
RE-attach
Using my stool base, I marked where my screws will need to go into the bottom of the seat. I countersunk holes, pre-drilled and then attached my seat to the base using the original screws.
AFTER + BEFORE
MORE HOME STYLING Tips
HEY! WE’RE AL + IMO
We’re a husband and wife duo, building our dream life one DIY project at a time. We are proudly self-taught, furniture-makers, business owners, designers and stylists.
DIY RUNS IN OUR DNA
We firmly believe what you learn should be shared which is why we created our Journal. A place where you can learn new skills and be inspired by other creatives.
Top Categories
eco living
Tread a little lighter on the Earth. Tips for living a more sustainable lifestyle.
DIY
Tools and information to build your own furniture and inspire a low-impact lifestyle.


