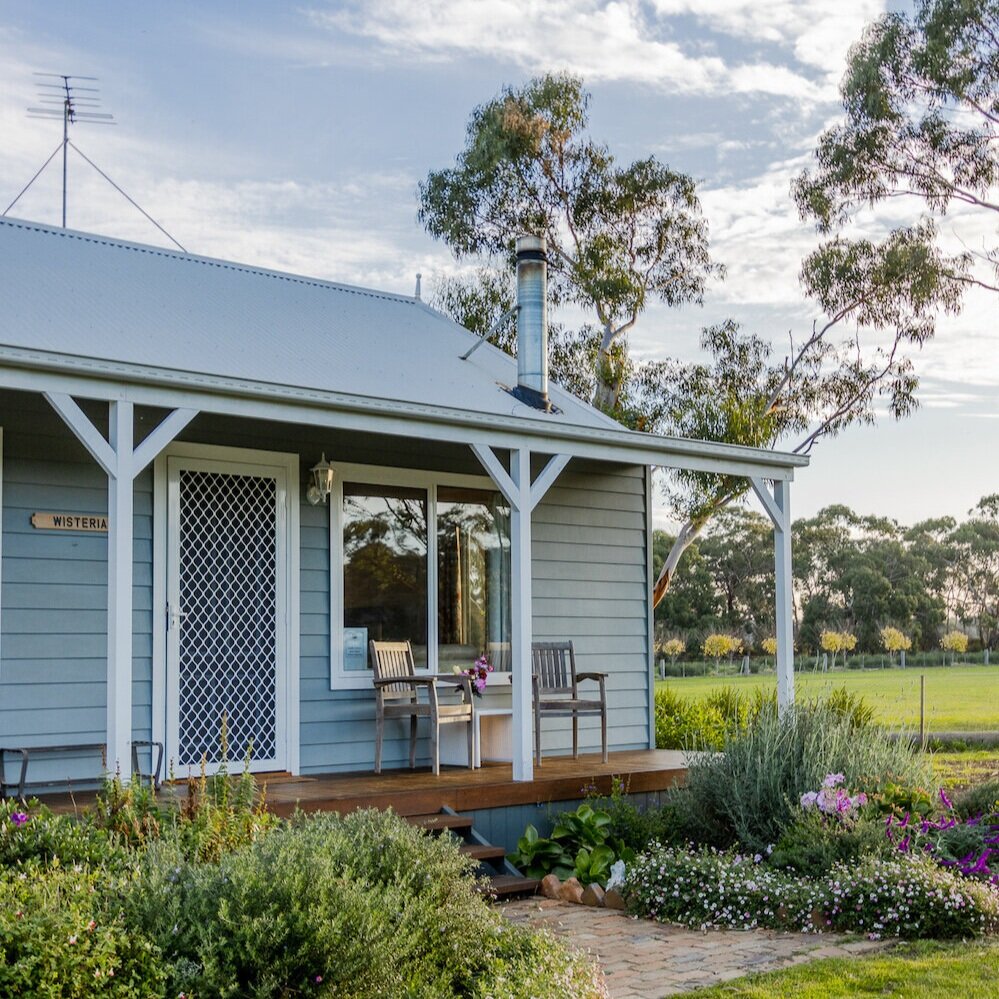
Modern Doll's House Renovation DIY Project
ReLove Project
I remember when I was younger losing hours in my imagination playing with my doll’s house. I purchased it off Facebook Marketplace and dates back to the 70’s. The woman who owned it grew up with it as a child and all of her kids all used it too! When pulling a part the doll’s house I found lots of drawings and remnants of child's play!
You probably know by now our motto is ‘Good Design for Good People’ and we love creating furniture that are made to last a lifetime. We hope that in the future when our pieces are aged and tired that someone will take the time to bring them back to life which is why I am stoked to be partnering with Feast Watson for their #FeastWatsonReLove campaign again. Upcycling is super fun, it’s satisfying and it’s sustainable!
I worked on this project in my spare time over 2 weeks - mostly while Goldie was napping. I’m so excited to share this project with you and hope it inspires you to re-love something of your own.
Re-love your own project using any product by Feast Watson and go into the chance to win one of 3 x AMAZING price packs -
$250 worth of Feast Watson product
$500 @bunnings voucher
1 x Black Feast Watson tote bag
1 x signed Anita Vandyke book
30 minute online style consultation with me!
Upload your own before and after photos using the #feastwatsonrelove hashtag and tag @feast_watson - I’ll be keeping an eye on all of your projects! T&C’s here.


For this project I used Feast Watson Black Japan for the exterior & their Hardwax Oil for the timber furniture & front facade.

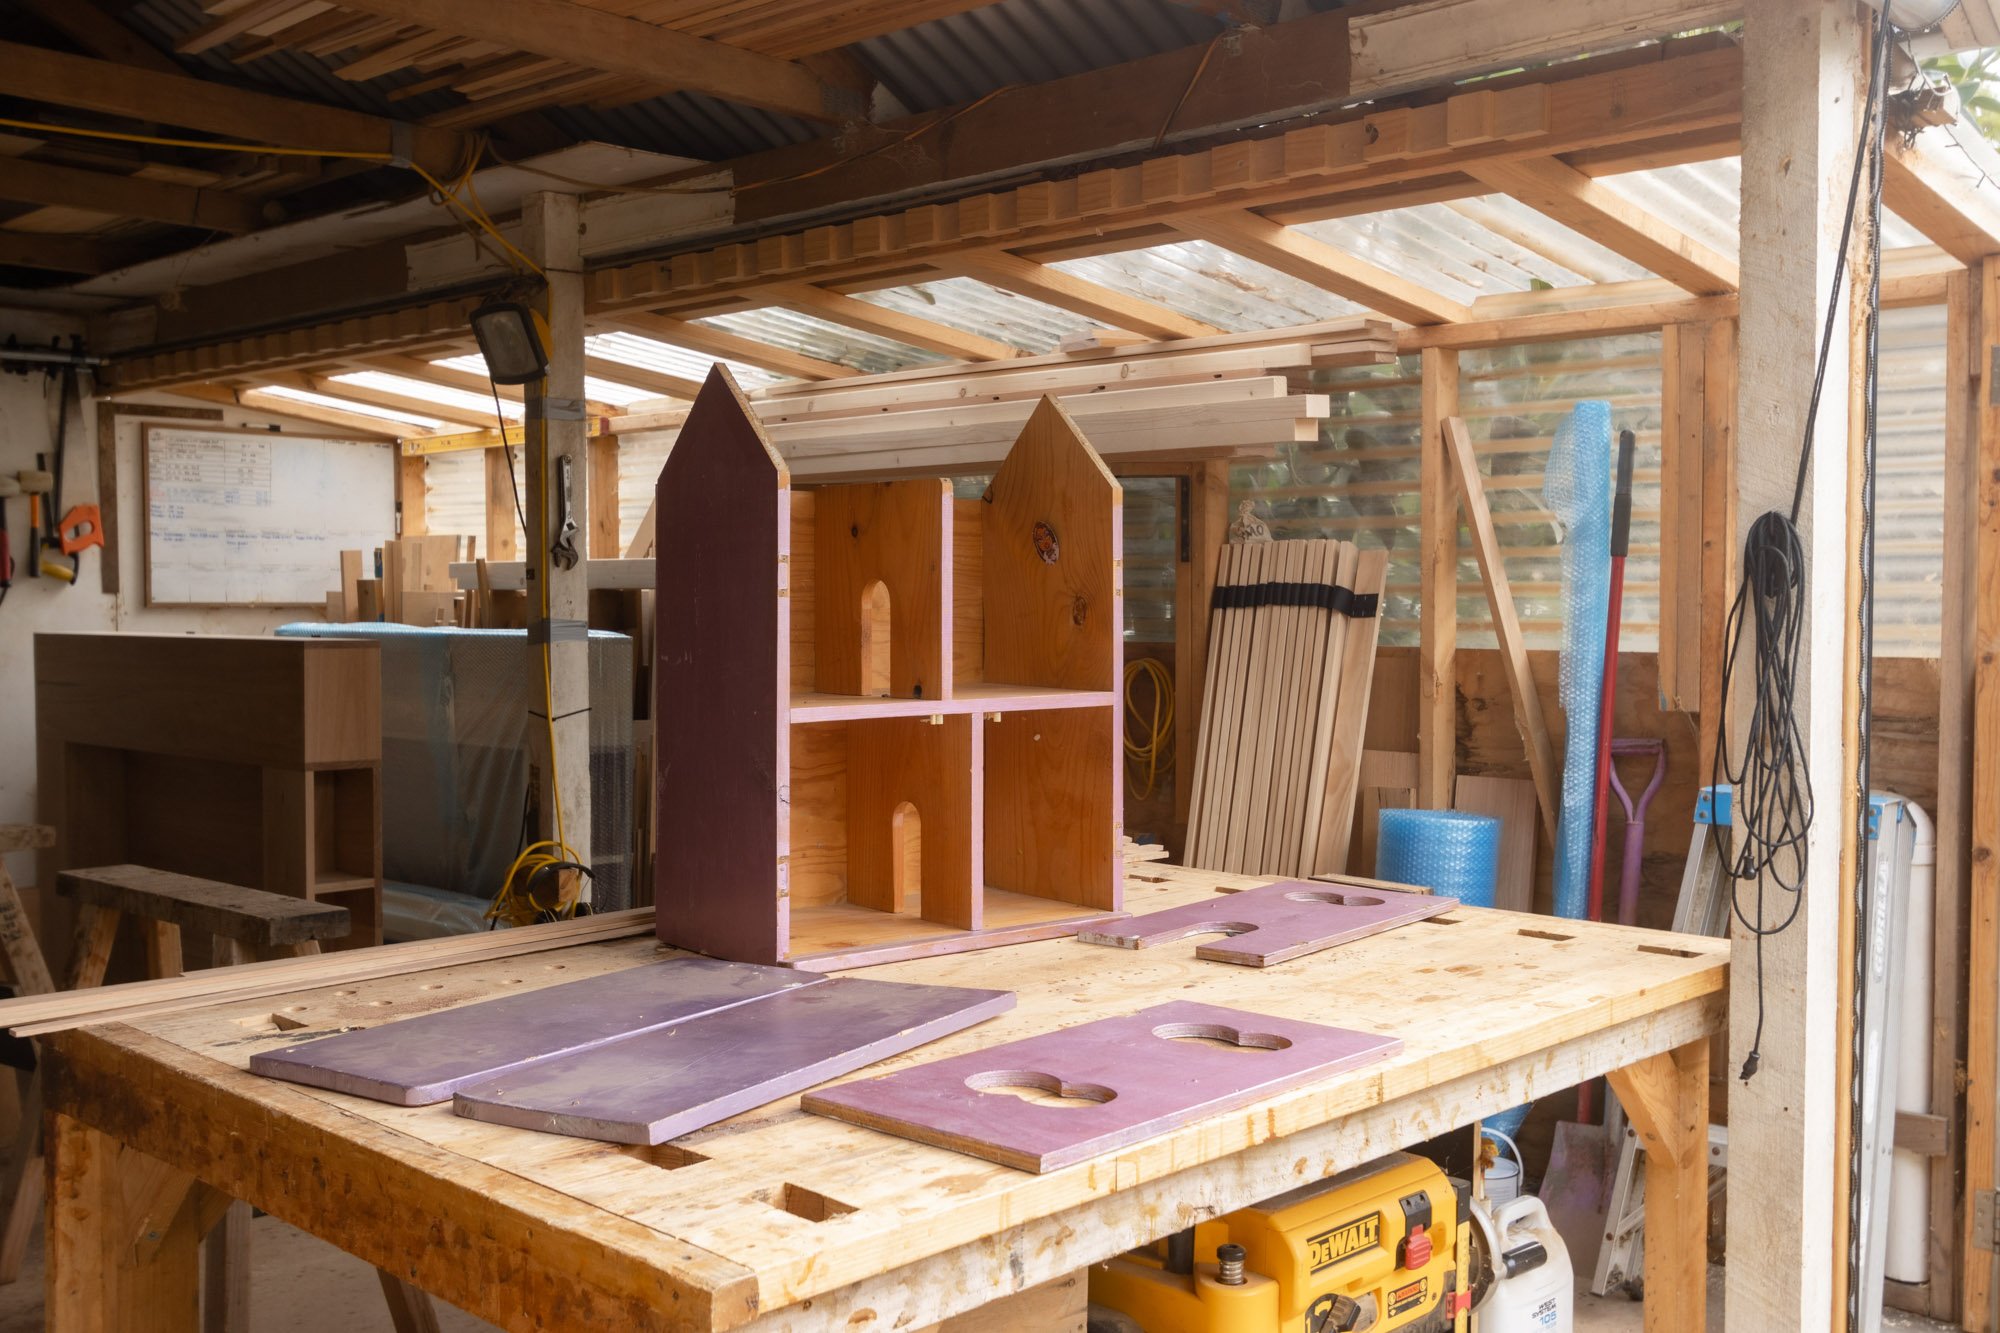
Step 1. Pull apart the doll’s house
My first step is to remove all of the existing hardware and I used some lubricant spray for those super rusty screws that wouldn’t budge! I cleaned the hinges and popped them in a safe place and decided that the screws were not worth saving - I'll replace these with some new ones at the end. I pulled the roof and doors off and removed the hideous red carpet.


Step 2. Sand all of the surfaces smooth
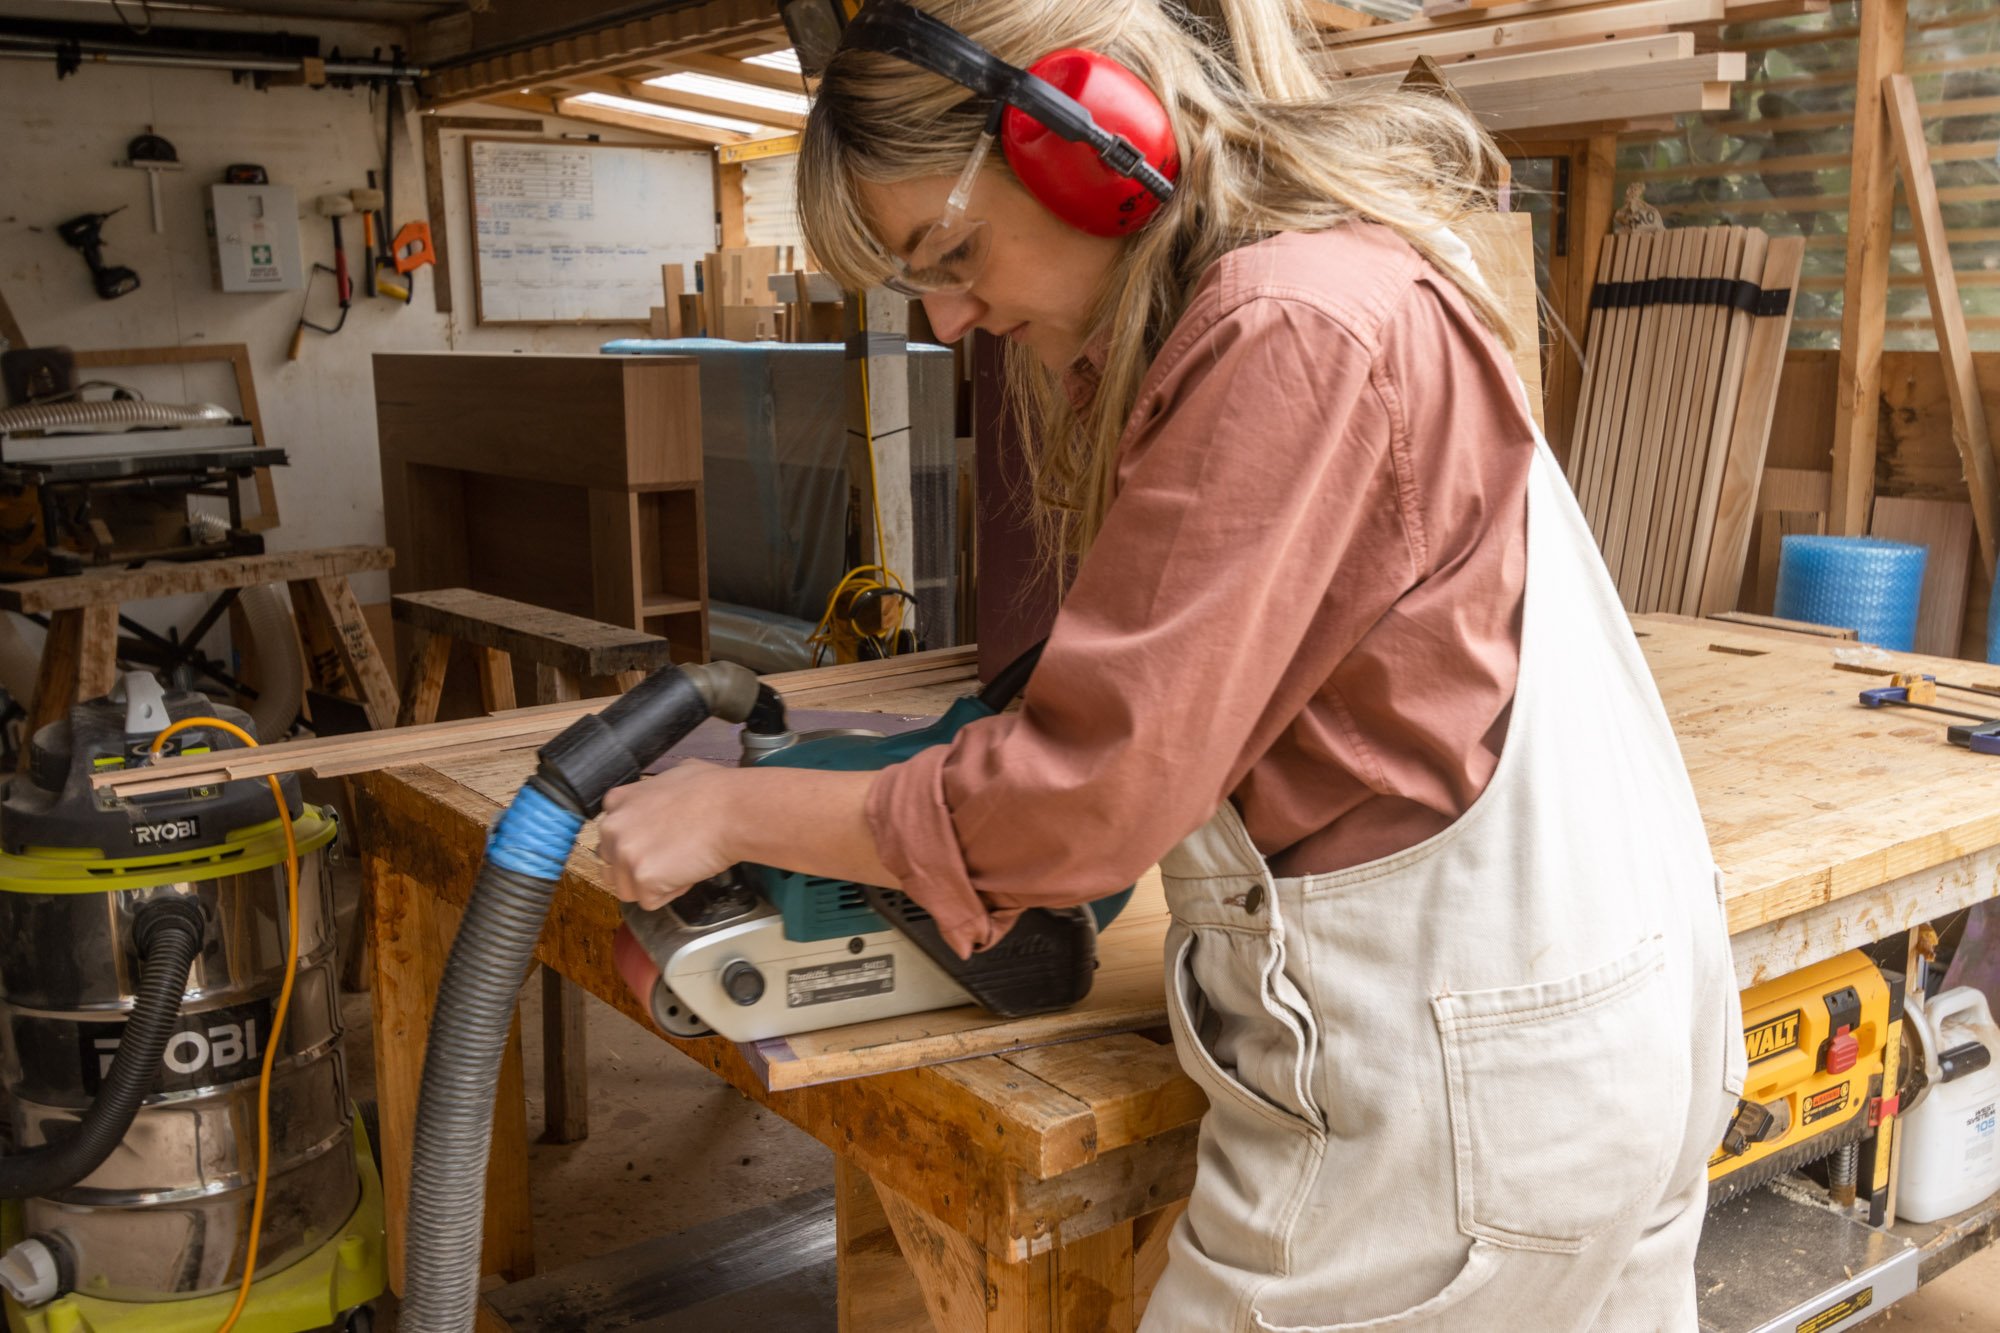
When sanding, start with rough grit sandpaper, then move toward finer grit. The larger the number is, the finer the grit paper. I started with 80 grit then moved to 120. I clamped my pieces to the workbench and used a belt sander (80 grit) to remove the paint from the surfaces.
Once i’d removed the paint I used an orbital sander (120 grit) and sanded all of my surfaces nice and smooth.


I'll be honest, I tackled this project one tiny step at a time while Goldie was sleeping.
Click here to watch the full step-by-step DIY video.

Step 3. Update the window cutouts
I think we can all agree that the round windows had to go… I used a ruler and measured perfect rectangles, clamped the timber to the workbench and used a jigsaw to cut out the shapes.


Step 4. Coat the exterior of the Doll’s House
For this project I decided that I wanted to use the Feast Watson Black Japan Stain & Varnish. To achieve the colour I wanted I applied 3 coats, lightly sanding in-between each. You have to wait 12 hours in-between each coat which makes this a great project to spread out over a week or longer. Before the final seal I used 220 git sandpaper, gave it a super light sand - this gave me a super silky finish!
The great thing about Feast Watson is that they really do have every colour for any project that you could want ... from a really dark Black Japan all the way through to a gorgeous light White Wash and every colour in between. So no matter what your project is you’ll definitely find a colour within the Feast Watson range and you can find it exclusively at Bunnings.


Step 5. Front Facade
I decided that I wanted to add a feature front, similar to what we’re doing for our house build. Used scrap timber we have lying around the workshop. I’m becoming so much more confident in the workshop and learning so many little tricks - one of my favourites is marking the drop saw when doing multiple cuts of the same length!


Step 6. Update the interior
Now that the exterior was finished it was time to move inside. I used Dulux Natural White for the walls and Dulux Gold Pheasant for the feature walls. I made sure to tape all of my edges so that I didn’t mess with my black exterior!
I picked up some adhesive lino tiles from Bunnings and cut these to size for the flooring. I chose a grey marble look to emulate the concrete floors we’re having in our new house!


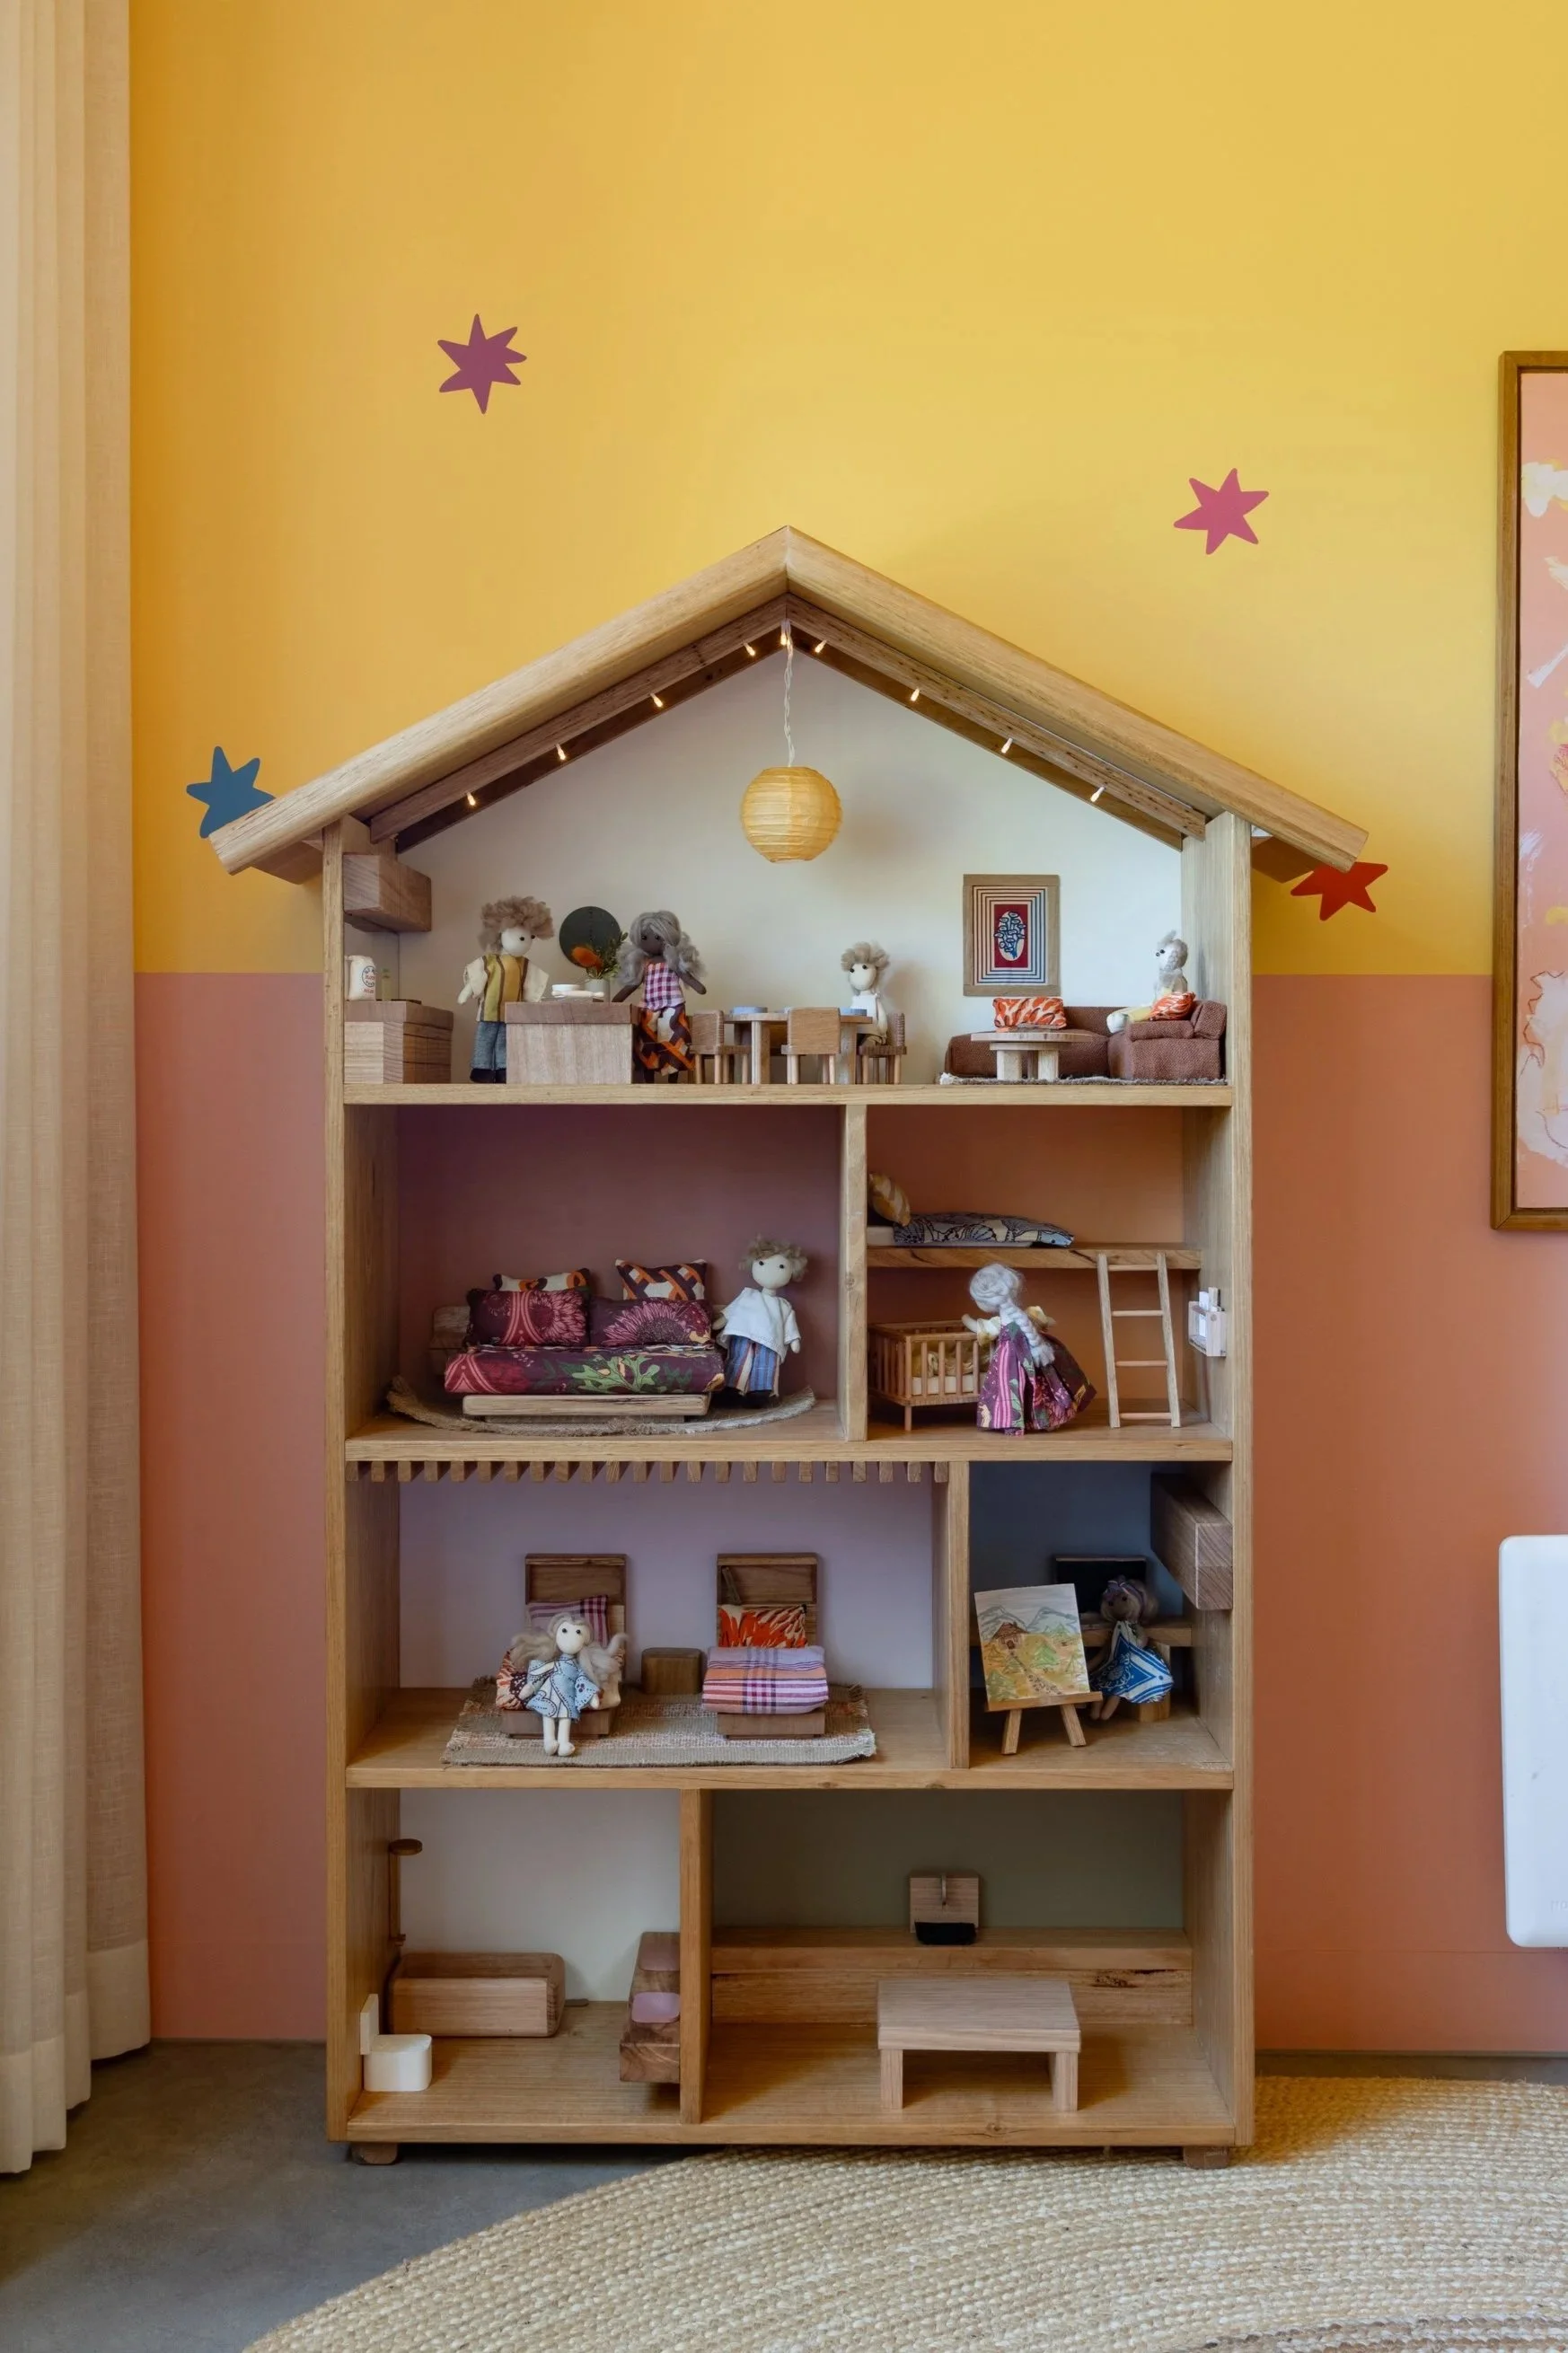
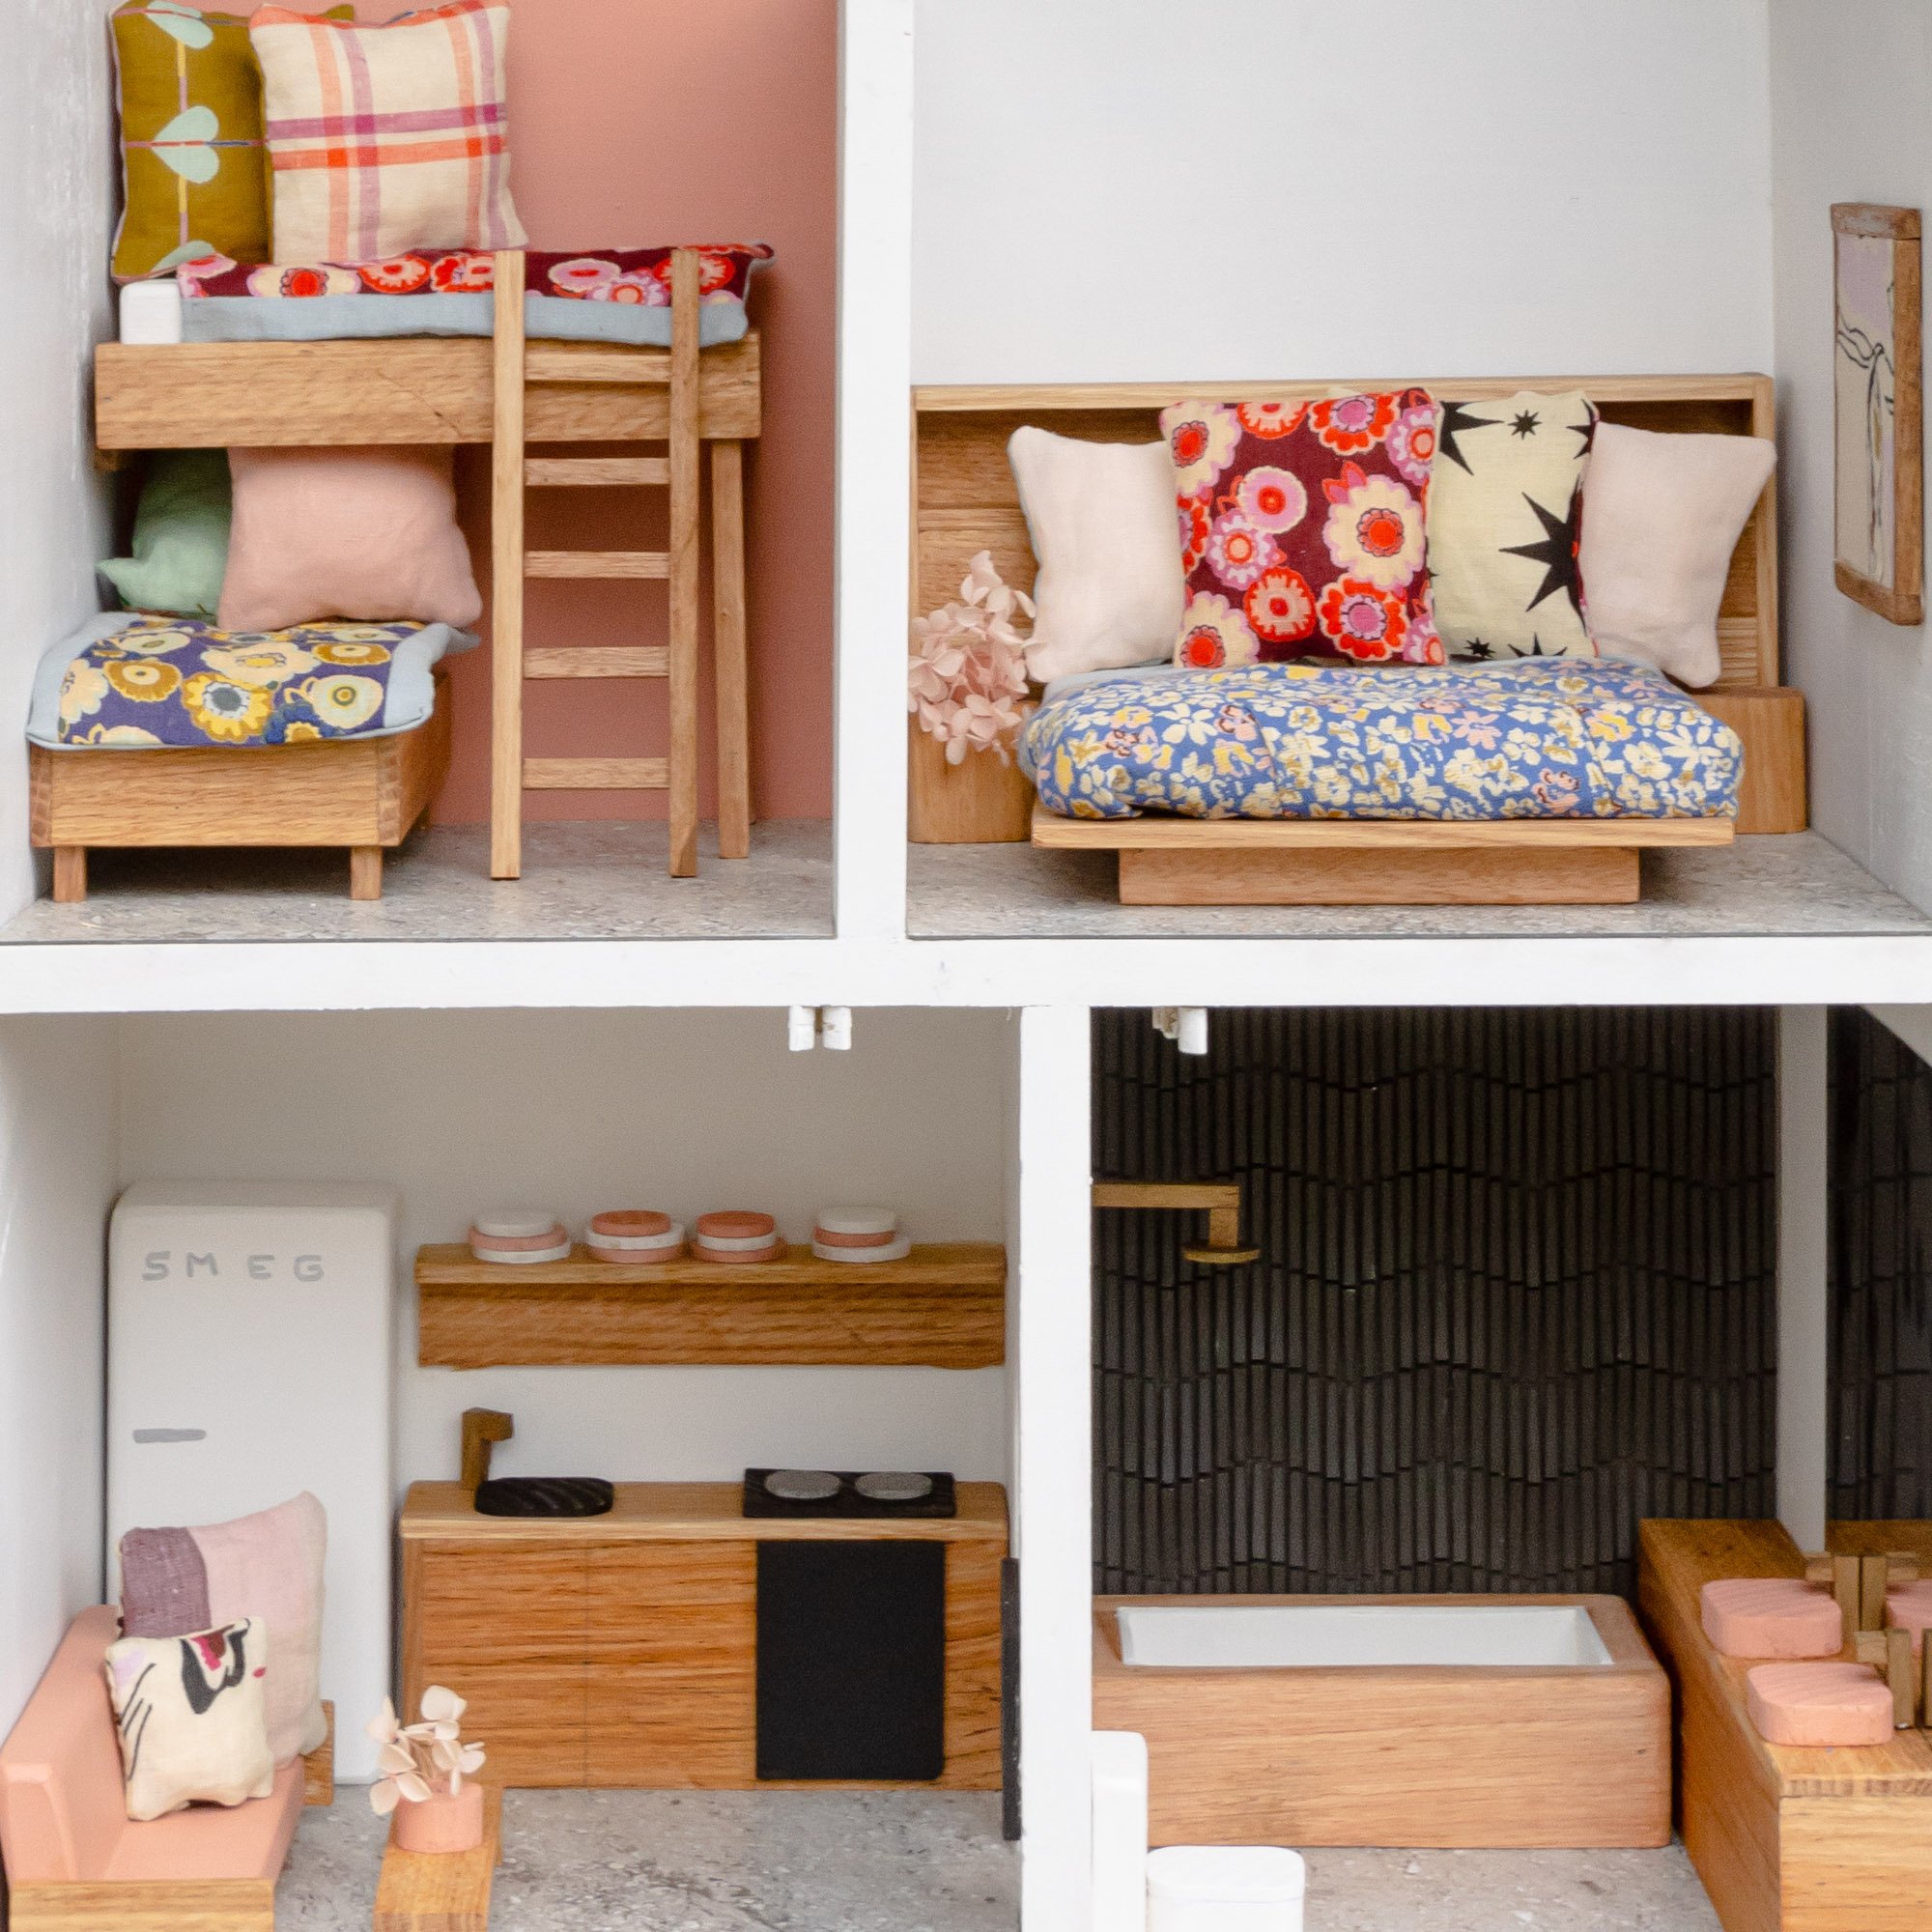
Step 7. Make miniature doll’s house furniture
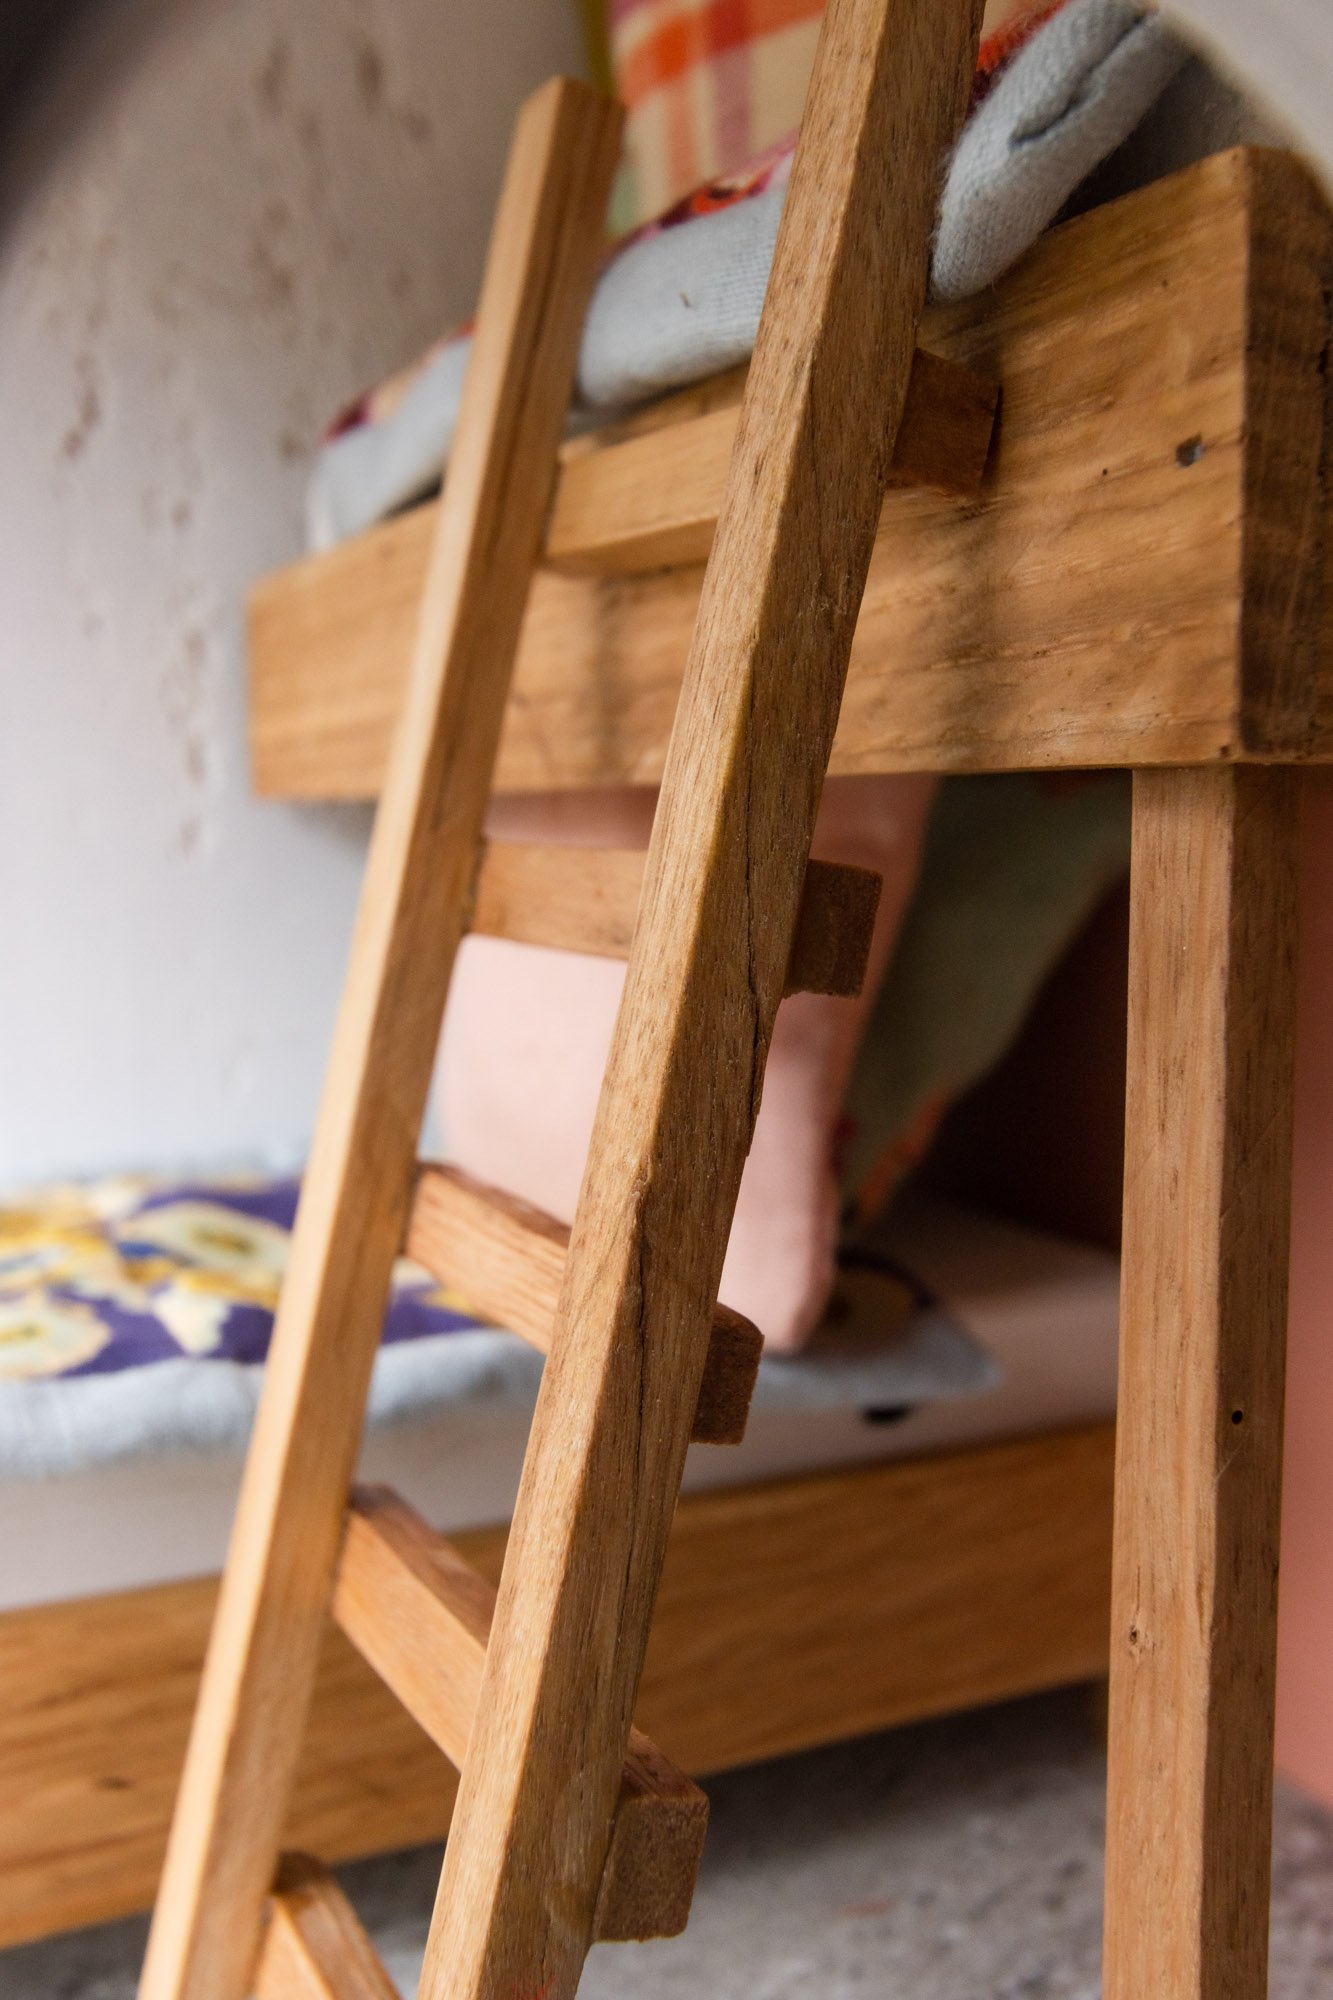
This for me really was the exciting part! Designing tiny Al + Imo furniture was super fun, I used scrap hardwood timber I had lying around the workshop and mostly used wood glue to join everything together. The bed in the master bedroom is modelled off our Bookshelf Ledge Bed. I sealed all of the wooden timber furniture using Feast Watson Hardwax Oil which is a great option for life-size furniture too!
**Tip - most timber yards have discount racks where you can pick up really cheap pieces of timber - perfect for Doll’s House renos!
I painted the mattresses, toilet and fridge white. I used really thin ply and spray-painted the stove-top and oven black then used wood glue to attach them to the kitchen bench. To create stove elements I cut small piece of dowel and coloured them in using a silver pen.
In the bathroom I used a sheet of mosaic tile and siliconed it to the back wall. I picked this up from Geelong Tiles & Bathware, they gave it to me for free as it was discontinued stock! Another great tip if you’re looking for tiles, flooring etc is to contact speciality stores, likely they’ll have plenty of things that would work well for doll’s houses. For the shower and taps I painted timber using a gold metallic pen & for the bathroom basins I used short blocks of timber painted pink. The mirror is adhesive. and you can pick up these sheets from Bunnings (they come in a pack of 3).
I never thought I would make a miniature toilet, but here I am.


Step 8. Making miniature doll’s house bed linen, cushions & art
To style the doll’s house I used Sage x Clare fabric samples which I sewed together. I really feel like this is when it came to life and I was so excited to see it all come together at the end.


Step 9. Doll’s House Decorating & Styling
Now that everything was finished it was time to put it all together - i’t hard to find words. to describe how much I absolutely love this project!


Before & after
A quick reminder to you all how far we have come! Soooo happy with how this doll’s house has turned out!
This doll’s house has been around since the 70’s and here she is, with a little TLC i've brought it back to life! Thank you Feast Watson for giving me the opportunity to re-love this doll’s house which I knew had so much potential.... Watch the full DIY video of this project here.


Exterior & Interior


If you haven't already caught on, one of the prizes is a 30 minute online Style Consult with me... that's right we can have a little chat and you can ask me for any advice with DIY and styling. Simply complete your own #FeastWatsonReLove project and go into the chance to win a chat with me PLUS $250 worth of Feast Watson product AND a $500 Bunnings voucher... think of all of the exciting projects you could do with that haul!

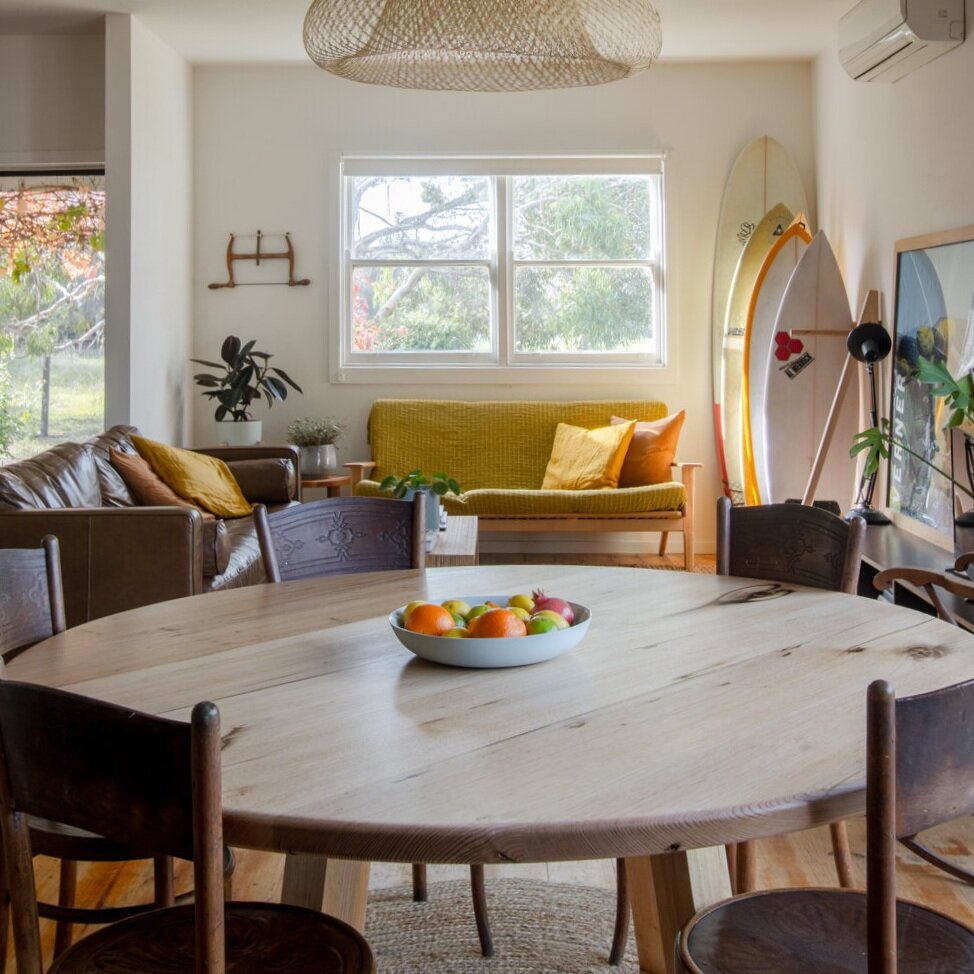
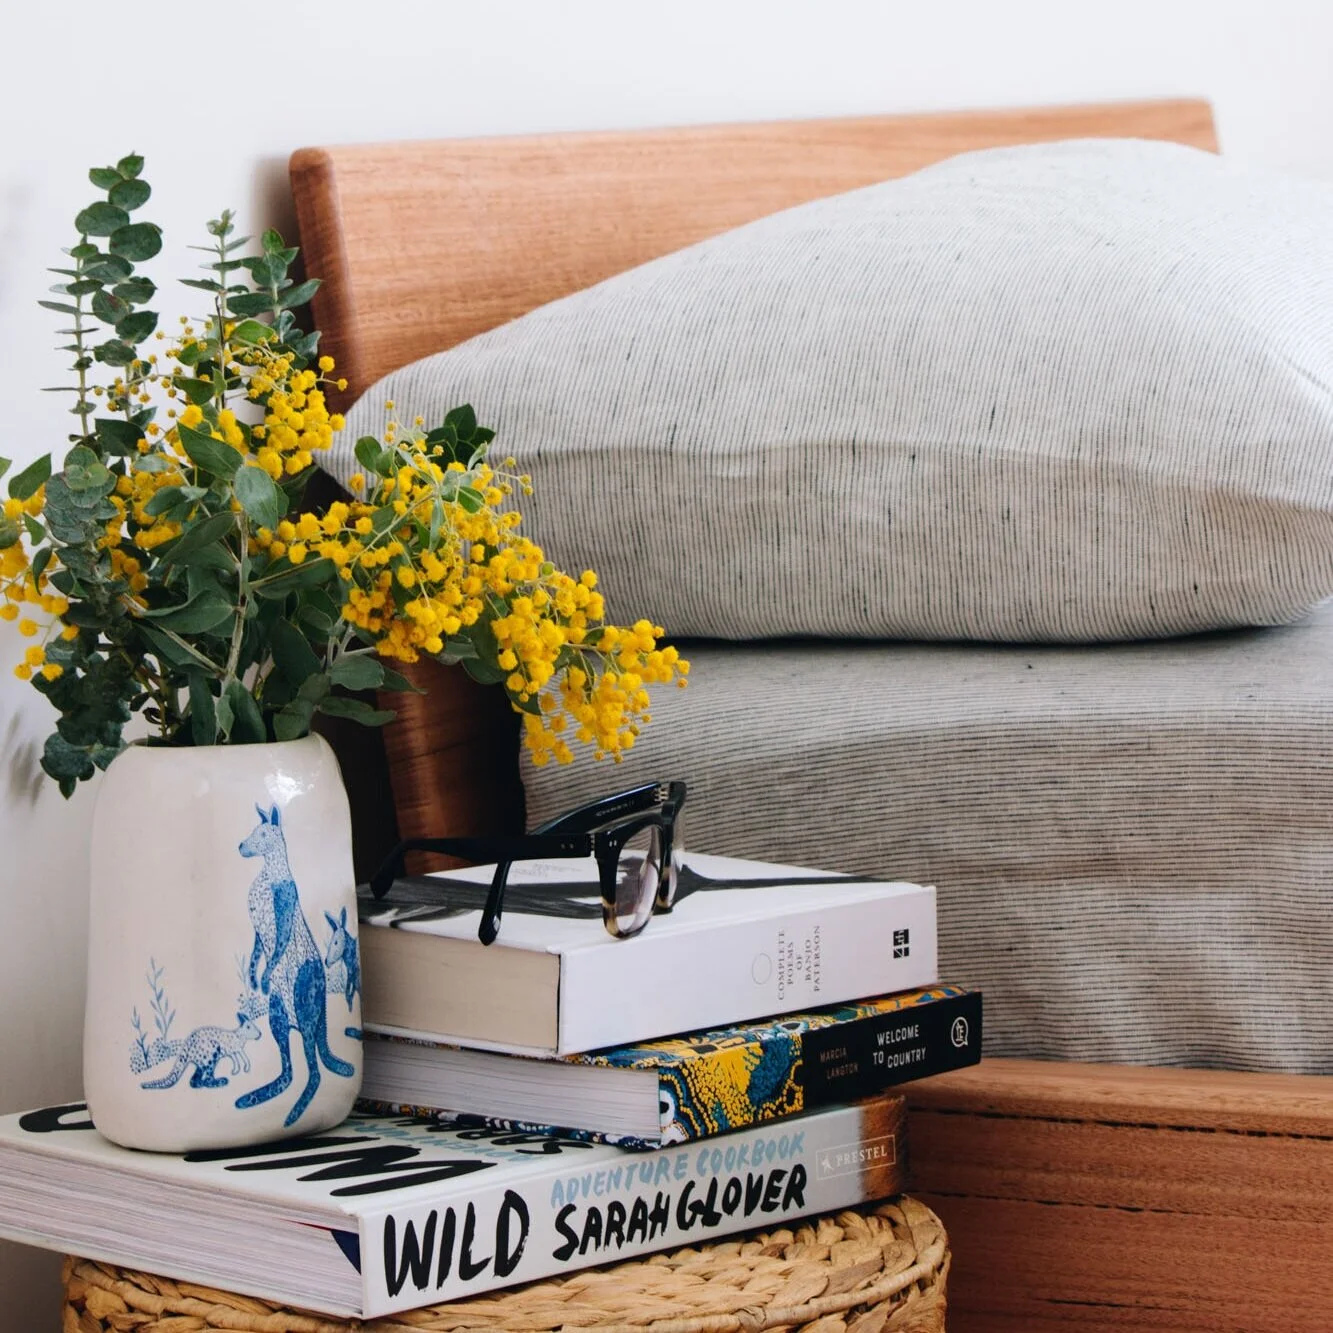
Around the Home


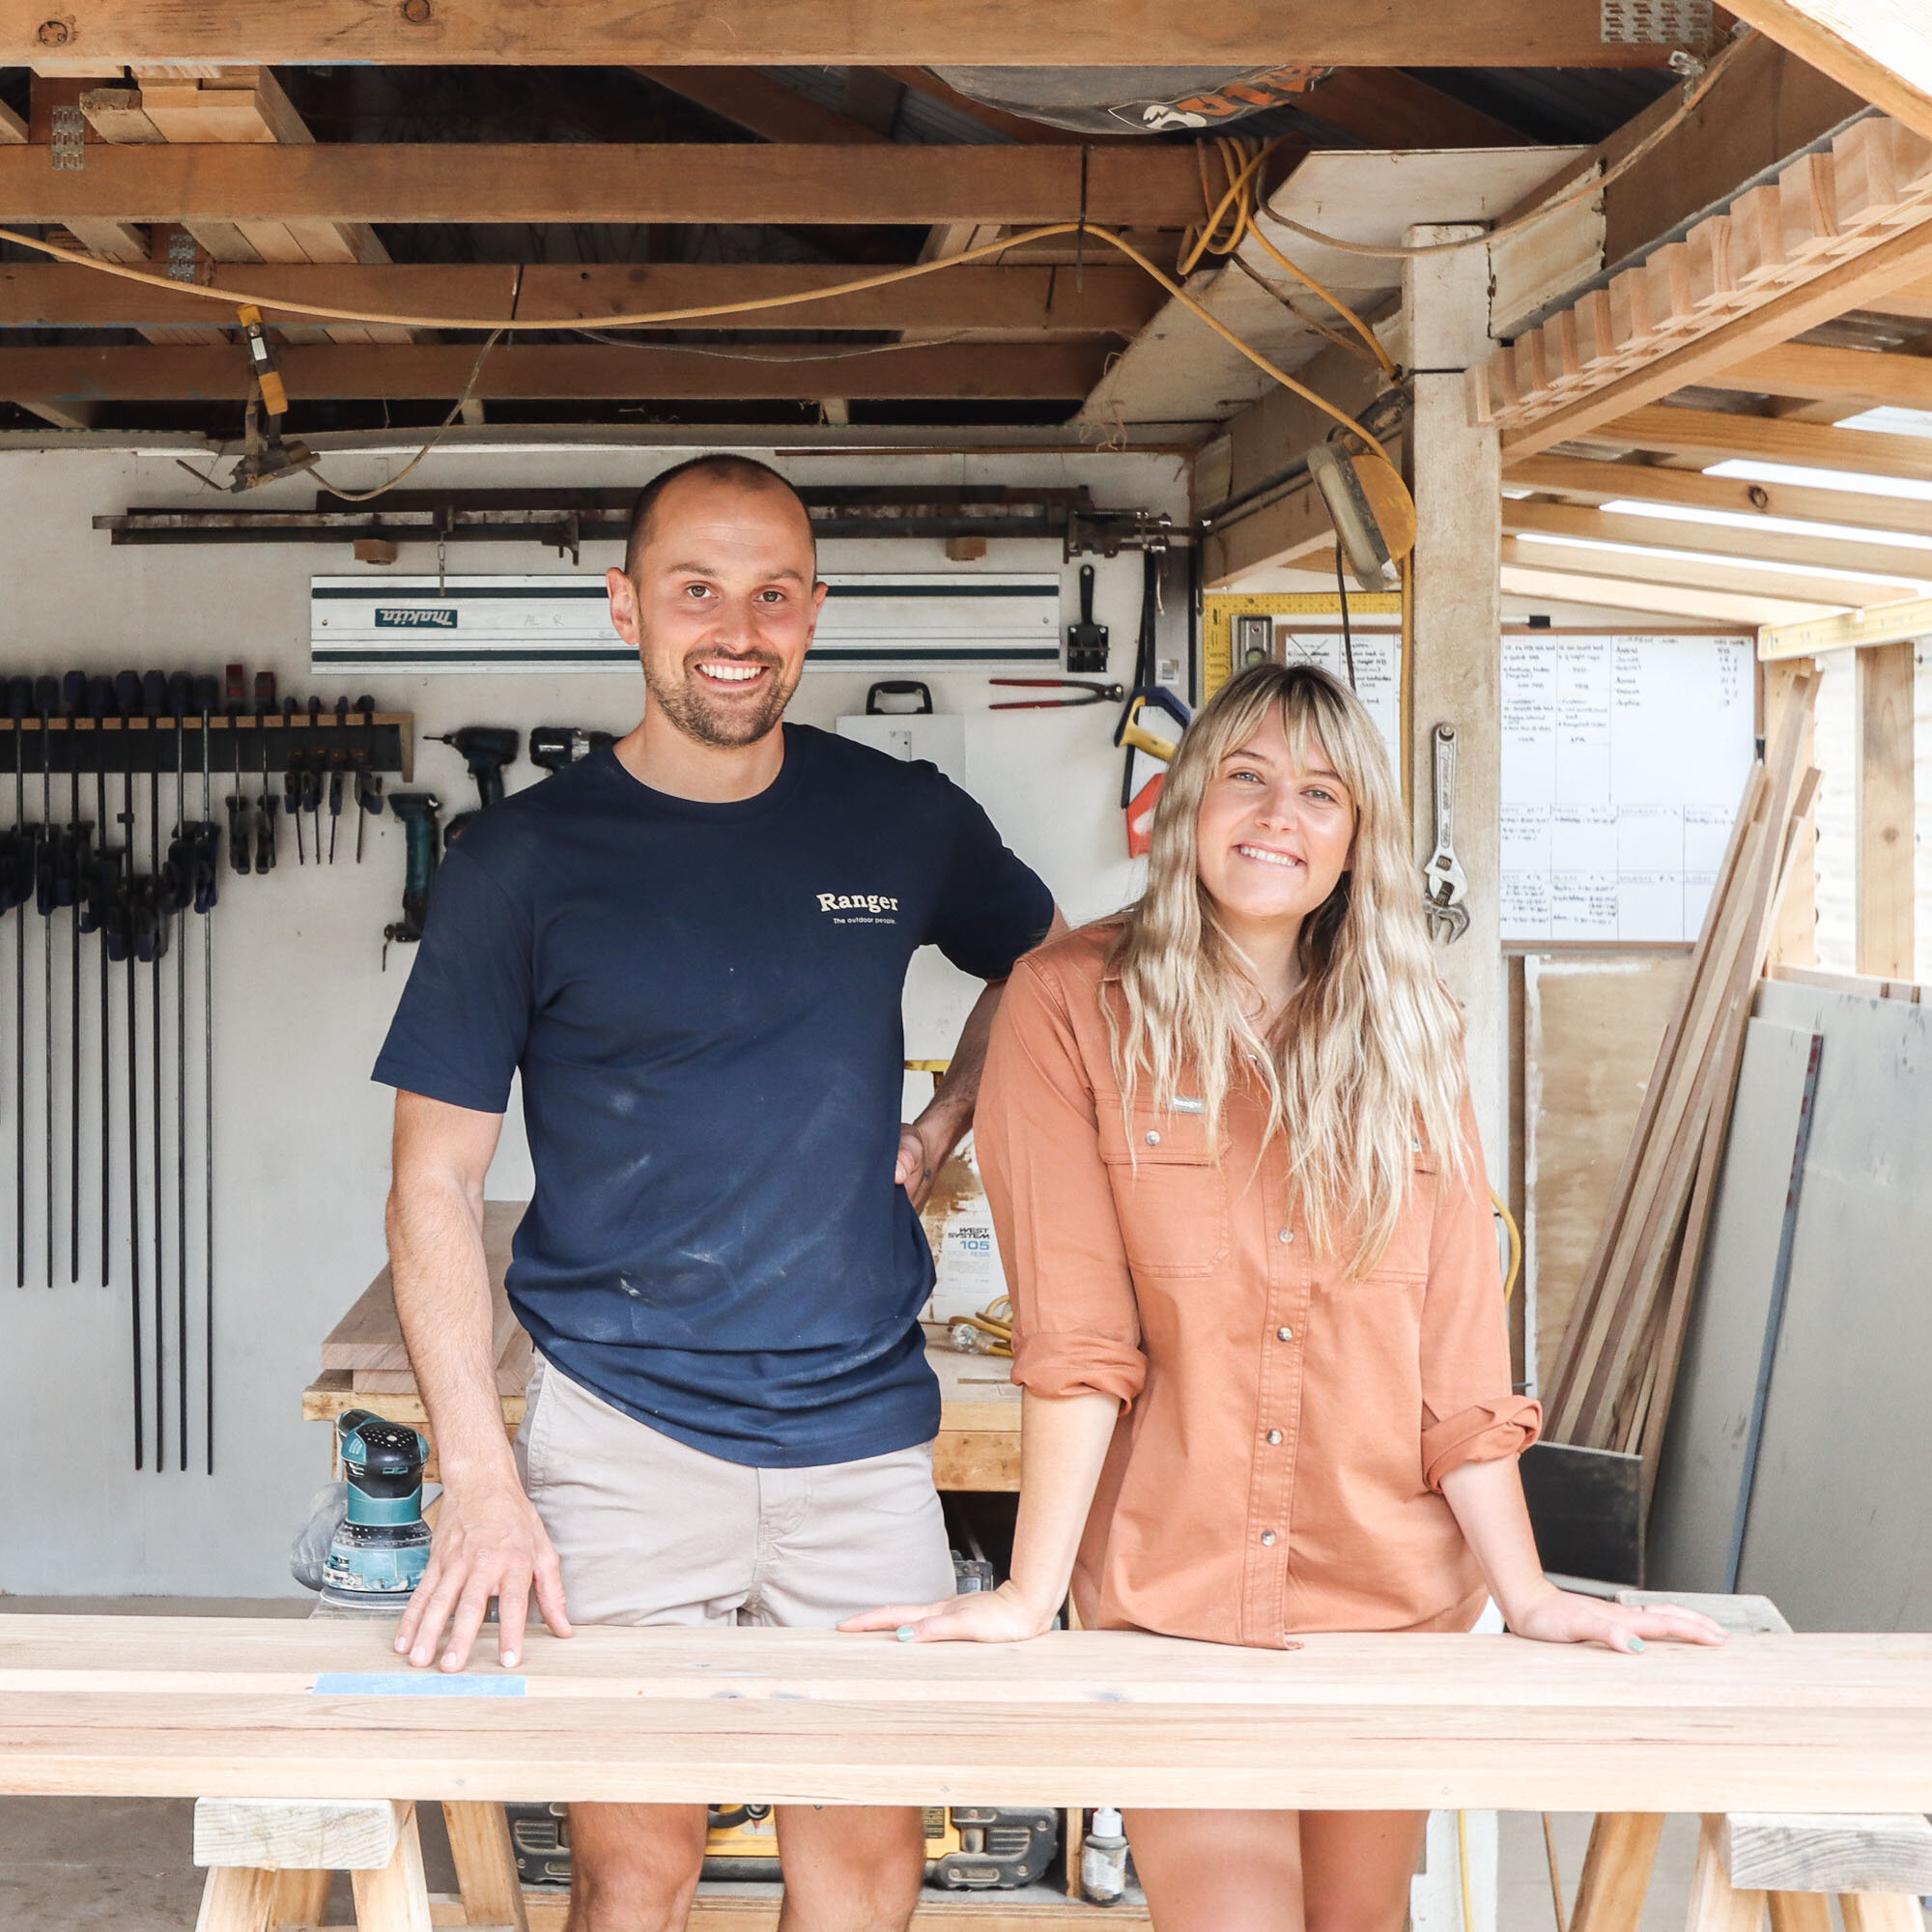
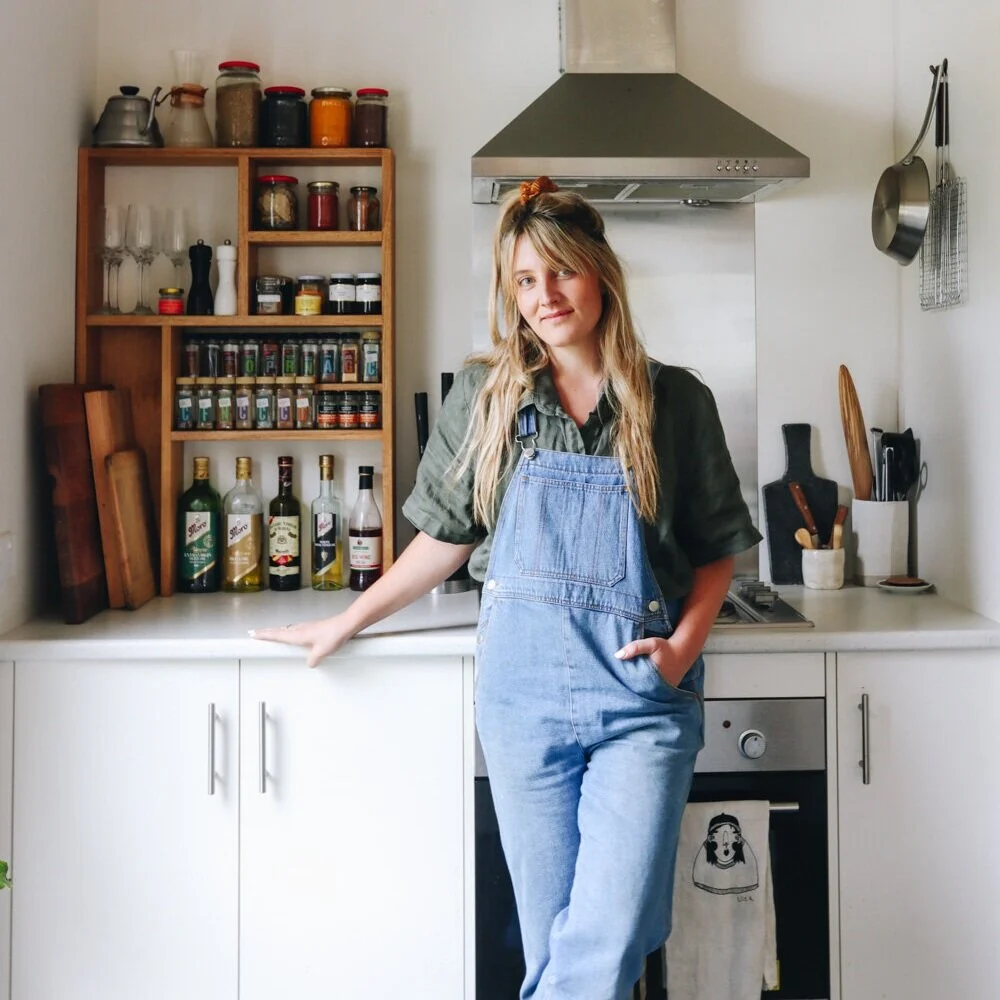
Hey!
We’re Al + Imo
We’re a husband and wife duo, building our dream life one DIY project at a time. We are proudly self-taught, furniture-makers, business owners, designers and stylists.
DIY RUNS IN OUR DNA
We firmly believe what you learn should be shared which is why we created our Journal. A place where you can learn new skills and be inspired by other creatives.
Top Categories


ON THE JOURNAL