Step-by-Step: DIY Wall Bed / Murphy Bed Build
A wall bed (also known as a Murphy bed) lets the room function as a studio most of the time, but quickly converts into a comfortable bedroom when guests arrive. Here’s exactly how we built ours.
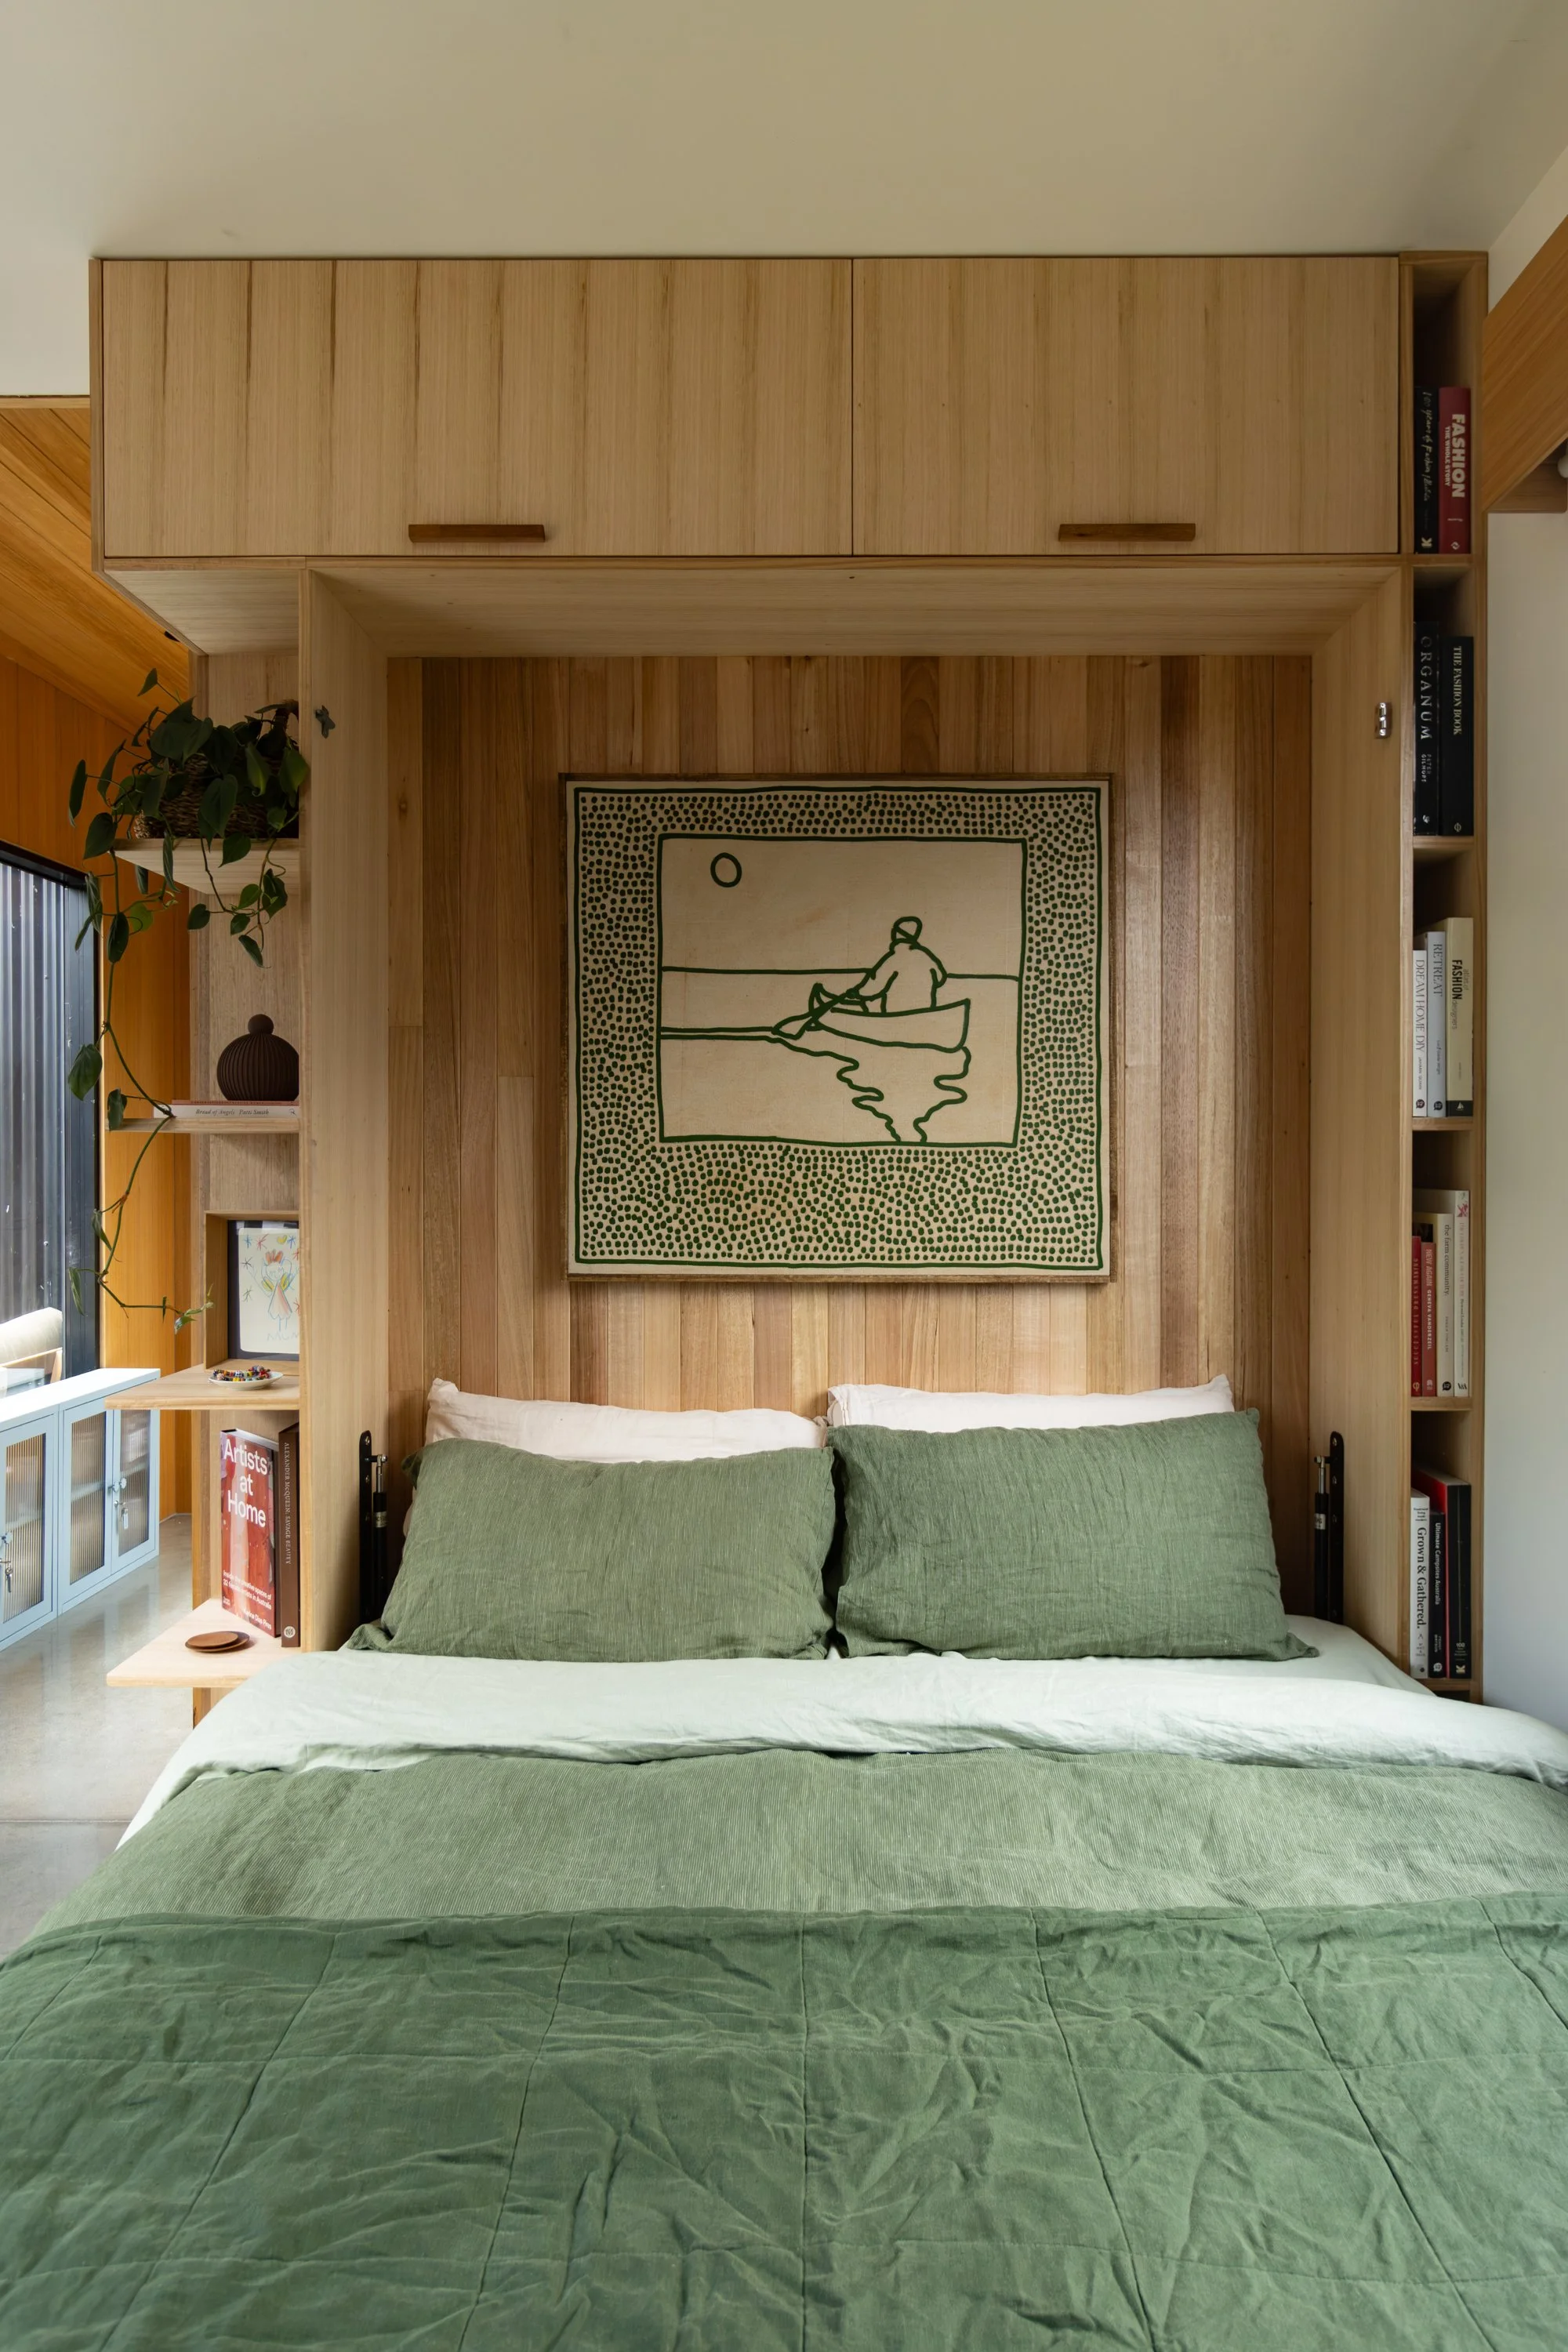
Our studio is one of the most used spaces in our home. Most days it’s where I work, paint, sew and craft. But every now and then when friends or family come to stay, it needs to double as a guest room. For the past couple of years our “guest setup” was a mattress on the floor… which felt pretty embarrassing considering we literally build beds for a living. So we finally decided to fix the problem properly and install a wall bed.
Step 1: Choose a Wall Bed Mechanism
The first thing we did was purchase a wall bed mechanism online. We purchased the “Palermo Queen Size Wall Bed Mechanism Hardware Kit Diamond Edition”. This included the metal frame and the piston system that helps lift and lower the bed safely.
The mechanism determines:
The mattress size (the instructions suggested a lighter and thinner mattress but our Queen Latex Peace Lily mattress worked out fine even though it was heavier and a bit thicker).
The required cabinet dimensions
How the bed folds up into the wall
Most kits come with detailed measurements, which makes designing the joinery much easier.
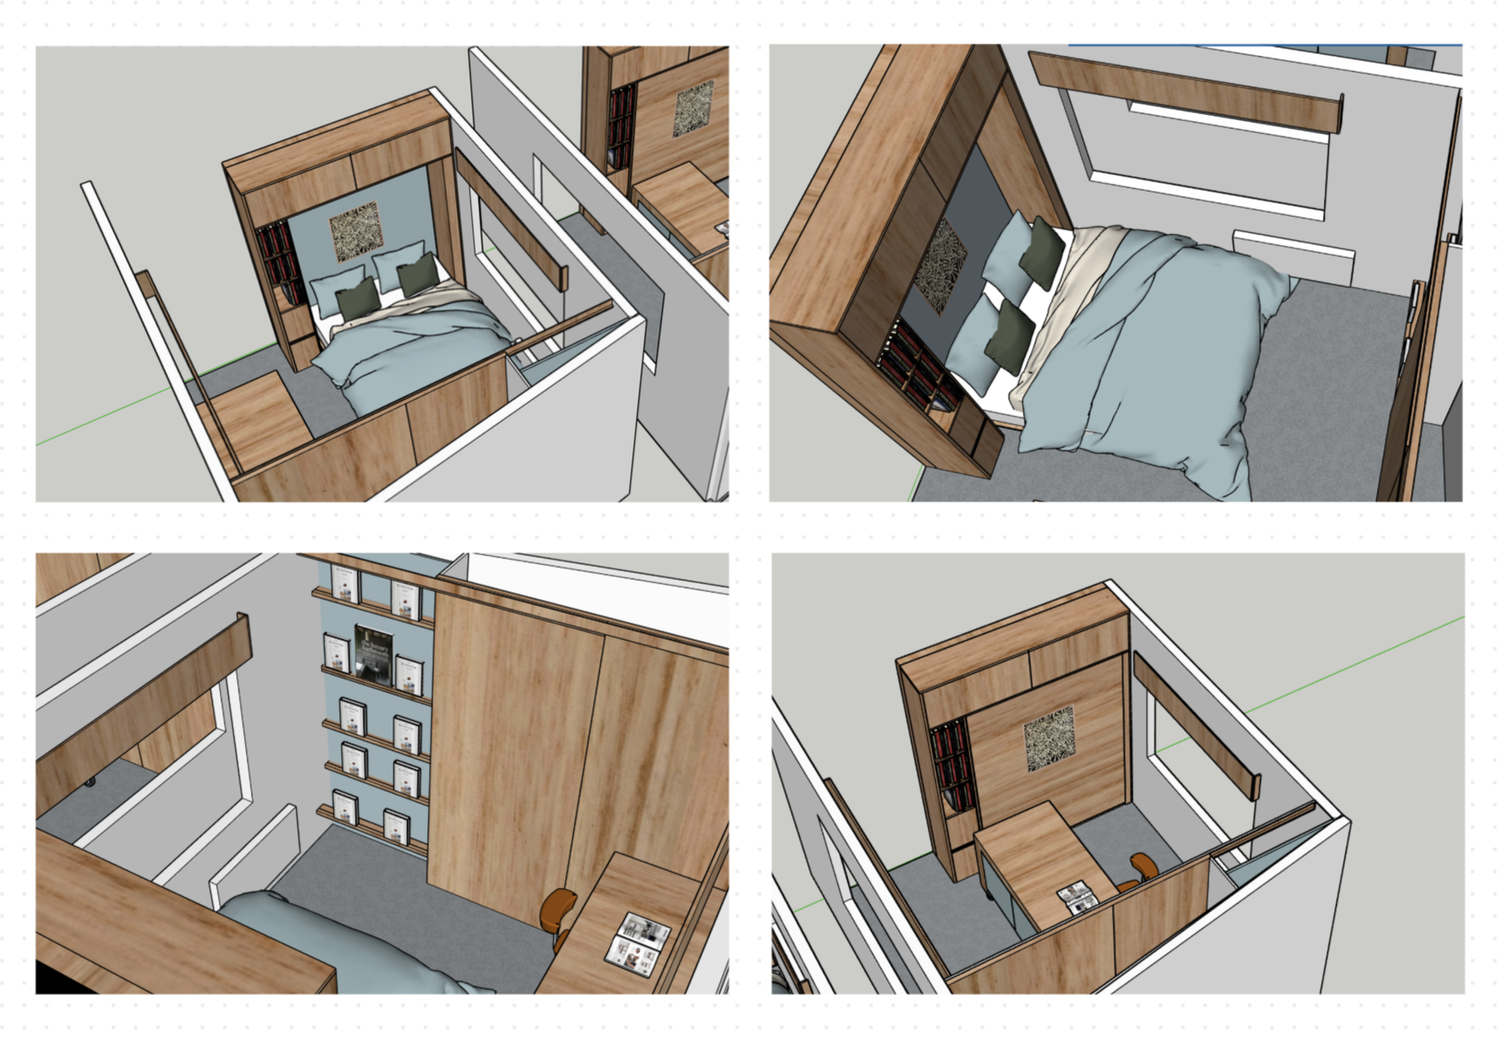
Step 2: Design the Cabinet Joinery
Once we had the mechanism, we designed a built-in cabinet to house the frame, I drew this up on Sketchup.
Our goals were:
Make it feel like built-in joinery rather than a bulky bed unit
Add storage for guest bedding
Use materials that matched the rest of the house
The cabinet includes:
A large central cavity for the bed frame
Overhead cupboards for pillows and linen
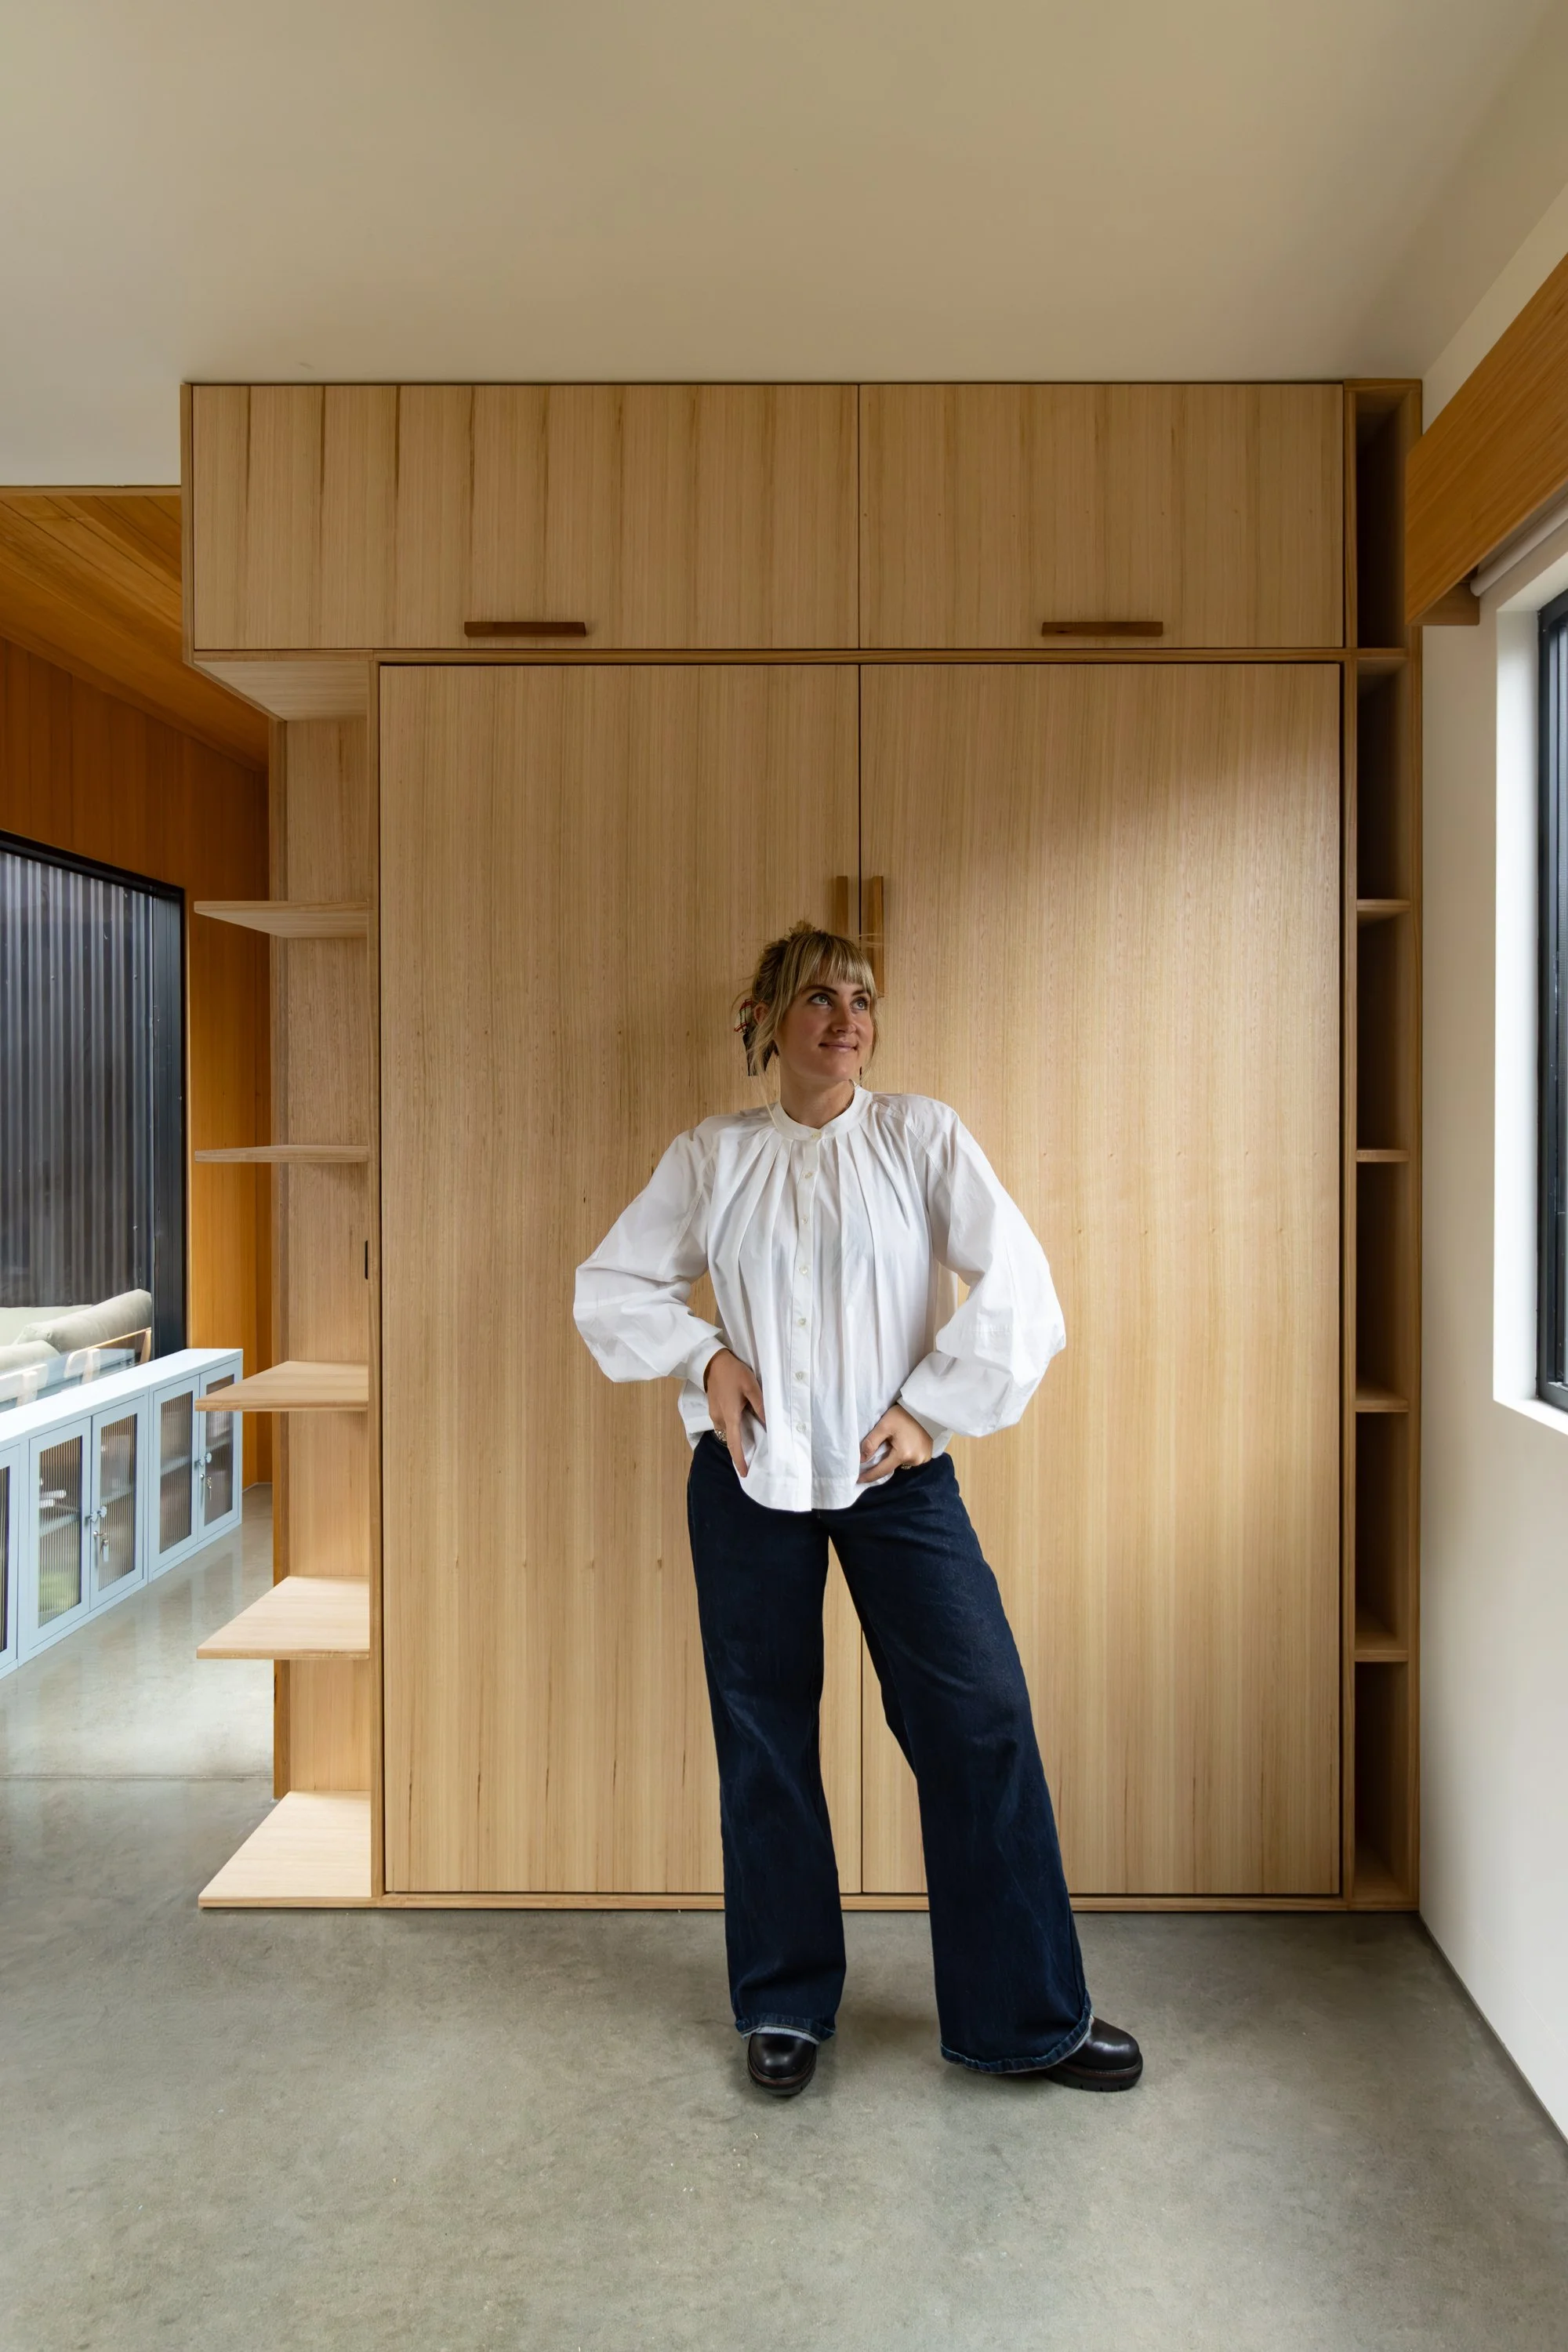
Clean flush doors so the bed disappears when folded up
Step 3: Build the Carcass
For the cabinet carcass we used 19mm veneered Tasmanian Oak panels.
This gave us:
A durable structure strong enough to support the bed
A warm timber finish that matched the rest of our interior
A professional furniture-grade look
The carcass essentially acts like a large wardrobe frame that the bed mechanism mounts into.
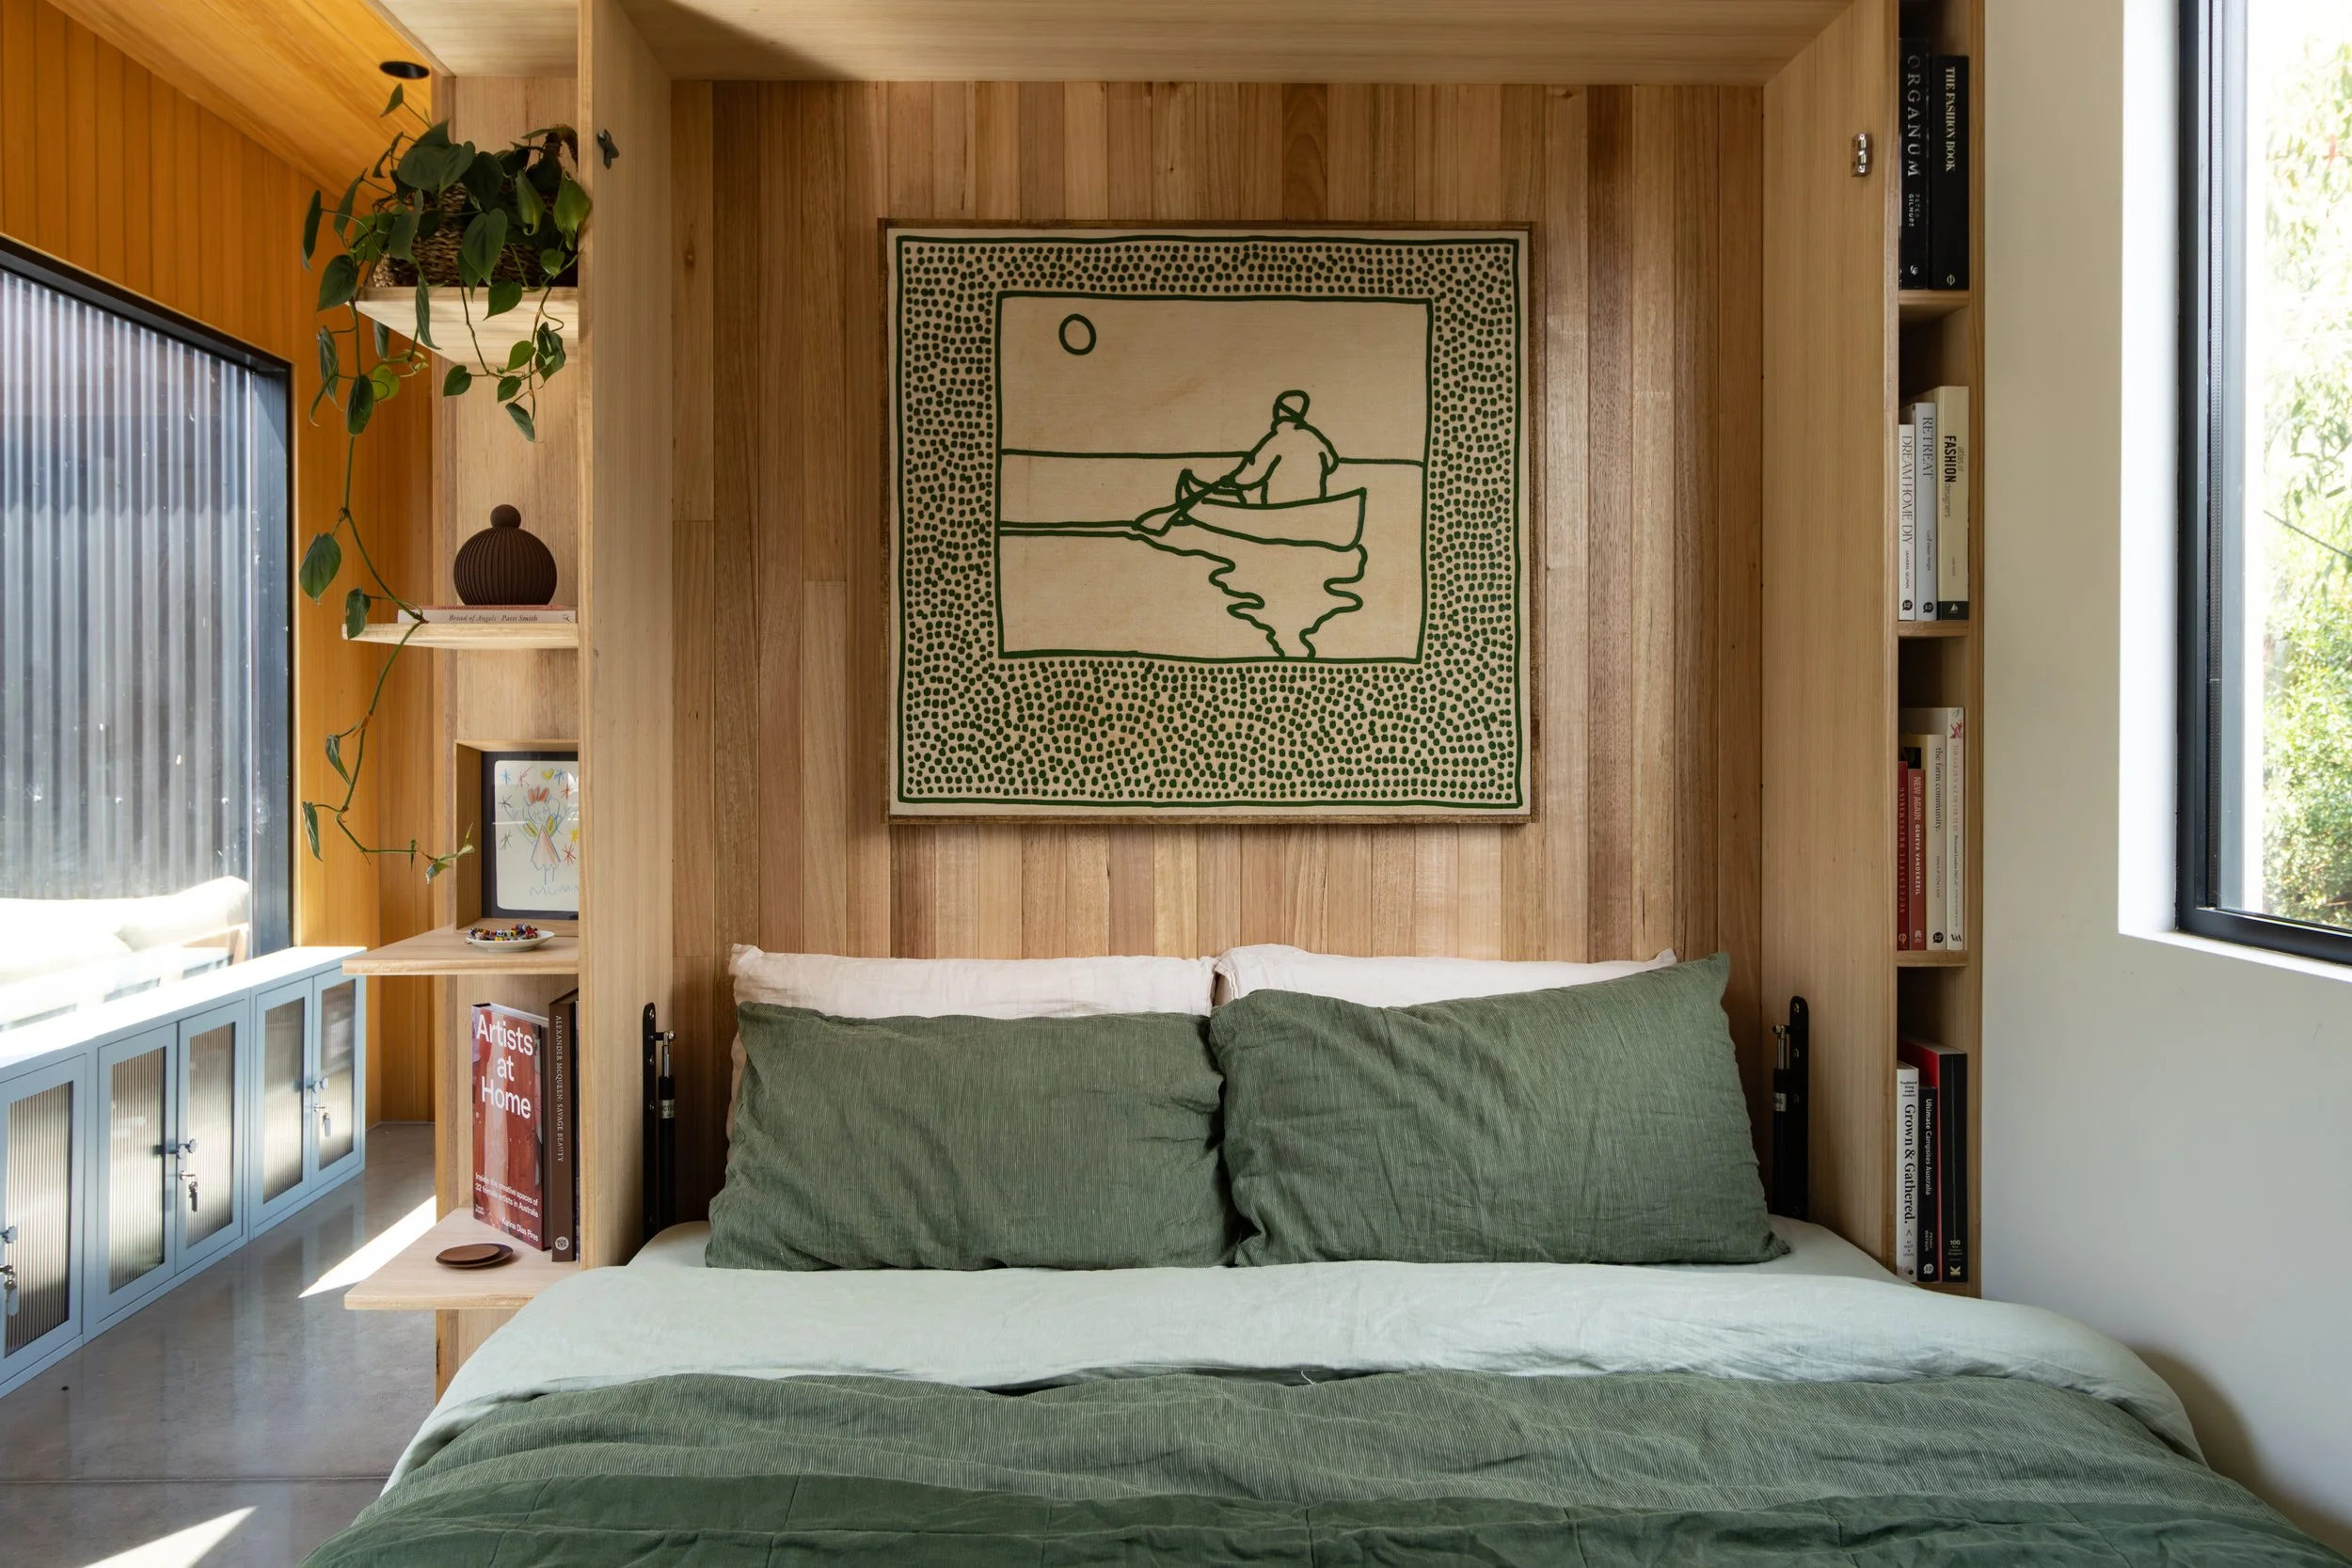
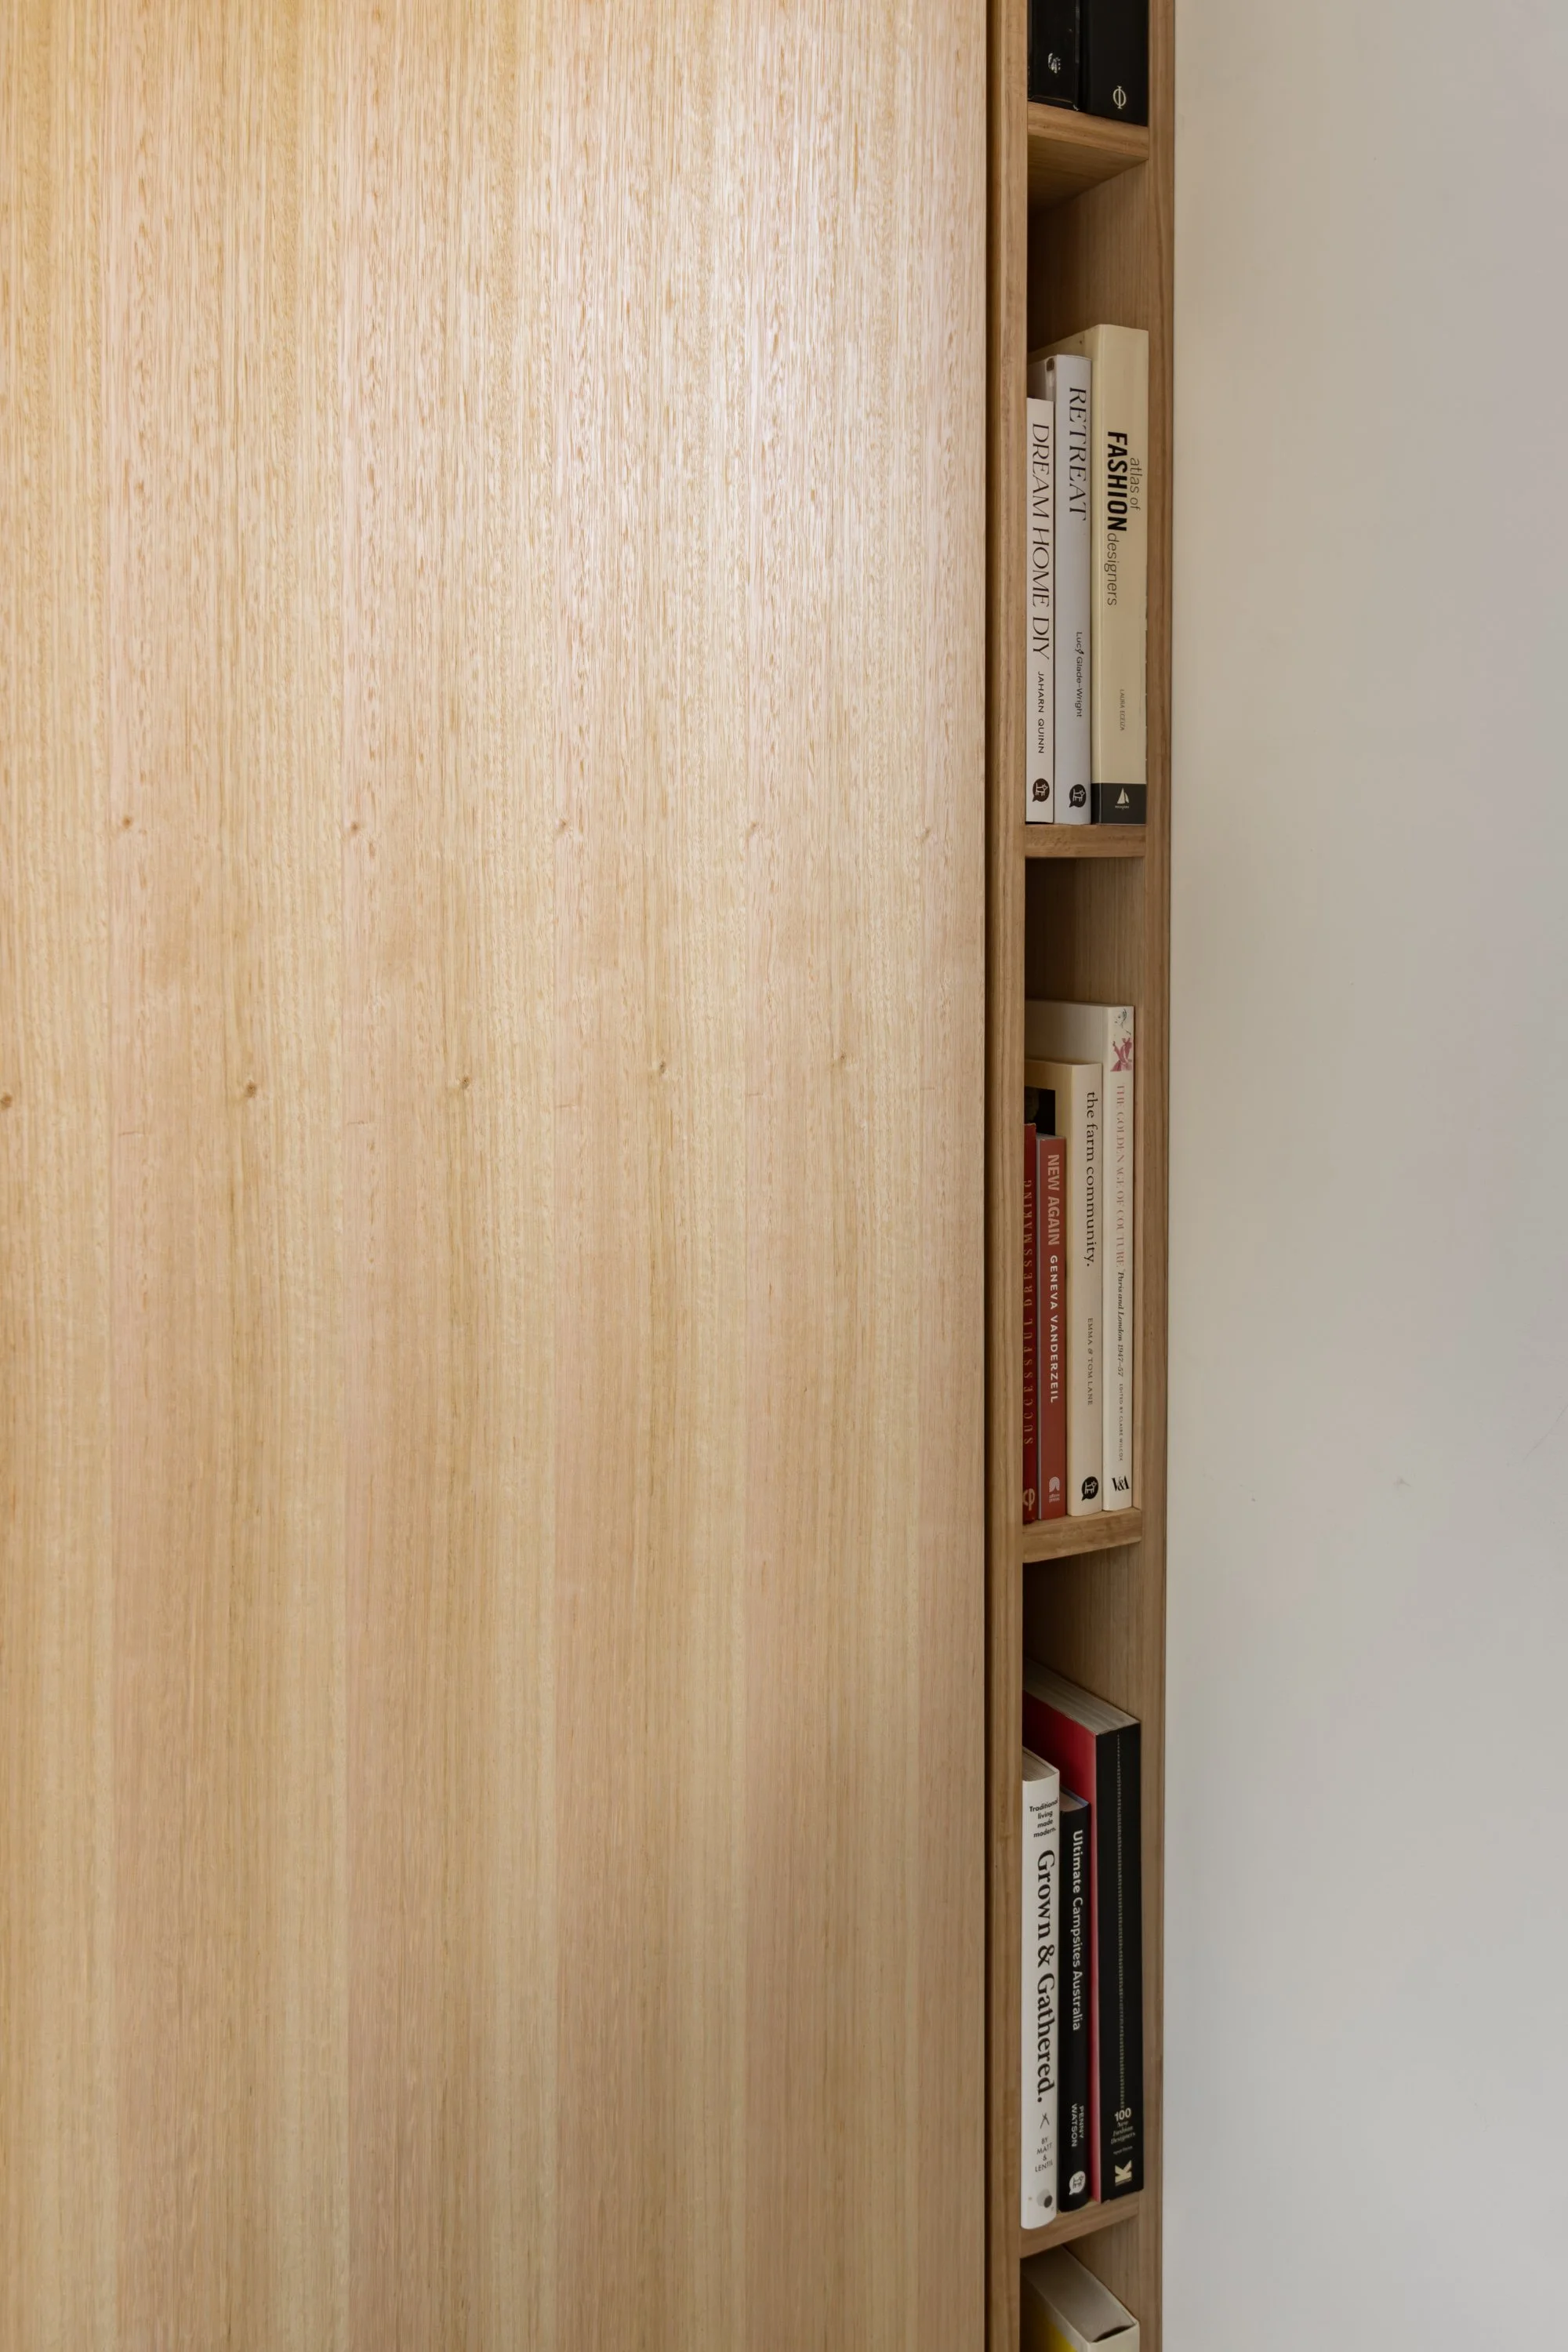
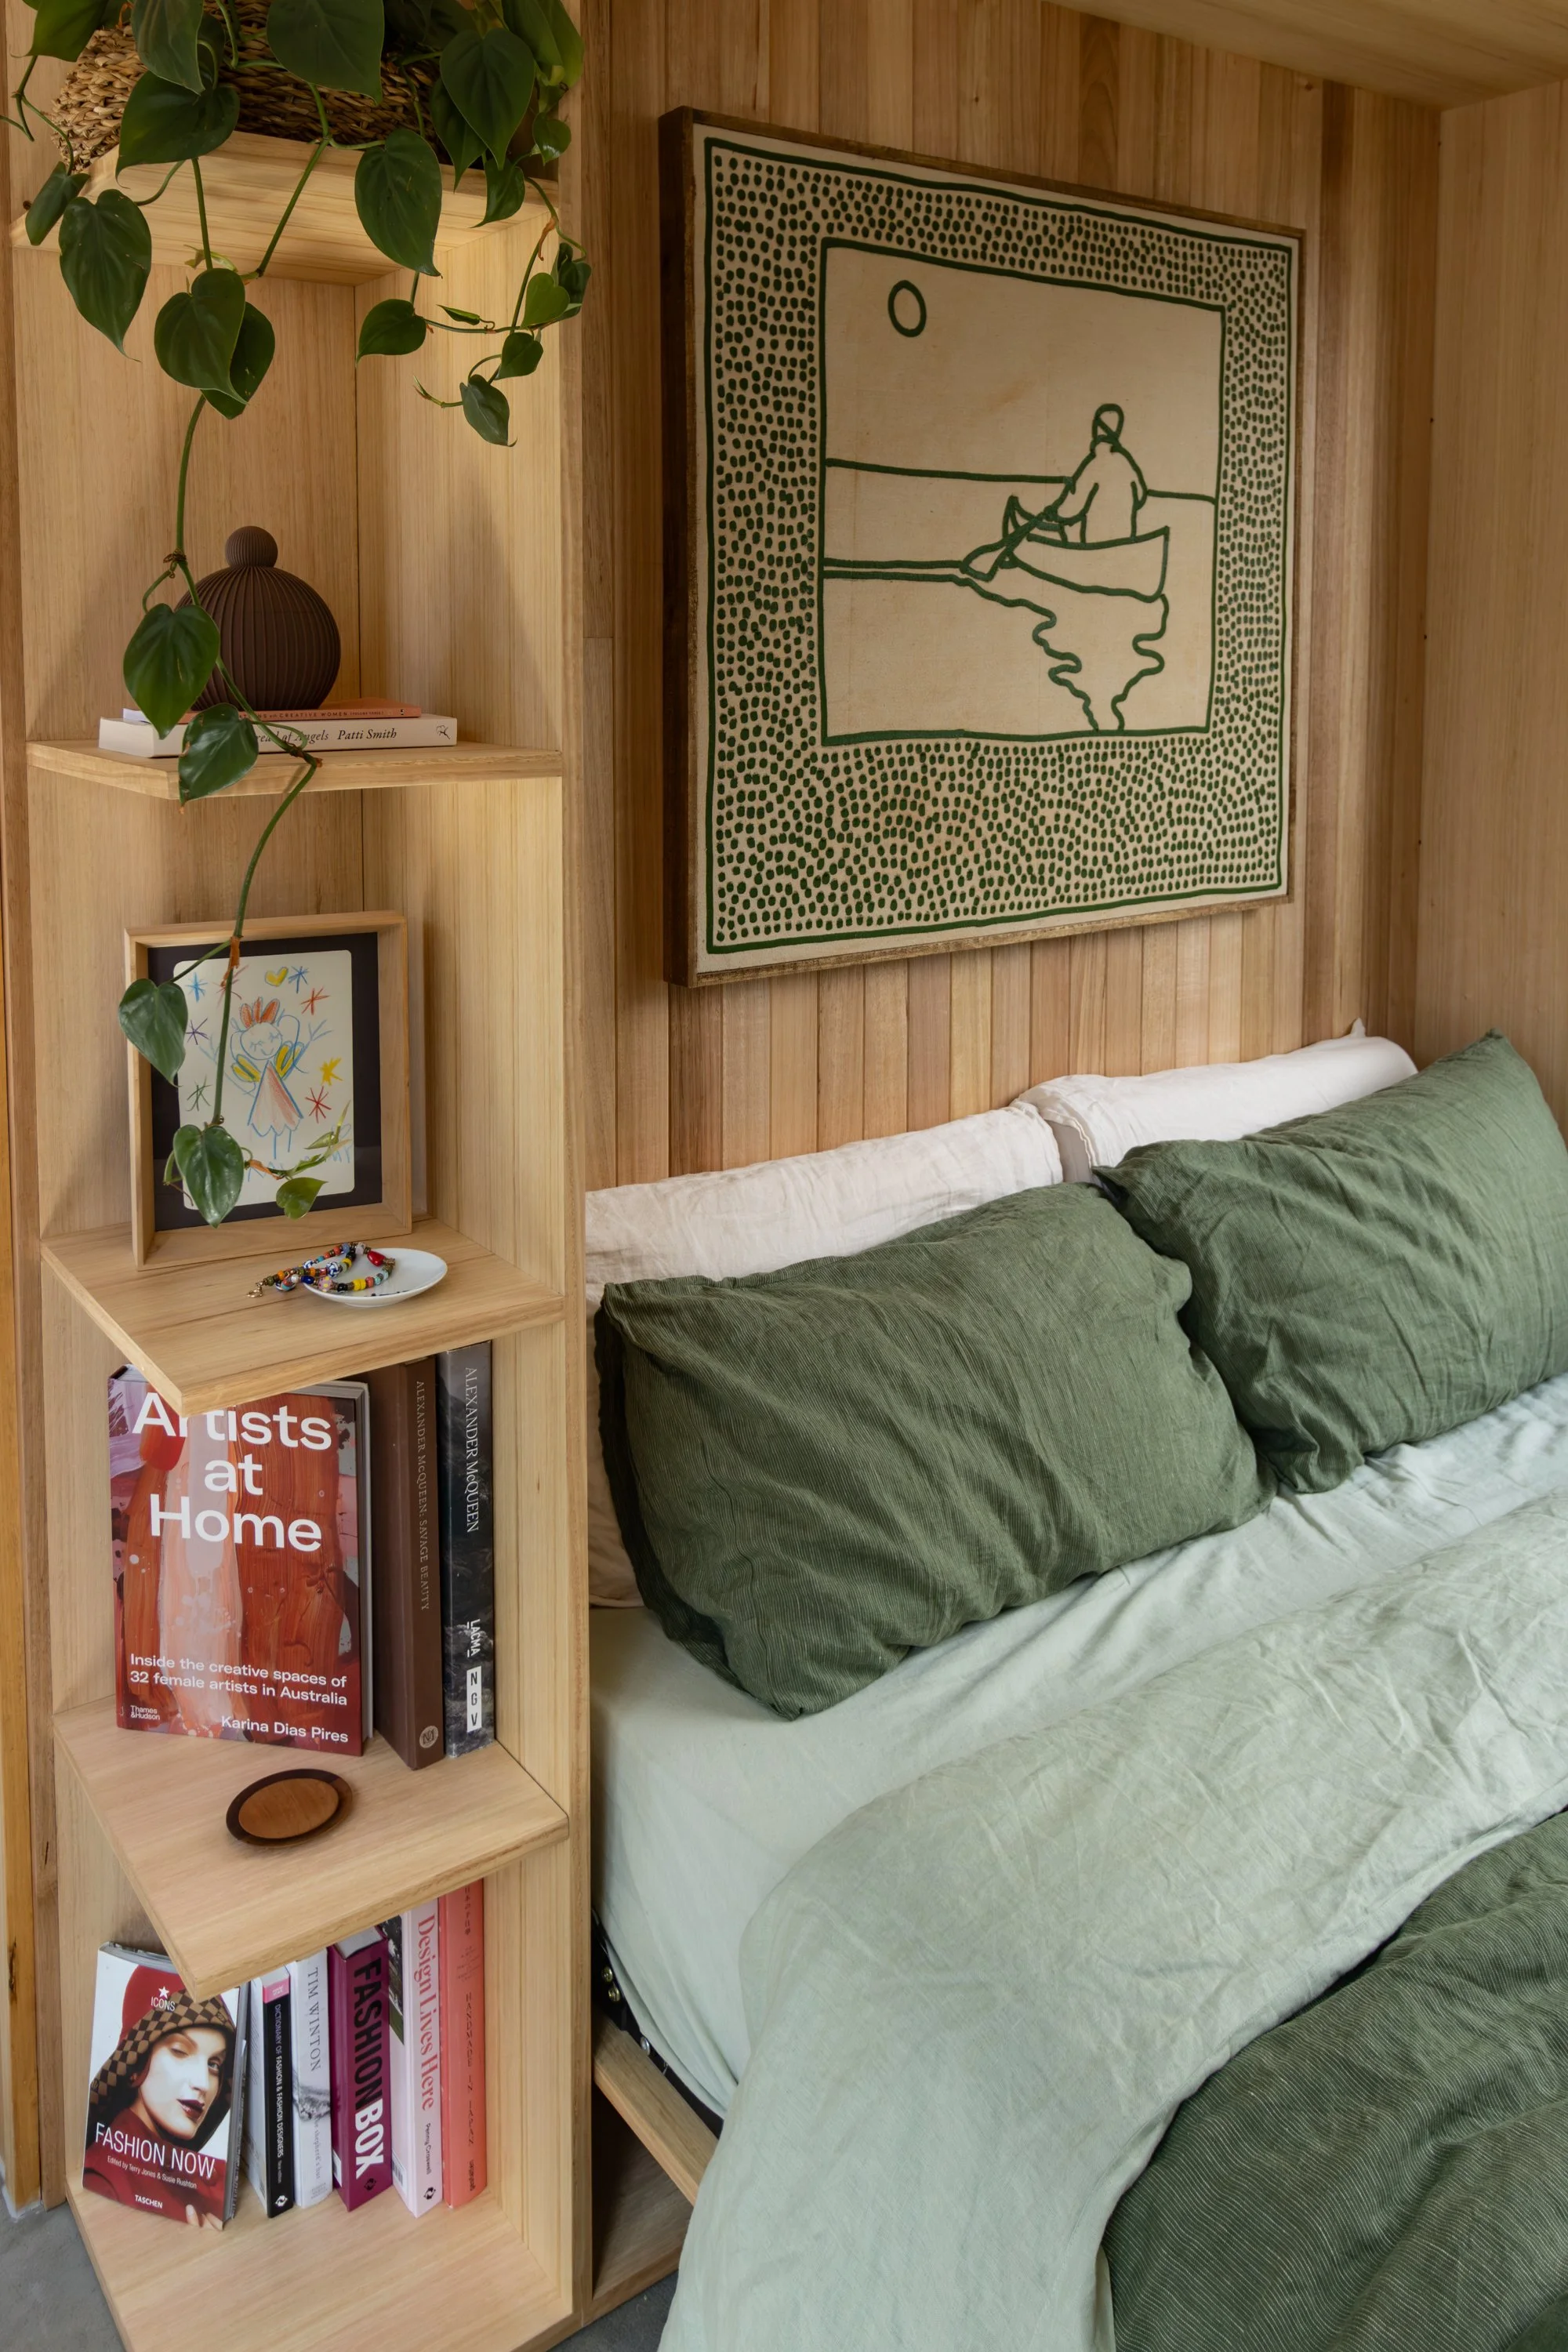
Step 4: Repurpose Leftover Timber
Instead of buying new materials for the internal lining, we climbed up into our roof space and found leftover timber lining boards from our bathroom build. Using leftover materials is something we try to do wherever possible. It saves money, reduces waste, and often gives projects a bit more character. These lining boards were perfect for finishing the interior surfaces of the cabinet.
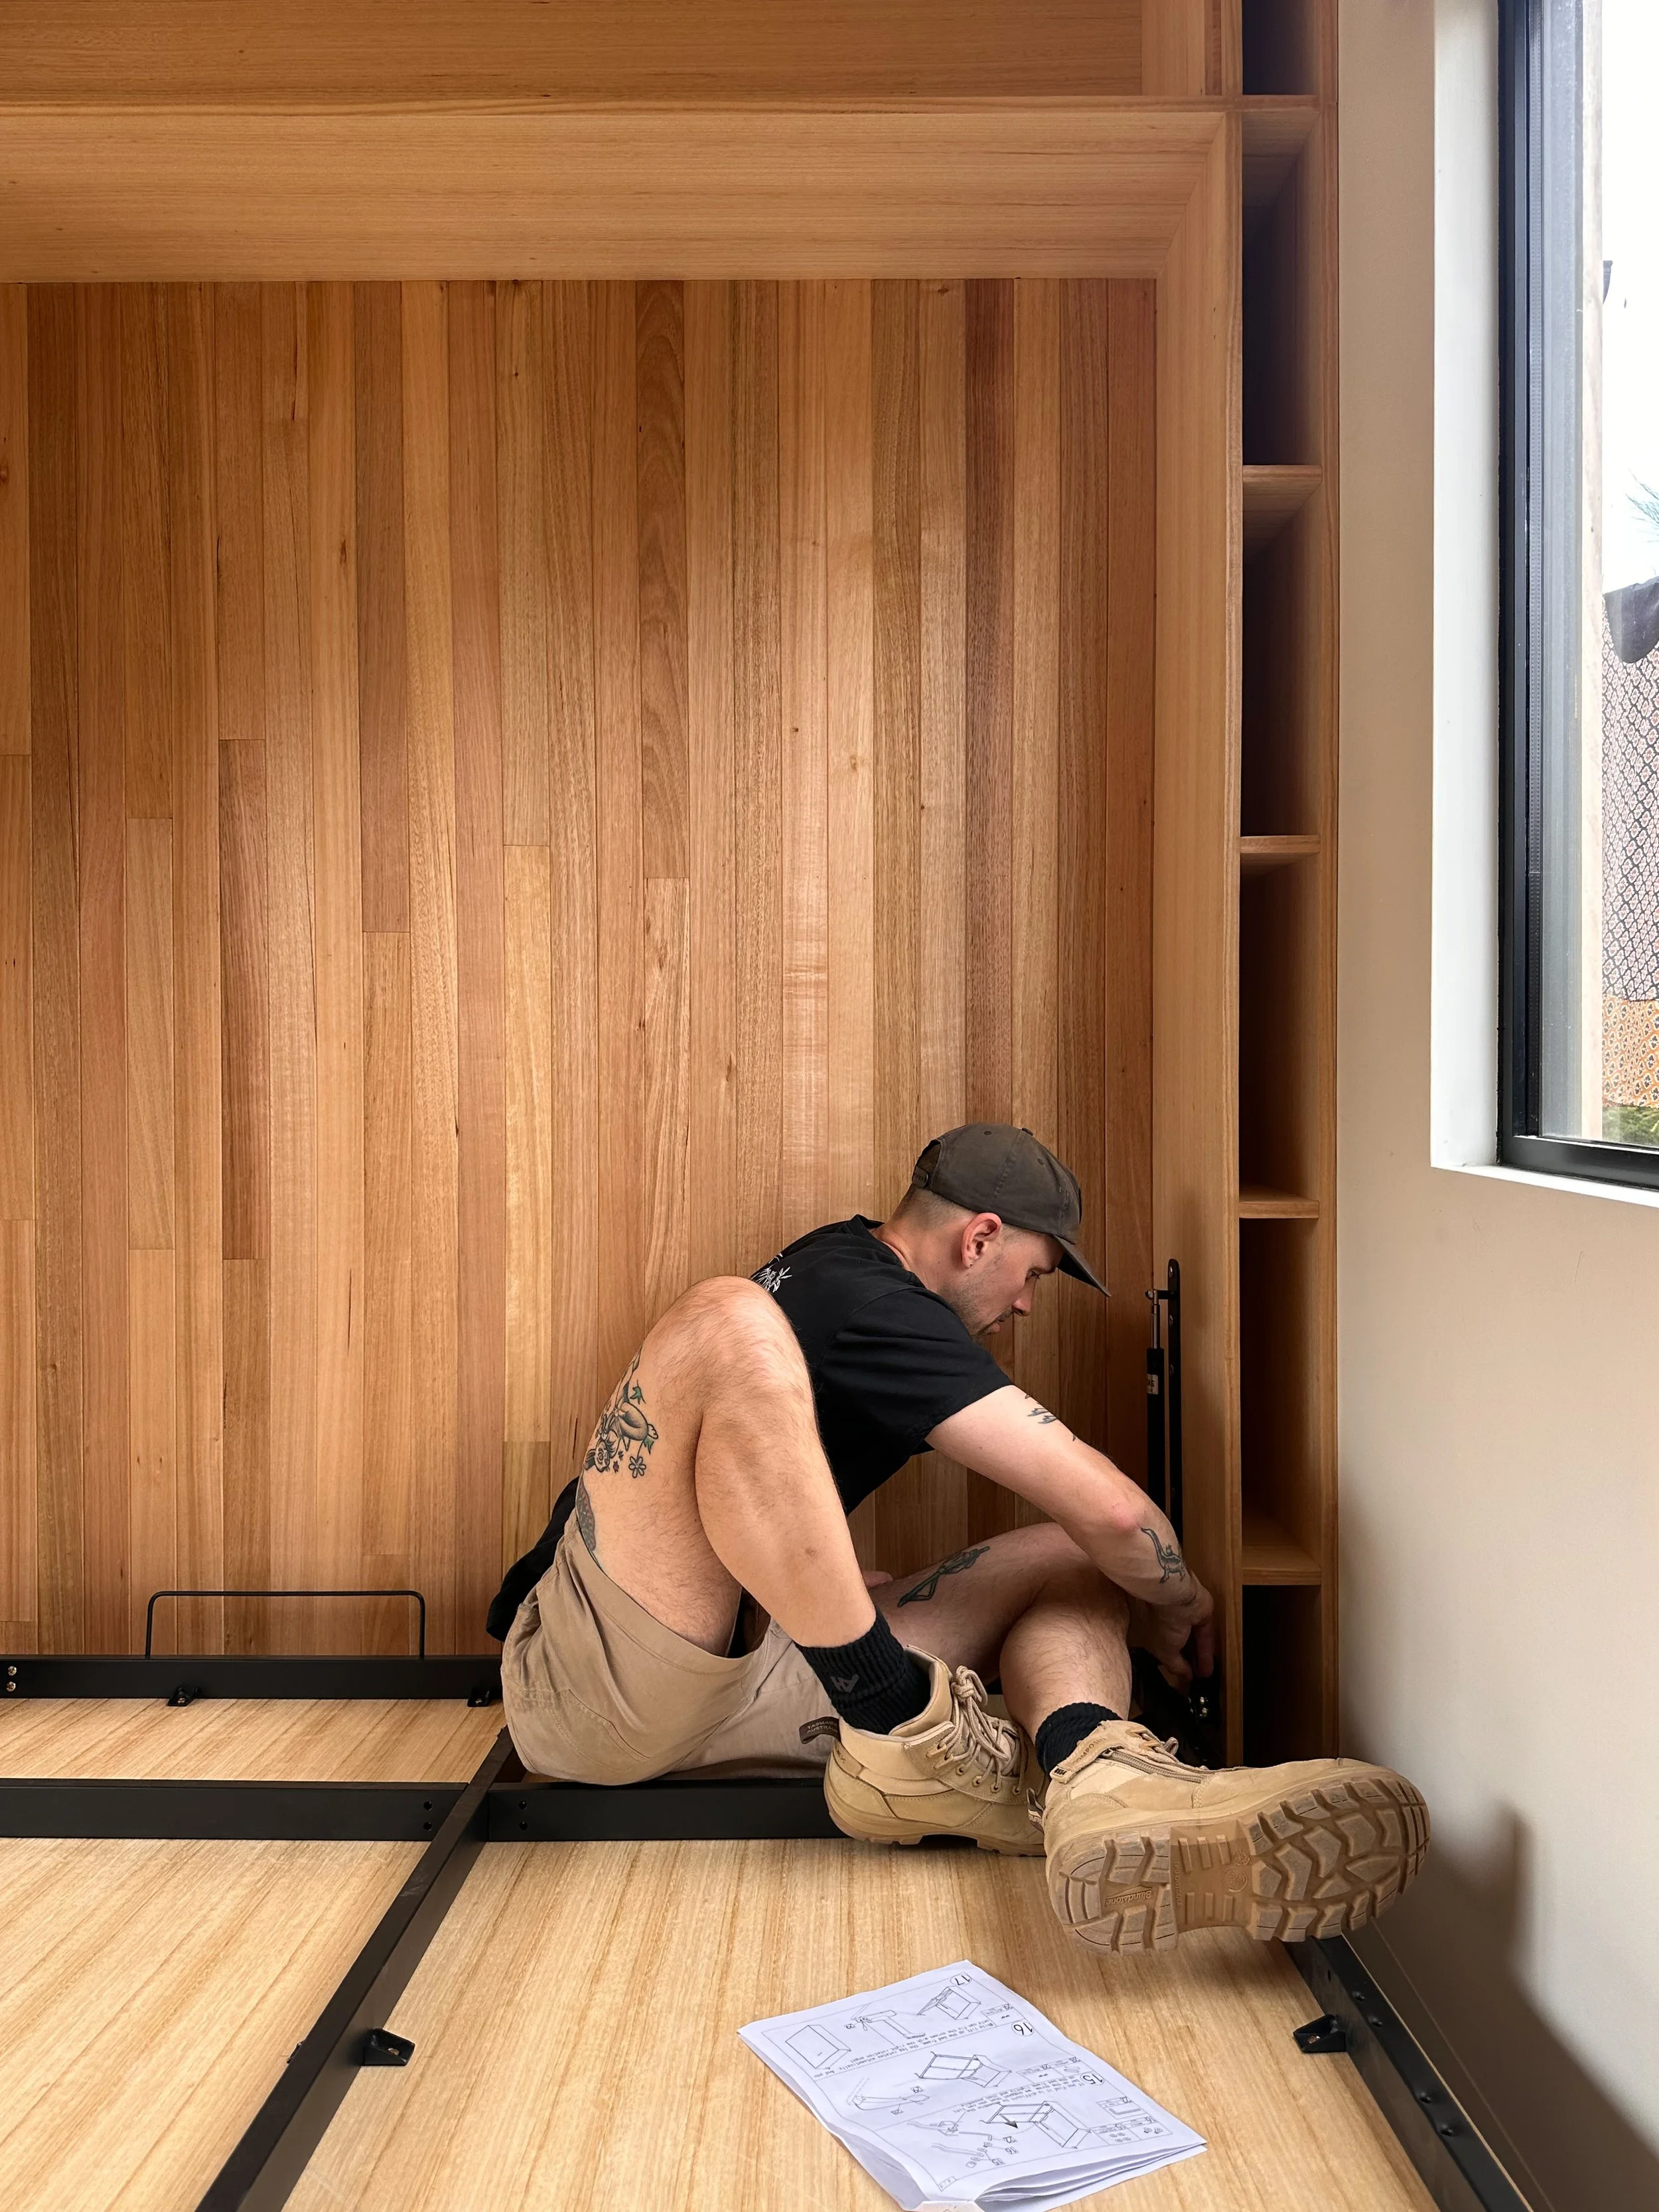
Step 5: Install the Wall Bed Frame
Once the carcass was built and secured to the wall, we installed the wall bed mechanism and frame inside the cabinet.
This step involved:
Fixing the metal mechanism to the cabinet sides
Attaching the bed frame
Testing the opening and closing motion
When installed correctly, the bed lifts surprisingly easily thanks to the counterbalance system.
Step 6: Add Overhead Storage
Above the bed we built cupboards to store guest bedding.
For the doors we used full-overlay cabinet hinges, which allow the doors to sit flush with the cabinet edges for a clean built-in look.
These cupboards are the perfect size for:
Pillows
Sheets
Quilts
Extra blankets
Step 7: Install Handles
Instead of buying new handles, we repurposed hardwood ones we made years ago for our old rental property. It’s always satisfying when older projects find a second life in a new space.
If you’re curious how we made them, you can check out the original build on our YouTube channel.
Step 8: Fold It Away
When the bed is folded up, the studio instantly goes back to being a creative workspace.
One thing we noticed is when the bed is closed there’s a blank black panel where the underside of the bed sits. So the next project on the list is designing a wall-hung easel that can live there when the bed is up…. but that’s a project for another time.
Why a Wall Bed Was Perfect for This Space
The studio now works so much better because it can easily switch between two functions:
Most days:
A creative workspace for painting, sewing and crafting.
When guests visit:
A proper bedroom with a comfortable bed.
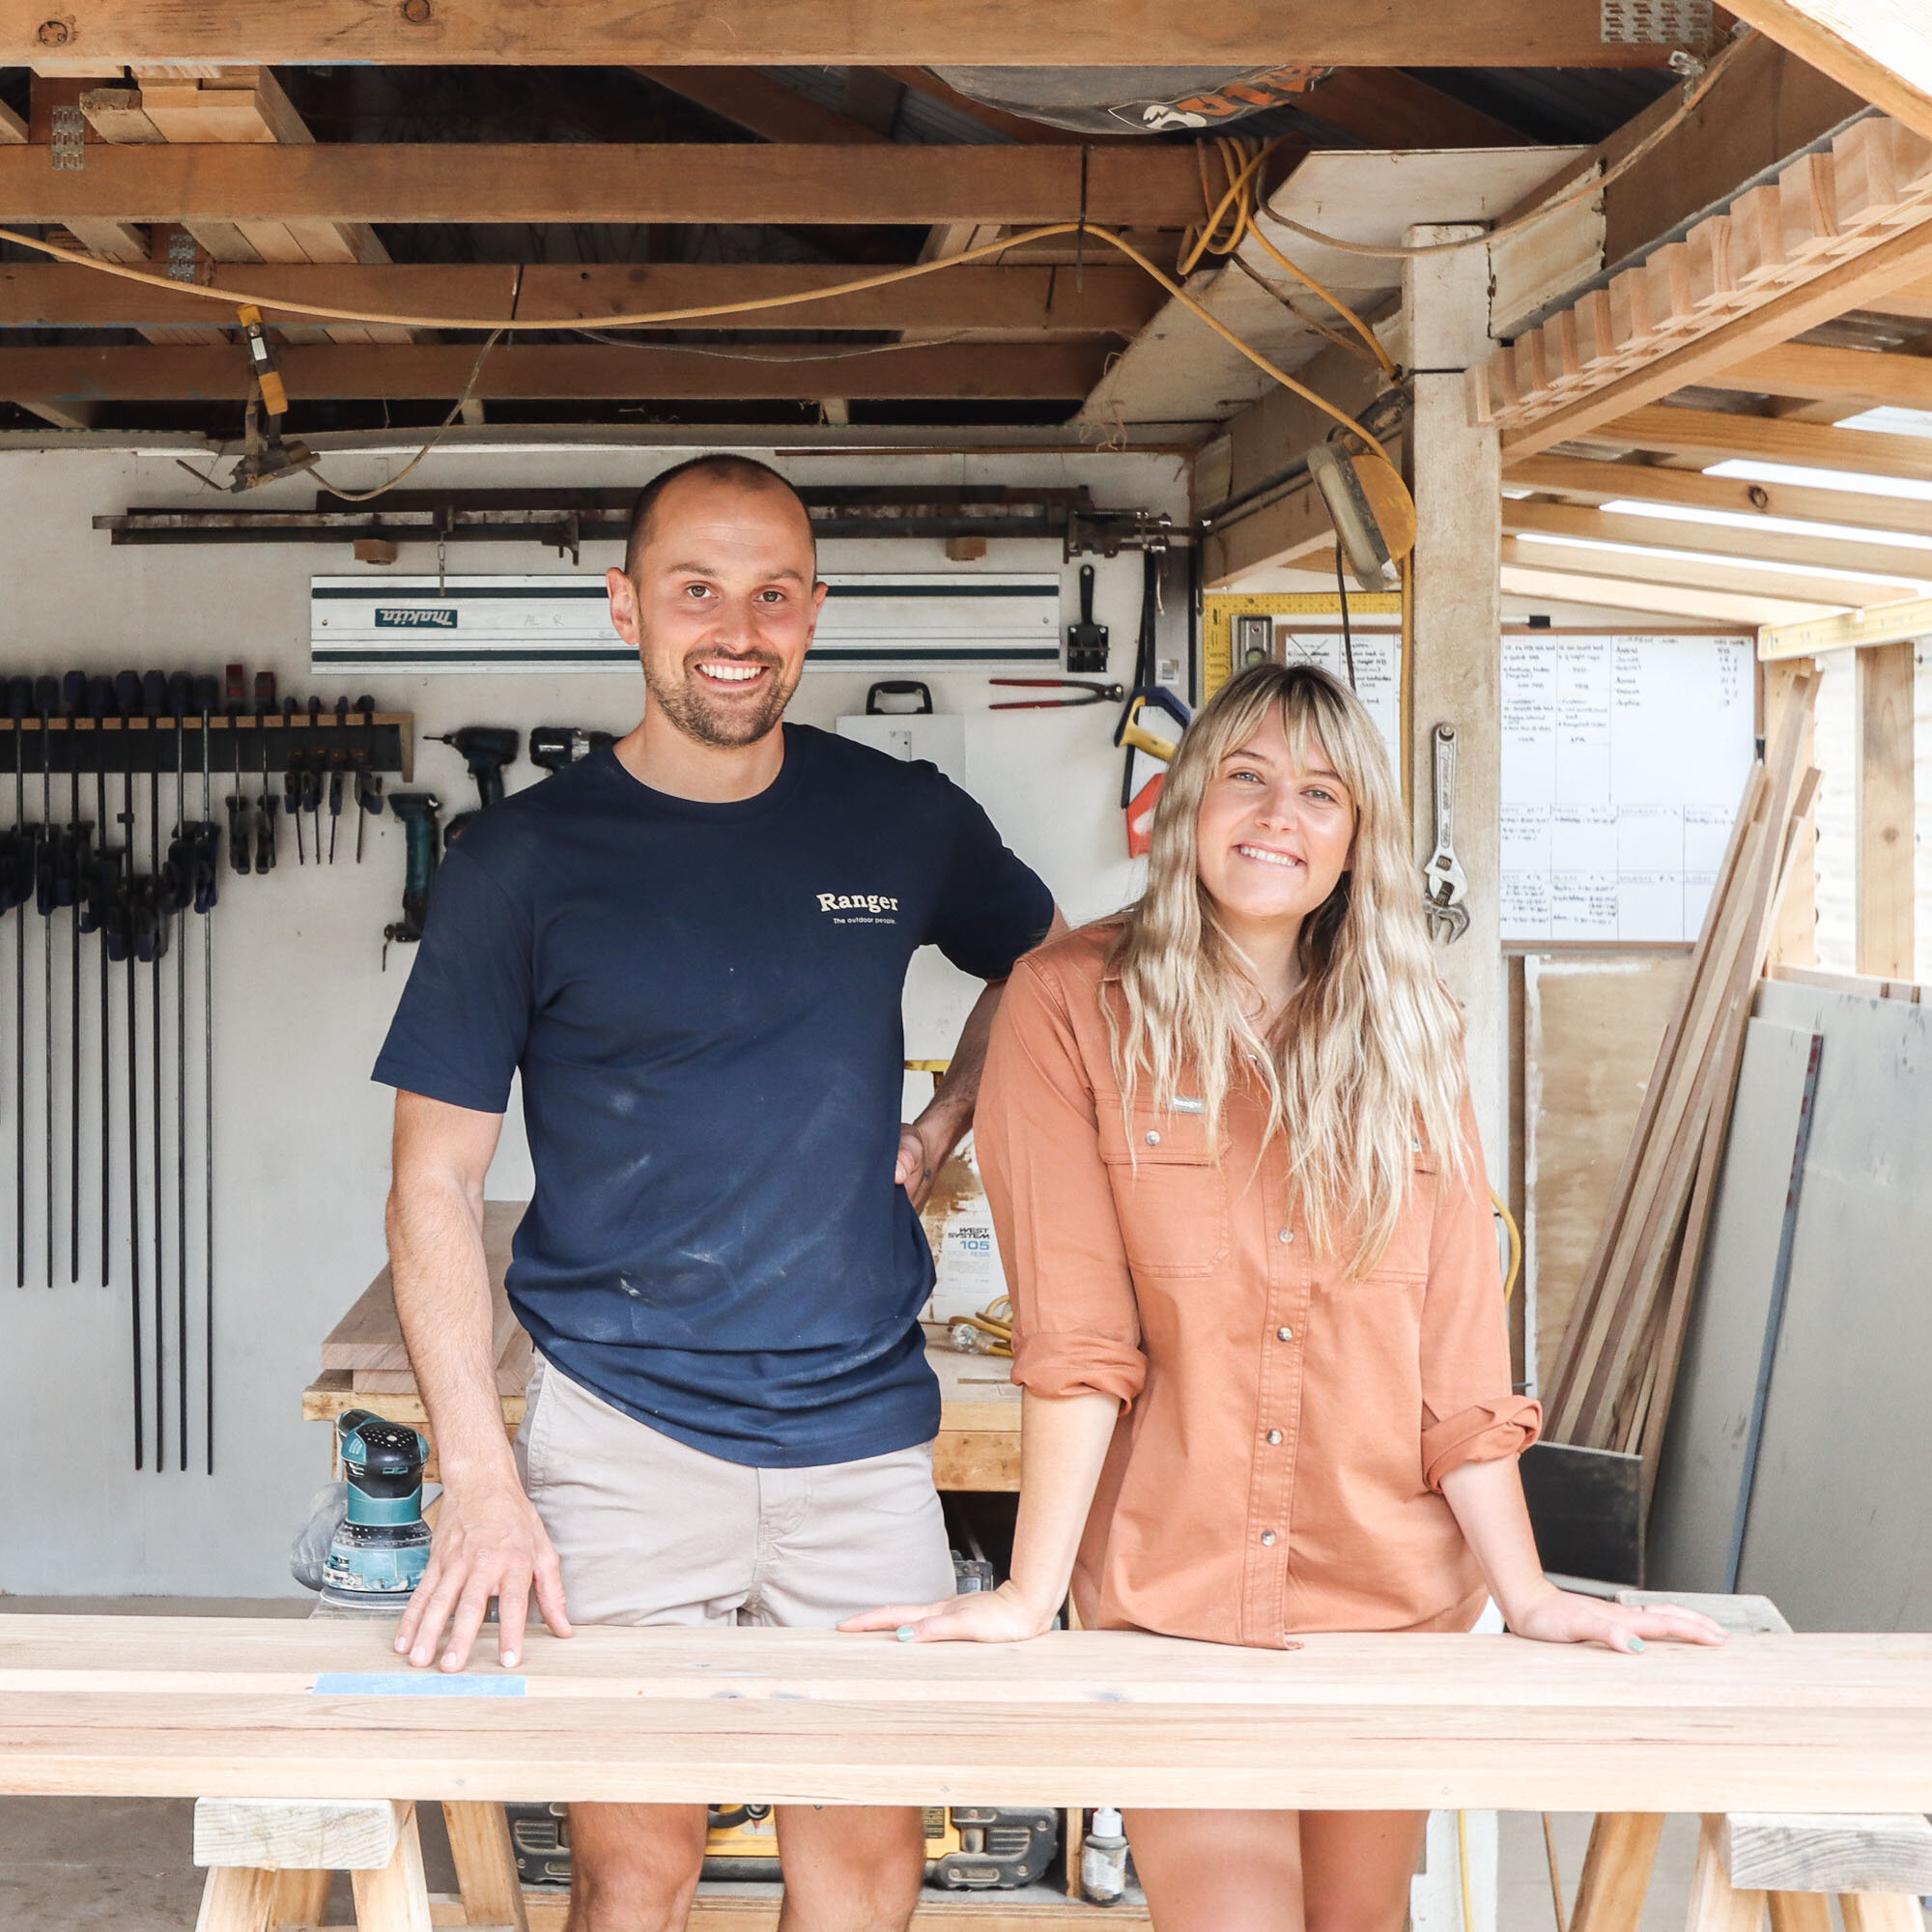
G’day! We’re Al + Imo
We’re a husband and wife duo, building our dream life one DIY project at a time.
We firmly believe what you learn should be shared which is why we created our Journal. A place where you can learn new skills and be inspired by other creatives.